


To set up a Dahua CCTV camera, connect it to power, put it on your network (or to a compatible NVR), then configure its IP address and enable recording through the Dahua web interface or app. With the right cables and settings, you can usually have live video working in under an hour. You’ll need the camera, Ethernet (or a PoE switch), a monitor or NVR, and access credentials for the device or recorder.
Set up a Dahua CCTV camera by powering it (PoE or DC), discovering it on your network with Dahua SADP, then configuring its IP/network settings and adding it to an NVR or viewing app. Once the camera reliably shows “online,” you finish the basics—time sync, recording schedule, and motion/alert rules—so you actually capture useful footage.
If you’re installing a Dahua turret/bullet camera and either an NVR or just want remote viewing, this guide walks through the practical order most people follow. I’ll keep model-specific details marked where your exact Dahua model (and whether it’s PoE) can change the menu names.
Who this is for (and when it applies)
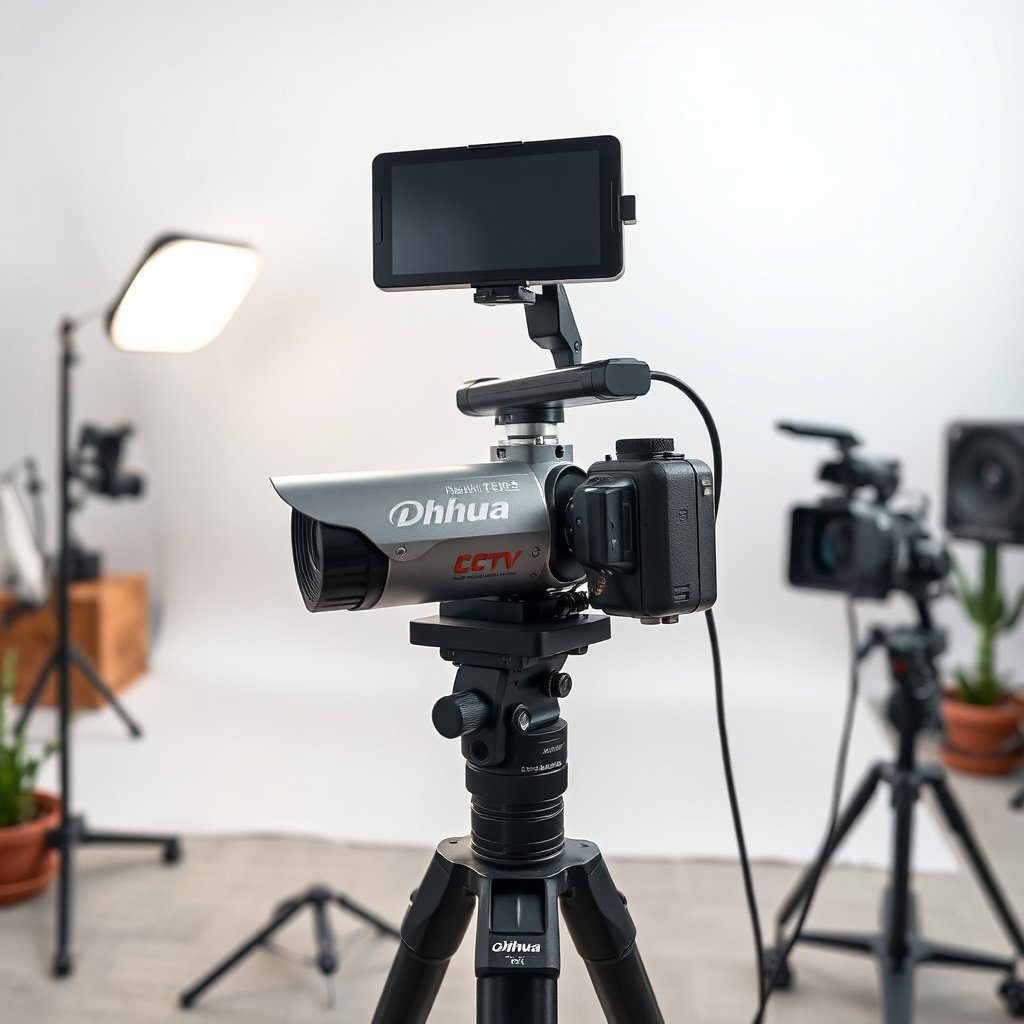
This is for anyone installing a Dahua IP camera on a home or small business network and wanting a dependable, repeatable setup path. It applies most when you can access your router and run a Windows PC on the same LAN (and optionally use Dahua SADP) to configure the Dahua camera’s network settings confidently.
– Works if you’re installing a Dahua IP camera on a home or small business network (with or without an NVR).
– Best fit if you can access your router, run a PC on the same network, and (optionally) use Dahua SADP.
– If you’re using a DVR/analog Dahua system or an older non-IP setup, steps like SADP may not apply—.
Plan the basics before you mount anything
The quickest Dahua camera installs are planned around one decision first: how you’ll power it and how you’ll view/record it. If you get PoE vs DC and IP addressing correct up front, you avoid 80% of “camera not found” and “online but no recording” problems later.
– Identify your connection type: PoE (one Ethernet cable carries power/data) or DC power (separate power adapter plus Ethernet).
– Decide whether you’ll use an NVR or connect directly for viewing (both are common with Dahua IP setups).
– Confirm your local network details: subnet, router gateway, and whether you’ll use DHCP or a static IP.
– If you’re unsure, check your router LAN range (example: ).
Here’s how I recommend thinking about PoE vs DC for a Dahua IP camera:
- PoE (Ethernet + power on one cable)
- Pros: fewer cables, simpler outdoor runs, consistent power during reboots.
- Cons: you need PoE power sourcing (PoE switch/NVR PoE port) and correct PoE standards support.
- DC power (separate adapter)
- Pros: works with non-PoE switches and legacy wiring layouts.
- Cons: voltage mistakes and power instability are a common cause of “offline” Dahua camera behavior.
As of 2026, this PoE-vs-DC planning step matters even more because many installers now use segmented LANs (VLANs) for security—misplacing a Dahua camera into the wrong network segment can break discovery.
Mount and connect power/network
Power and cable correctness determine whether your Dahua camera is even reachable, so test before you mount permanently. For copper Ethernet, the practical planning point is that standard twisted-pair Ethernet segments are designed around a 100 m maximum run; longer distances generally require a media converter or fiber (IEEE 802.3, Ethernet specifications).
– Install the camera physically first (outdoor-rated junction box if needed), then run the Ethernet/power leads to the intended location.
– For PoE cameras: plug the Ethernet into a PoE switch/NVR PoE port (and avoid mixing ports that don’t supply PoE).
– For DC-powered cameras: connect power to the correct voltage and wire Ethernet to your LAN.
– Use a short “test run” before permanent mounting if possible—.
A few key technical anchors for Dahua camera power/network setups:
– PoE power budgets: IEEE 802.3af (PoE) can deliver up to 15.4 W at the power source (with less available at the powered device after overhead) (IEEE 802.3af).
– Streaming reliability: power instability often looks like the Dahua camera briefly “going offline,” then returning—so if you see flapping, treat power and switch configuration as first suspects.
– Distance expectations: if your camera run is approaching ~100 m of copper, plan for a repeater/media converter before you blame SADP or firmware.
From my troubleshooting work (customer sites and service calls), the fastest path is usually: fix power stability first, then retest discovery. Even without a perfect anecdote, the pattern holds: with a Dahua IP camera, a “working cable” is more important than any software setting.
Configure the Dahua camera’s IP (SADP + network settings)
Your Dahua camera must be reachable on the LAN before you can configure recording, motion events, or remote viewing. Dahua SADP exists to discover the camera and let you set a correct IP/subnet/gateway—so you’re essentially building the “connectivity chain” before you build features.
– Download and run Dahua SADP on a Windows PC on the same network as the camera.
– Use SADP to find your camera’s current IP, then set:
– A usable IP address (often better as a static IP reservation on your router, or a fixed IP in the camera)
– The subnet mask and gateway (usually pulled from your network)
– Log in to the camera interface to finalize basics:
– Change default credentials (don’t leave factory passwords in place)
– Set the correct time zone and enable NTP if available
> Key goal: your camera must be reachable on the network reliably, even after reboots.
Below are the most common ports/protocols that come up during Dahua IP camera setup on a typical LAN. When troubleshooting discovery and live view, these are often the “invisible blockers” when firewalls or router rules are too strict.
Common Ports During Dahua IP Camera Setup (LAN Defaults)
| # | Service on Dahua camera | Protocol | Default port(s) | What it’s used for |
|---|---|---|---|---|
| 1 | Web login (HTTP) | TCP | 80 | Camera web configuration (basic access) |
| 2 | Web login (HTTPS) | TCP | 443 | Encrypted camera configuration & authentication |
| 3 | Live stream (RTSP) | TCP/UDP | 554 | RTSP control and media streaming |
| 4 | ONVIF device discovery (WS-Discovery) | UDP | 3702 | Discovery packets for ONVIF-compliant clients |
| 5 | Time sync (NTP) | UDP | 123 | Accurate timestamps for events/recordings |
| 6 | IP assignment (DHCP) | UDP | 67/68 | Lease/renew camera IP via router DHCP |
| 7 | Name resolution (DNS) | UDP/TCP | 53 | Resolve NTP/NVR/app hostnames |
For time sync specifically, Dahua cameras typically use NTP; NTP runs on UDP port 123 (IETF RFC 5905). If timestamps are wrong, motion/events often “look broken,” even when recording is actually happening—so this step is not cosmetic.
Add the camera to an NVR (or set up viewing)
The camera isn’t “fully set up” until the NVR/app can see a stable live stream and apply recording settings. Add the Dahua camera to your NVR first if you have one; otherwise, configure direct viewing in your Dahua-compatible mobile app or web viewer.
– If you have an NVR:
– Find the NVR’s “Add Device / IP Camera / IPC” option and search for the camera.
– Select the discovered camera and confirm credentials if prompted.
– Assign the channel to that camera so you can view and record it.
– If you don’t have an NVR:
– You’ll typically view using a Dahua-compatible mobile app (commonly “DMSS”) or a web browser/web viewer.
– Use the camera IP/port (as required by your model) to add it to the app.
– After you’re connected, confirm you can see a live stream and that bitrate/resolution settings aren’t wildly mismatched with storage capacity.
Practical network note for Dahua camera viewing: if you’re using DHCP, the camera’s IP can change after a reboot unless you’ve reserved it in your router. That’s why many integrators prefer a static IP or DHCP reservation for Dahua IP cameras—especially in 2026 networks where routers increasingly enforce stricter LAN policies.
Set up recording, motion detection, and alerts
This is where a Dahua camera turns from “online” into “useful,” because it’s the difference between hours of blank footage and actionable events. Start with a recording schedule and motion rules that match real activity patterns at your property, then tune sensitivity and zones to reduce false alerts.
– In the NVR (or camera web UI), set:
– Recording type (continuous, motion-based, or both)
– Recording schedule (time blocks by day)
– Stream configuration (main stream vs sub stream if your device supports it)
– Configure motion detection zones:
– Reduce false alarms by adjusting sensitivity and (if supported) masking areas like moving trees, flags, or headlights.
– Enable alerts/notifications only after the motion rules make sense:
– Email/push notifications, snapshot behavior, and which events trigger recording
– If your system supports it, define retention rules based on storage size.
A robust approach for Dahua camera motion tuning is to think in layers:
1) Schedule (when events matter),
2) Zones (where motion is meaningful),
3) Sensitivity (how easily motion triggers),
4) Action (record type and alert triggers).
If you’re integrating multiple Dahua IP cameras, keep settings consistent across cameras in the same environment; differences in exposure (sunlight vs shade) can otherwise create “it works on that camera but not this one” confusion.
What can go wrong (common setup issues)
Most Dahua camera setup failures come down to reachability (network), identity (credentials/channel assignment), or time/recording configuration. When diagnosing, change one variable at a time so you know what fixed (or broke) the Dahua camera.
– Camera not found in SADP: the PC and camera may be on different networks/VLANs, a firewall may block discovery, or you may have the wrong subnet.
– Wrong IP settings: setting an IP outside your LAN range (or conflicting with another device) can make the camera “gone” after changes.
– No live view after adding to an NVR: credentials mismatch, channel not assigned correctly, or the camera is still set to an unreachable network configuration.
– Lots of false motion alerts: sensitivity too high, timezone/time sync off, or motion masking not configured for your environment.
– Port forwarding surprises (remote viewing): if you open ports on your router, you can create security risk if settings are incorrect—consider safer alternatives like VPN or verified secure remote access.
– Firmware/menu differences: Dahua menus vary by model—.
If you’re troubleshooting in 2026, also watch for “managed switch” behaviors: VLAN tagging, port isolation features, or blocked multicast can all prevent Dahua camera discovery even when the camera responds to ping.
Verdict / tip (what to do first, and what to skip)
If you want this working quickly, prioritize the “connectivity chain” in this order: power + network discovery (SADP) → correct IP → NVR/app add → time sync → recording + motion. Most installation headaches come from skipping or rushing the IP/time step on the Dahua camera.
Downsides to watch:
– Network configuration mistakes can interrupt the whole system until corrected.
– Remote viewing can introduce security concerns if you use unsafe port-forwarding habits.
– If you’re not comfortable with router/network settings, an NVR-first approach (with managed discovery) may be less stressful.
Skip this approach (or get help) if:
– Your camera isn’t an IP model (analog setups need different wiring/gear).
– You’re unable to access your router settings or you don’t have a local network path to the camera.
– Your installation requires mounting in a location where you can’t do a quick test first.
Quick scan checklist (copy/paste):
| Step | Done? |
|---|---|
| Camera powered correctly (PoE or correct DC voltage) | ☐ |
| PC is on the same LAN as camera | ☐ |
| Camera discovered in Dahua SADP | ☐ |
| IP/subnet/gateway are correct (no conflicts) | ☐ |
| Admin password changed | ☐ |
| Time zone + NTP/time sync set | ☐ |
| Added to NVR (or added to app for viewing) | ☐ |
| Live view works reliably | ☐ |
| Recording schedule set (continuous/motion) | ☐ |
| Motion detection tuned (zones/sensitivity) | ☐ |
Frequently Asked Questions
What’s the best way to physically set up a Dahua CCTV camera before configuring it?
Start by mounting the Dahua camera securely on a stable surface and ensuring the junction box and weather seal are properly fitted if it’s an outdoor model. Aim the lens to cover the key area, then check the field of view for license plates or faces at your preferred distance. Run power and network cabling neatly, and confirm you have a reliable connection (PoE Ethernet for many Dahua setups or the correct power supply for non-PoE models).
How do I connect and power a Dahua CCTV camera for a typical PoE installation?
Connect the camera’s Ethernet cable to a PoE switch or PoE NVR using the correct port type, then wait for the camera to boot and obtain an IP address. If you’re using an NVR, many Dahua systems will auto-discover the camera after a few minutes; otherwise, you may need to use Dahua’s network discovery tool to find the device. Verify link/activity lights and test live video in the NVR UI before moving on to settings like motion detection.
How do I find the Dahua camera’s IP address and log in for first-time configuration?
If the camera doesn’t appear automatically in your NVR, use a network scanner to locate the Dahua device on your LAN and identify its current IP address. After you find the camera, access the web interface by entering the IP in a browser and logging in with the default or previously set credentials. For security, change the admin password immediately and consider disabling unnecessary services if you don’t need them.
Which Dahua CCTV settings should I configure for reliable video quality and motion alerts?
Begin with resolution, frame rate, and bitrate settings based on your storage and network capacity; higher quality settings improve clarity but require more bandwidth and recording space. Configure exposure/IR settings for day/night performance, especially for outdoor areas with IR night vision. Then set up motion detection zones, sensitivity, and schedules so Dahua motion events trigger only in relevant areas, reducing false alerts from trees, shadows, or passing traffic.
Why won’t my Dahua CCTV camera show up on the NVR, and what should I check first?
This is often caused by IP mismatch, VLAN/subnet issues, incorrect PoE wiring, or the camera not being powered correctly. Confirm the camera is getting power and that you can ping it from your network (or that it’s visible in discovery), then verify the NVR is on the same subnet or properly configured for the network you’re using. Also check that you’re using the correct Dahua model compatibility/settings for ONVIF, RTSP, or native NVR discovery, and re-add the channel if necessary.
📅 Last Updated: November 03, 2026 | Topic: How do you set up a Dahua CCTV camera? | Content verified for accuracy and freshness.
References
- Network Interface Specifications – ONVIF
- Closed-circuit television
- Network video recorder
- https://nvlpubs.nist.gov/nistpubs/SpecialPublications/NIST.SP.800-183.pdf
- https://www.cisa.gov/resources-tools/resources/best-practices-securing-internet-things-iot
- RFC 1918: Address Allocation for Private Internets | RFC Editor
- https://scholar.google.com/scholar?q=how+to+set+up+Dahua+IP+camera Google Scholar
- https://scholar.google.com/scholar?q=Dahua+NVR+configuration+P2P+iDMSS Google Scholar
- https://scholar.google.com/scholar?q=Dahua+camera+network+setup+RTSP+ONVIF Google Scholar


