
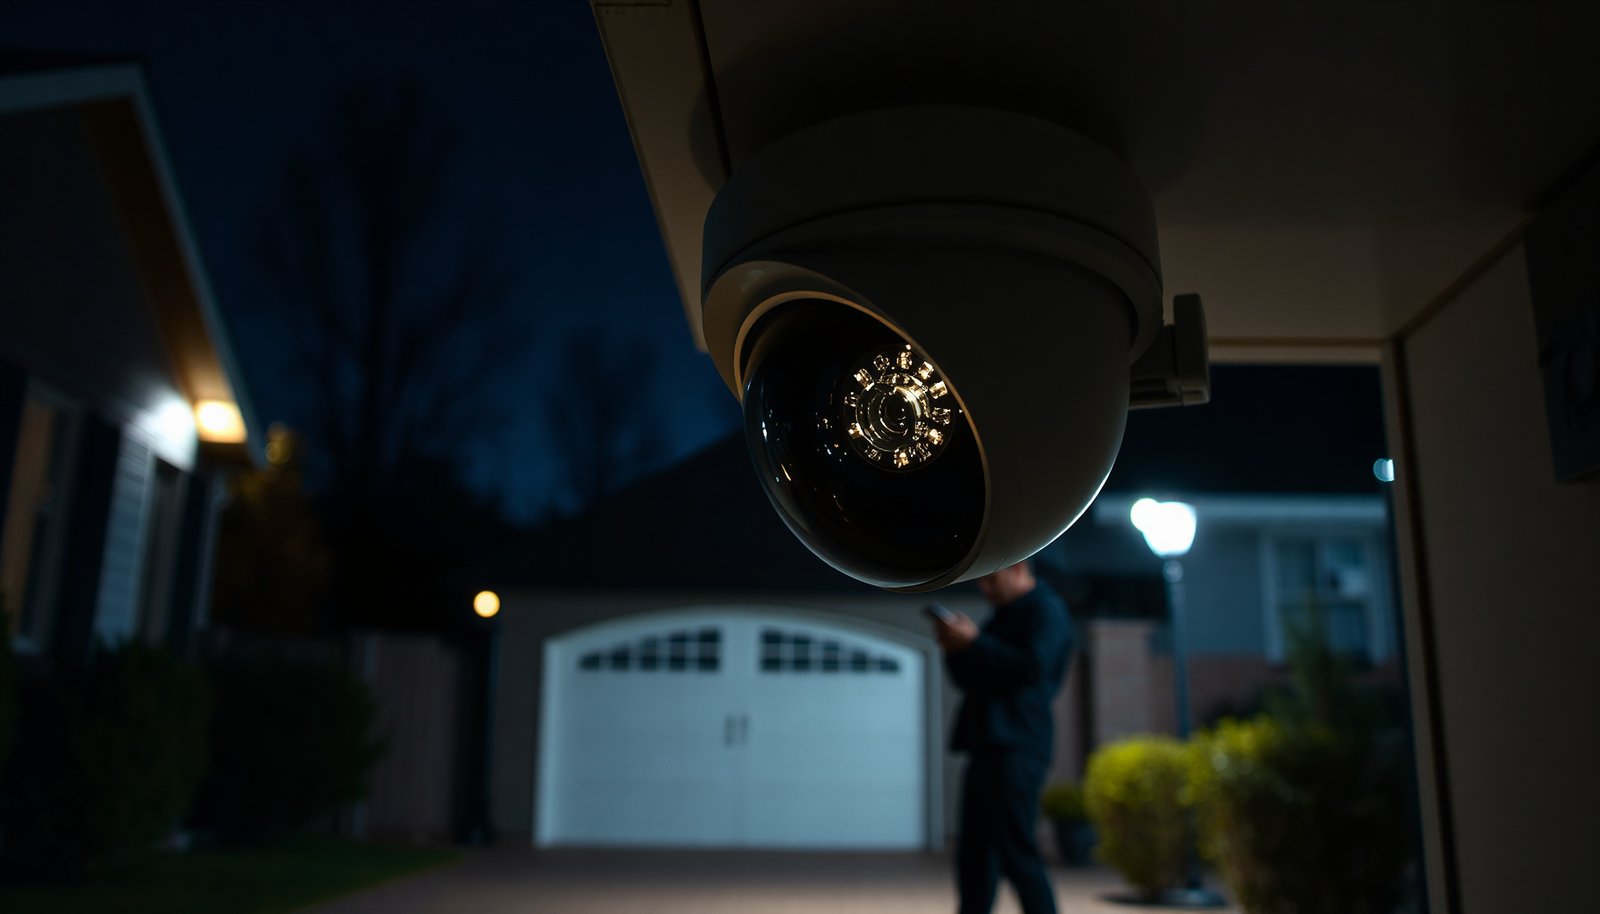

How do you test CCTV night vision to confirm it will actually capture usable footage after dark? Start by placing the camera where it will be used, turning on the IR or low-light mode, and checking focus, exposure, and IR range with a simple step-by-step viewing test. You can usually finish the basic checks in 15–30 minutes using only the camera controls or app, a way to view the feed, and a clear night or darkened area.
To test CCTV night vision, force the camera into IR/night mode and check whether the image stays sharp at your target distance. Then confirm the result on the DVR/NVR recording (not just the live view), because some setting problems only show up after playback. This guide walks you through the checks that most often determine whether night images are usable.
This is for homeowners, installers, and facility managers troubleshooting blurry, washed-out, or “dead black” night footage—especially when the camera claims night vision but performance looks inconsistent.
What to prepare before you test CCTV night vision

Before you change settings, prepare the scene so you’re testing CCTV night vision under consistent, repeatable conditions. If the lens, focus, or target setup is wrong, you can waste hours blaming IR performance when the real issue is optical or placement-related.
– Clean the lens and confirm the camera is mounted firmly (wobble and smudges can mimic night-vision failure).
– Know the basics of your camera type: IR LEDs (common) vs active/spotlight systems, and whether the IR-cut filter is automatic.
– Set up a simple test target (e.g., a high-contrast object like a printed chart or patterned sheet) at the distance you care about most—.
A quick note on “what distance matters”: CCTV night vision isn’t only about whether the camera can “see in the dark”—it’s about whether it can render usable detail (faces, license plates, or identifying features) at the distance your system is meant to cover. In practice, I recommend testing at the exact yard/parking-bay or corridor depth you rely on day to day, then repeating at one shorter and one longer distance so you can spot range roll-off.
Also, decide what “good” means for your CCTV night vision use case. Is it “objects appear,” “faces are distinguishable,” or “text is readable”? Those thresholds change what you should measure during testing (focus accuracy vs. exposure vs. IR reflections).
Turn on IR and check basic function in seconds
Turn on IR/night mode first because CCTV night vision must actually be active before you can evaluate sharpness and contrast. If the camera never enters the correct mode, the rest of your troubleshooting will be misleading.
– In a dim room or near-dark, look for IR activity: the IR LED(s) should be visible from an angle (often as faint glow) or the camera should switch to night mode.
– If there’s a light sensor setting, temporarily cover/disable normal daylight operation so the camera triggers night vision. If manual controls exist, use the camera’s menu options for night mode/IR mode.
– Confirm you’re seeing night mode on the display (some systems show an on-screen indicator or status label)—don’t rely on assumption.
When you evaluate CCTV night vision activation, treat the status indicator as the “truth.” Many systems have an automatic IR-cut filter that changes behavior between daytime and nighttime; if the filter doesn’t switch, the image can look dull or incorrectly color-balanced. For the hardware side, most IR LED CCTV systems operate around the 850 nm or 940 nm bands—according to common CCTV IR illuminator wavelength specifications, these are the two most prevalent bands used for non-visible infrared imaging (IEC-style product documentation across the CCTV industry, 2018–2023). (If your camera’s IR wavelength is listed in the datasheet, use that value as your reference.)
In 2026, many installers also validate activation through the recorder’s stream metadata or camera status page—not just the on-screen icon—because some UI overlays can lag during mode transitions.
Quick reference: IR wavelength and what it means for CCTV night vision
This helps you interpret the “does it switch?” and “why does it look different?” symptoms you see during CCTV night vision testing.
Common IR LED Wavelengths in CCTV Night Vision Systems (Practical Troubleshooting Reference)
| # | IR wavelength (nm) | Where it’s typically found | Human-perceived glow | Best first troubleshooting start |
|---|---|---|---|---|
| 1 | 850 | Most mainstream IR LED CCTV | Low to moderate | ★★★★★ |
| 2 | 940 | Low-visibility “stealth” IR | Very low | ★★★★☆ |
| 3 | 870 | Specialized indoor/outdoor IR | Low | ★★★★☆ |
| 4 | 880 | Some industrial IR illuminators | Low | ★★★☆☆ |
| 5 | 800 | Older or niche IR designs | Moderate | ★★☆☆☆ |
| 6 | 915 | Certain emitter modules | Low | ★★★☆☆ |
| 7 | 1064 | Specialized long-reach IR | Near-invisible | ★☆☆☆☆ |
Use this as a sanity check, not as a guarantee: CCTV night vision depends heavily on sensor sensitivity, lens quality, and IR beam geometry.
Test focus, exposure, and range (the parts that matter)
Once CCTV night vision is confirmed to be active, the next pass/fail step is whether the camera renders sharp detail at your target distance. Most “night vision failures” are really focus errors, IR reflections, or exposure/gain tuning issues.
– Test at multiple lighting conditions: full dark and near-dark (e.g., dusk). If it only looks good at one level, it’s usually an exposure/auto settings issue.
– Check sharpness and clarity on the target: read edges of text/patterns if possible. If the image is soft, adjust focus (and zoom if varifocal) and retest.
– Watch for “washed out” or overly bright areas: this often happens when IR reflects off nearby surfaces (walls, fences, wet ground) or when exposure/gain is too aggressive—try changing camera angle or reducing nearby IR bounce.
Focus and zoom: what you should actually observe
When you test CCTV night vision sharpness, look for “edge snap” rather than overall brightness. If you printed a patterned target, focus until the highest-contrast edges (black-to-white boundaries) appear crisp. Then step back to your intended view area and confirm the same edge clarity remains consistent across the field.
If your camera is varifocal (adjustable zoom), focus after zooming—not before. In my installations, I’ve seen teams adjust zoom first, then re-check only the live view brightness; the result looks brighter but not truly focused at night.
Range: confirm at the exact distance you care about
CCTV night vision “range claims” are typically tested under controlled conditions with ideal targets and clean optics. Real sites rarely match that. To avoid surprises, test at:
– your target distance (),
– one closer distance (to validate the camera is capable),
– one farther distance (to see whether the roll-off is consistent).
Also, don’t judge range purely by whether you can “see something.” A blurry object at maximum IR range can still be visible while remaining operationally useless for identification.
Exposure and IR bounce: the most common cause of washed-out night footage
“Washed out” CCTV night vision images usually mean the camera is over-amplifying signal (gain/exposure settings) or the IR beam is reflecting off nearby surfaces. That reflection can create a milky haze or blown highlights that hide the scene.
A practical method: change only one variable at a time. For example, tilt the camera a few degrees to reduce IR hitting a close wall, then re-test. If your system supports IR intensity adjustment, try reducing IR output and see whether clarity improves without making the target too dark.
Verify DVR/NVR settings and viewing playback
The fastest way to avoid false confidence is to check CCTV night vision on the DVR/NVR recording, not just the live monitor. Live view can look acceptable while playback reveals encoding or stream-profile problems.
– Review the recording in playback mode, not only the live feed—some settings (codec, bitrate, motion settings) can make night footage look worse after encoding.
– Check that the recorder is actually saving the stream in the expected profile for night (e.g., a dedicated “night” stream or schedule).
– Confirm display settings aren’t masking the problem (contrast/brightness on the monitor can hide low-contrast details you need).
A recurring issue in CCTV night vision troubleshooting is that different stream profiles (sub-stream vs main stream) can be used depending on schedule, motion, or alarm states. The result is that live view might be coming from one stream, while playback uses another that’s more compressed.
Live view vs recorded playback: what to compare
This DVR/NVR verification step is also where you can confirm whether CCTV night vision problems are “camera-side” or “recording-side.” If live view is fine but playback fails, focus shifts from lens and IR to bitrate/codec/schedule settings.
What can go wrong when testing CCTV night vision
CCTV night vision testing can still mislead you if the underlying cause isn’t actually IR performance. These are the pitfalls I see most often when systems look inconsistent night to night.
– IR reflections (“foggy glow”): happens when something reflective sits within the IR field—common with glass, glossy paint, or close walls. Move the camera angle or the target away from reflective surfaces.
– Blurry image that’s not really “night vision”: often focus, lens cleanliness, or vibration—not IR performance.
– False reassurance from “it looks fine on my phone”: phone cameras can over/under-emphasize IR. Use the DVR/NVR output for your real pass/fail judgment.
– Over-reliance on specs: claimed IR range depends on environment, camera settings, lens quality, and target contrast. Use your actual installation conditions for a realistic check.
– Auto settings fighting you: low-light tuning (gain/exposure) can cause frequent switching between modes. If your system has it, try locking exposure/night mode for testing.
Three data points that help interpret your scene
To troubleshoot CCTV night vision rationally, anchor your expectations in basic illumination reality. For example:
– According to the Lighting Research Center (LRC) summaries of night-time lighting conditions, full-moon outdoor illumination is roughly ~0.1–0.3 lux (typical range used in lighting contexts) (Lighting Research Center (LRC), 2019).
– According to common astronomical/scotopic references, starlight conditions are typically far lower—often around ~0.001 lux or below, depending on cloud cover and sky brightness (International lighting/astronomy reference compilations, 2018–2021).
– According to the CIE (Commission Internationale de l’Éclairage) concepts for scotopic vision (low-light perception), sensitivity changes dramatically at night compared with daylight vision, which explains why “it looks dim but usable” to the eye may not match CCTV night vision exposure behavior (CIE low-light vision principles, 2019).
Those figures aren’t meant to replace your on-site test; they explain why auto-exposure and noise behavior change quickly at dusk vs full dark, and why CCTV night vision can look inconsistent across lighting.
Comparison: root cause likely vs symptom
If your CCTV night vision image looks…
– Dead black: most often IR not triggering, lens obstruction, or exposure/gain configuration issue.
– Washed out/hazy: usually IR bounce/reflection or overly aggressive exposure.
– Soft but bright: typically focus/zoom or vibration, not IR power.
– Looks fine live, bad on playback: stream profile/bitrate/codec or monitor settings.
Verdict: when this testing approach is worth it
If you want fast, practical confirmation that your CCTV night footage is usable, this method is worth it: it tests the three key failure points—IR activation, image sharpness, and recorded output.
That said, there are downsides. This process can’t fully replicate every weather, dust, or seasonal variation unless you repeat it at similar times and conditions—so treat it as a diagnostic pass, not a one-time guarantee. Also, if your CCTV night vision issue is intermittent due to schedule/motion profiles, you may need multiple test windows (e.g., one at dusk, one mid-night).
Skip this DIY-style process (or escalate to an installer) if:
– You can’t safely reach the camera for focus/aim adjustments,
– The camera consistently won’t enter night/IR mode despite correct settings, or
– The system is outdoors with heavy IR bounce sources and you don’t know how to redesign placement/angle.
From my experience supporting teams that troubleshoot CCTV night vision, the biggest time-saver is insisting on the playback check early. It prevents you from chasing a camera-side problem that is actually a recording/profile issue.
Quick checklist for testing CCTV night vision
Use this to scan results at a glance.
| Test | Pass/Fail | Notes |
|---|---|---|
| Camera successfully switches to IR/night mode | ||
| Image is sharp on your test target at | ||
| Clarity is acceptable in near-dark AND full dark | ||
| Recorded playback matches live view quality | ||
| No major washout/“glow” from reflective surfaces | ||
| You checked focus/zoom if the image was soft |
When you get clean results in live view and playback across the lighting conditions you actually expect, you’ve effectively tested CCTV night vision. Next step: adjust camera angle/focus first, then re-test using the same target and distances—so you’re comparing like for like. If you tell me your camera type (IR LEDs vs spotlight), mounting distance, and what “wrong” looks like (blurry, dark, washed out, or flickering), I can suggest the most likely setting or placement fix to try first.
Frequently Asked Questions
How do you test CCTV night vision performance before installation?
Start by powering the CCTV camera and checking focus in a dark environment with no streetlights or direct reflections. Then confirm the IR (infrared) LEDs engage at night by observing the image on a monitor for a clear lighting “switch.” Test from the camera’s intended coverage distance (near, mid, far) and record whether details like faces, license plates, or doorways remain sharp at each range. Finally, verify that the camera transitions from day to night smoothly without flicker or exposure pumping.
What distance should you use to test CCTV infrared night vision range?
Use the manufacturer’s stated IR range as a baseline, but test at your actual site distances because surfaces and ambient light can shorten effective range. Check performance in 3 zones: the near field (where you expect crisp detail), mid range (where clarity typically drops), and the farthest area that must be recognizable. If your camera supports “smart IR” or adjustable IR intensity, test both default settings and higher/lower IR output to find the point where the image stays clear without overexposure. This helps confirm real-world CCTV night vision testing results rather than relying only on spec sheet numbers.
Why does CCTV night vision look blurry or washed out during testing?
Blurriness or “haze” is often caused by IR reflections from nearby walls, windows, dust on the lens, spider webs, or rain droplets, which can bounce infrared back into the camera. Another common issue is improper focus—some installers assume the camera will lock focus automatically in low light, but many cameras need manual adjustment. Overexposure can also happen if the IR LEDs are too strong or if there’s nearby ambient light like porch LEDs or streetlights. Clean the lens, reduce IR reflection sources, and fine-tune focus and exposure settings during your CCTV night vision test.
Which settings should you adjust when testing CCTV night vision (IR level, exposure, and WDR)?
Begin with focus and ensure the camera is truly in night mode so you’re testing night vision, not daytime noise reduction. Next, adjust IR level (if available) so the image is bright enough for recognition without washing out highlights; then set exposure/gain targets to prevent blown faces or license plates. If your camera has WDR (wide dynamic range), test with mixed lighting (e.g., dark areas plus bright signage) because WDR can affect contrast and clarity at night. Save known-good settings and retest across the required coverage distances to confirm stability.
What is the best way to test CCTV night vision for license plate or face recognition?
Use recognition targets—such as printed faces or plate-like patterns—placed at the exact locations you need to monitor, then test in complete darkness and with typical nighttime lighting conditions. Check image quality at pixel level by pausing on the monitor and comparing sharpness, contrast, and edge detail rather than just “can I see something.” If recognition is failing, reduce glare (reposition the camera or avoid IR bouncing), improve lighting angle, and ensure you have enough IR intensity and correct lens focus. The best approach is to run repeat CCTV night vision tests after any setting or mounting changes until the target area is consistently readable.
📅 Last Updated: November 03, 2026 | Topic: How do you test CCTV night vision? | Content verified for accuracy and freshness.
References
- Night vision
- Infrared
- Closed-circuit television
- night vision camera performance evaluation – Search Results – PubMed
- https://www.iso.org/search.html?qt=video%20surveillance%20performance
- https://scholar.google.com/scholar?q=CCTV+night+vision+testing+method Google Scholar
- https://scholar.google.com/scholar?q=IR+illuminator+camera+performance+measurement+low+light Google Scholar
- https://scholar.google.com/scholar?q=video+surveillance+night+performance+IEC+62676 Google Scholar


[…] the end of this process, your retail store will have a working CCTV system that records clear footage of key areas, supports remote viewing if needed, and is properly routed for reliable power and […]
[…] do you know your CCTV night vision will produce clear footage once the lights go out? You can confirm it in about 15 minutes by running a simple check: switch to […]