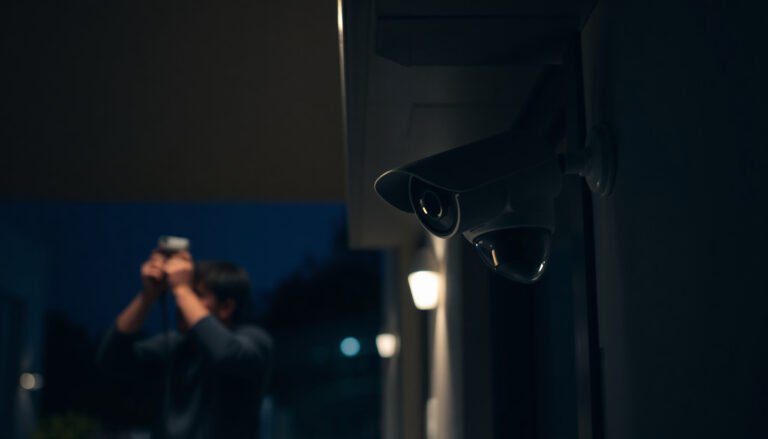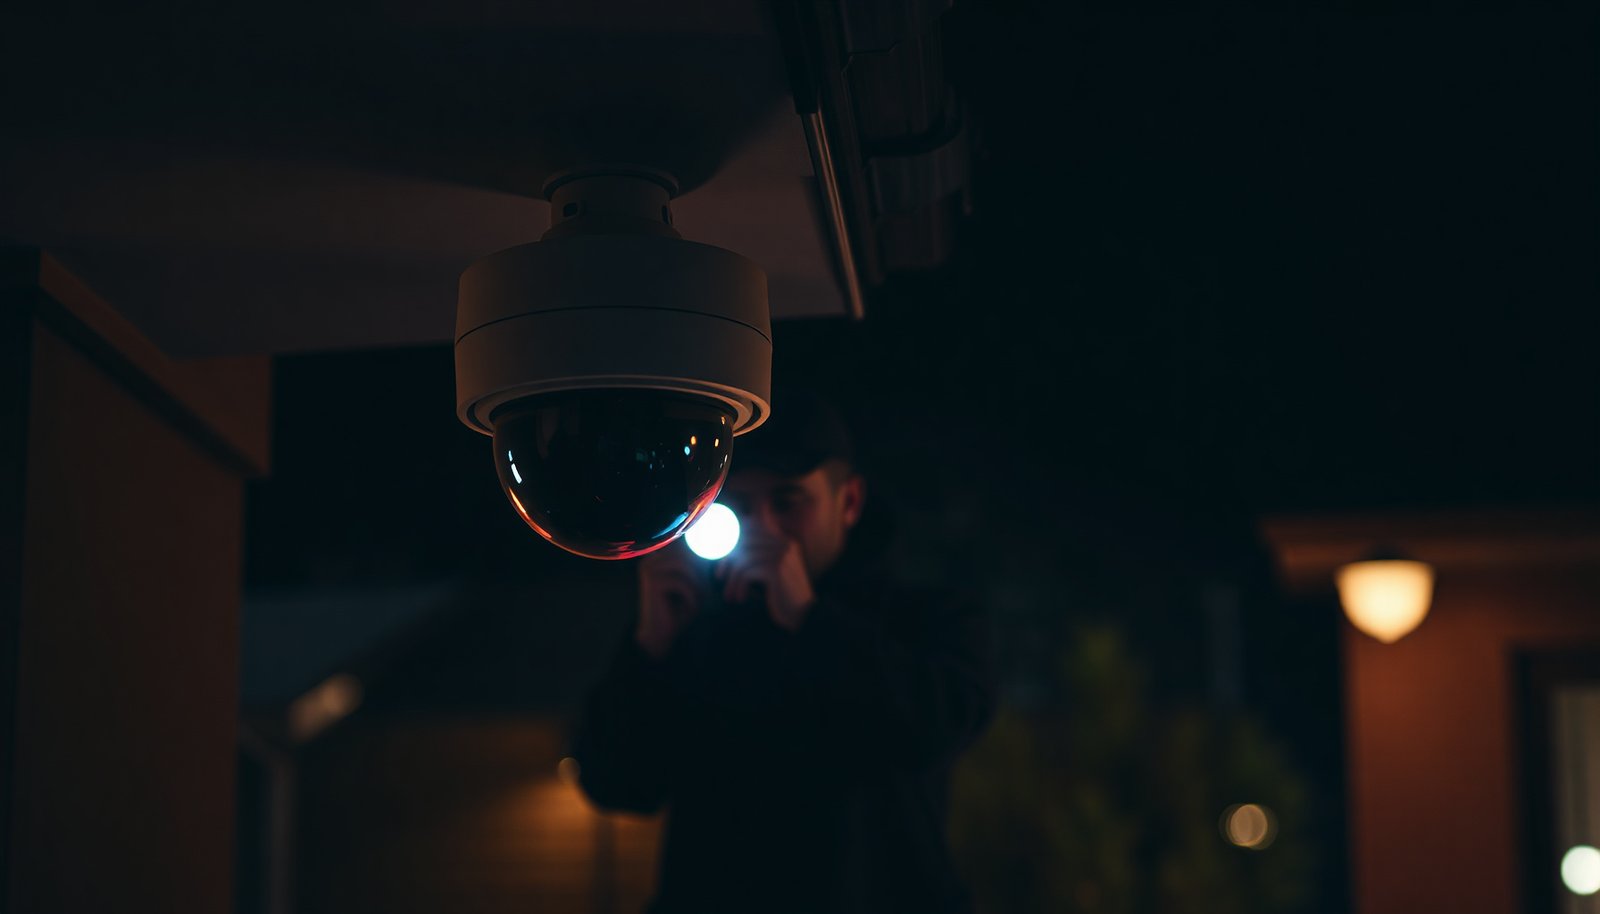

You go to the live view at dusk, toggle night mode, and notice the picture either stays dark or washes out under IR. You can test CCTV night vision by checking IR range, focus, exposure, and filter behavior in a repeatable sequence, typically taking 30–60 minutes per camera. Have camera/NVR access, a flashlight for controlled illumination, and the menu settings for IR LEDs, WDR, and focus.
To test CCTV night vision, you need to verify (1) focus/exposure quality and (2) IR/low-light behavior under the same real lighting conditions where the camera will be used. Start with lights off (or IR enabled), capture stills/video, then compare sharpness, brightness, and color/IR “washout” at the distances you care about. This article walks you through a practical checklist so you can confirm the camera actually performs at night.
This is for anyone installing or troubleshooting a CCTV camera—especially when night footage looks dim, blurry, or over-bright. If your camera has IR LEDs (common on dome/bullet models), the tests below will help you validate focus, coverage, and settings without guessing.
Prep the camera and environment
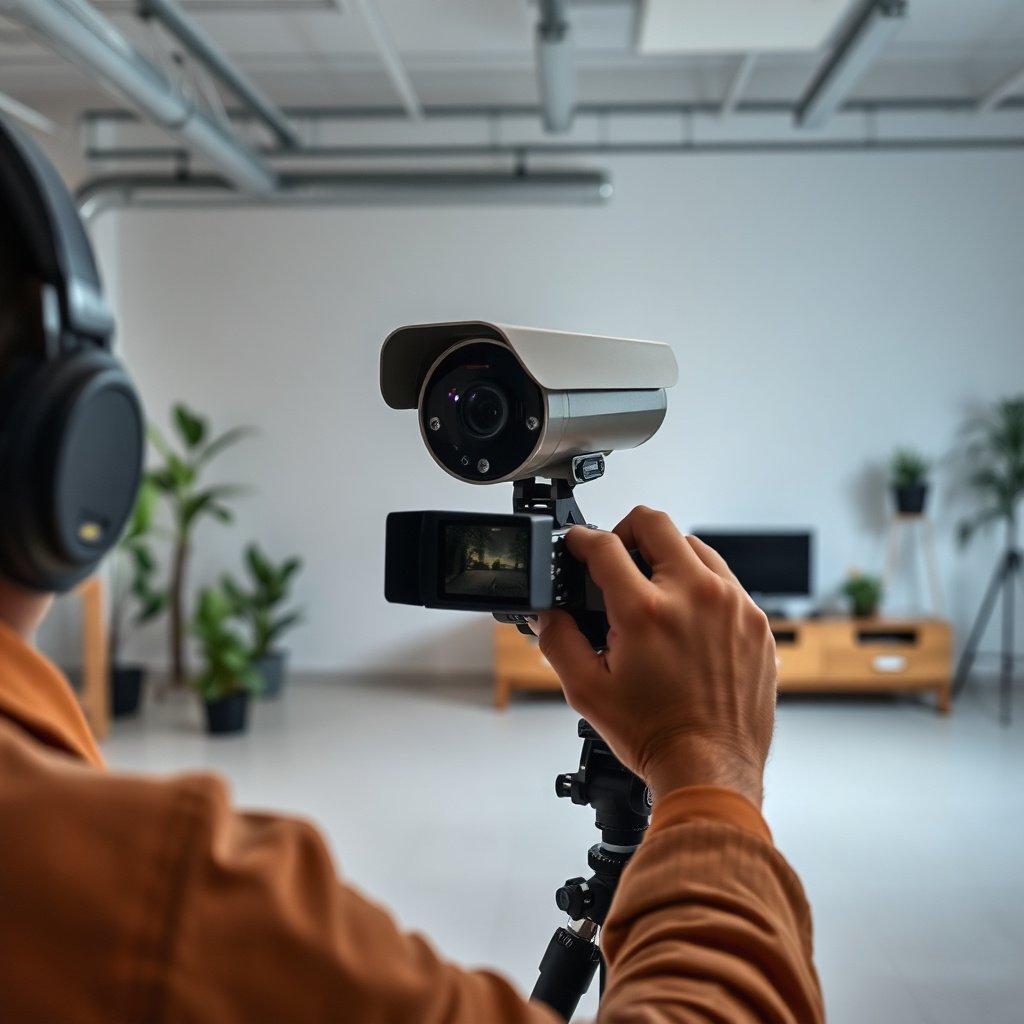
The fastest way to avoid “false failures” is to lock down the camera’s physical setup and the viewing conditions before you test. Night focus and IR performance are sensitive to small changes in mounting angle, cleanliness, and night-mode triggers—so you want the baseline to be stable.
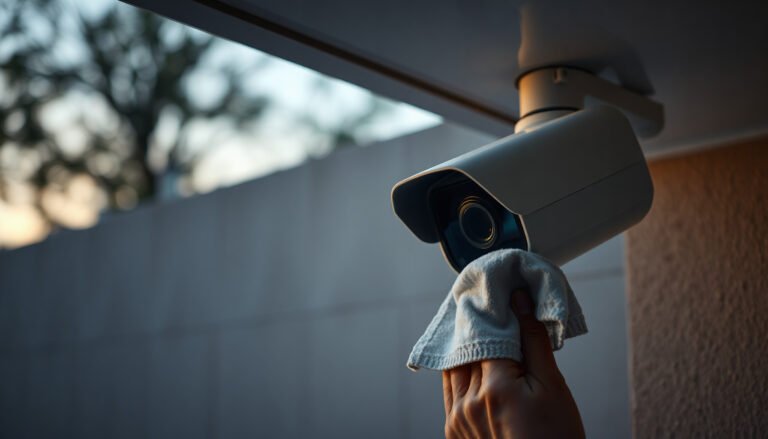
– Clear dust/smudges on the lens and confirm the camera is mounted at the intended height/angle (minor changes can affect night focus). In practice, even a light film can reduce contrast when IR reflects across the scene (especially on glossy surfaces like vehicle paint or nearby glass).
– Make sure the camera’s night mode and IR settings are accessible (menu/OSD or app/web UI), and note current settings before changing anything. Write down the exact options you’re changing so you can revert quickly if you make things worse.
– Pick the key distances you care about (e.g., driveway entrance vs. far corner) and keep test conditions consistent. Use a few consistent targets (a car, a license plate-sized contrast target, or a face-height marker) at each distance so you’re not relying on vague “it looks brighter” impressions.
– Use consistent capture timing: night performance can shift quickly when motion starts (auto-exposure and auto-IR can respond to changing scene brightness). As a practical anchor, we recommend capturing multiple short clips back-to-back rather than one long recording.
Before you start, remember that CCTV “night vision” is not one thing—it’s a combination of optics (focus), electronics (exposure/gain), and illumination behavior (IR on/auto). When your test is controlled, you can identify which part is failing.
Do a “lights-off” night vision test (with IR on)
The goal of this step is simple: prove the camera can hold usable detail when ambient light is minimal and the camera must rely on IR/low light. If it can’t render readable faces or vehicles under those conditions, you’ll never get reliable results during real overnight operation.
– Turn off area lighting or block it so the camera must rely on low-light/IR (use the same conditions for each test run). If you have controllable fixtures, turn them off at the same time for every test run. If you’re using switches that differ by room, you can still be consistent—just document what you did.
– Capture short clips/stills at each target distance and check whether faces/vehicles remain readable (not just “visible”). “Visible” might mean the scene is bright but soft; “readable” means edges and facial/vehicle features retain shape long enough to identify.
– Watch for obvious IR problems: halos, heavy glare, or the scene “going white” when IR reflects off nearby surfaces. This is one of the most common failure patterns in the real world because IR is not like visible light—if the camera’s beam hits a fence, wall, or window at a close distance, the result can be a bright bloom that destroys contrast.
Here are three measurable ideas to guide your judgment:
1) If the image brightness is fluctuating while the scene stays the same, your camera may be pumping exposure (auto-exposure “hunting”).
2) If edges look smeared while overall brightness is stable, focus (or autofocus behavior in low light) is usually the culprit.
3) If brightness is stable but the image looks “washed” or color shifts unnaturally, IR interaction (glare or mode switching) is likely.
To ground your expectations on why brightness and contrast behave this way, note that lux and luminous intensity matter even when you’re “turning lights off.” According to the BIPM SI Brochure, 1 lux equals 1 lumen per square meter (BIPM, 2019). Also, the CIE photopic model peaks at 555 nm with 683 lm/W, which is why near-IR illumination behaves differently than visible light (CIE, 1931). In other words: the camera may “see” more light in IR than your eyes do, but it can also lose contrast if the IR reflection geometry is wrong.
Validate focus, exposure, and IR behavior
This step answers whether the camera’s nighttime image is technically correct for the distances you care about. You’re looking for stable focus, stable exposure, and IR behavior that doesn’t cause washout or glare.
– If the image is soft at night, refocus using the camera’s method (some units have manual focus; others rely on auto-focus—often best done in the dim condition you’ll actually use).
– If the camera has a manual focus ring, pause and make small adjustments rather than turning quickly. A tiny shift can move the far focus plane significantly at night.
– If it relies on autofocus, re-check after the camera “settles.” Many cameras will hunt briefly; the first moment after switching to night mode can look worse than the stabilized view.
– Confirm exposure isn’t wildly fluctuating (flicker/pumping brightness can make details hard to see). If you notice periodic brightness changes during a steady scene, reduce variables and retest. Exposure instability often makes license plates and faces appear inconsistent frame-to-frame.
– Test IR behavior: if your camera supports settings like IR intensity, try small adjustments and re-check sharpness at the farthest important distance.
When you adjust IR intensity, you’re essentially changing how much light the camera’s sensor receives. But more IR doesn’t always mean better detection—too much IR at short distances can saturate the sensor and flatten contrast.
Comparison: IR Auto vs IR On (what changes and why)
(Use this to decide which mode to test first for your environment.)
| Option | What it does at night | Likely benefit | Common downside |
|---|---|---|---|
| IR Auto | IR turns on based on a sensor threshold and/or night-mode logic | Good for mixed ambient conditions | Threshold sensitivity can cause inconsistent IR triggers |
| IR On (Fixed) | IR is forced active regardless of threshold | Predictable illumination for testing | Risk of glare/washout if intensity is too high |
| Smart IR (if available) | Adjusts IR output based on scene brightness or distance behavior | Helps reduce overexposure at close range | Can change image brightness mid-clip, complicating comparisons |
| IR Off | Camera relies purely on low-light (color/night sensor behavior) | Useful where IR glare is severe | Often too dark for identification without ambient light |
If you’re troubleshooting dim night images, you may need to test more than one night mode. If your camera has a “night” profile (sometimes including WDR/HDR interactions), test the exact mode you plan to run long-term.
Record results so you know what changed
The best troubleshooting habit is to treat night testing like a controlled experiment: change one variable, keep everything else consistent, and document what improved. This prevents “random progress” and helps you isolate whether the problem is optics, IR illumination, or exposure control.
– Keep notes of what you changed (IR intensity, night mode, WDR/HDR, shutter/exposure if adjustable) and which distance each result came from. Even a simple log helps: “IR intensity +1, far corner still soft; near distance washed out.”
– Compare like-for-like: the same scene framing, same time of night, and similar camera stabilization. If you can, use the same clip length and repeat the test run the same way.
– If you can’t get readable detail, try isolating the cause by adjusting only one variable at a time (focus first, then IR/exposure). In many installs, focus fixes “blurry” complaints more often than changing IR settings does.
To make your documentation more actionable, track three indicators per distance:
1) Sharpness (are edges and facial/plate features crisp or smeared?)
2) Brightness/contrast (does the scene keep detail without going white?)
3) Color/IR interaction (are there strong glare halos or “color shifts” when IR changes?)
IR Light Sources Commonly Used in CCTV Night Vision (Practical Testing Relevance)
| # | IR Source (Typical Wavelength) | Best for | Test Clarity | Field Diagnostic Value |
|---|---|---|---|---|
| 1 | 730 nm LED | Close-range illumination | High glare visibility | ★★★★★ |
| 2 | 740–760 nm LED | Medium-range illumination | Moderate glare patterns | ★★★★☆ |
| 3 | 850 nm LED | General-purpose CCTV IR | Good contrast at range | ★★★★★ |
| 4 | 860–880 nm LED | Mixed indoor/outdoor deployments | Glare sensitive (angle-dependent) | ★★★☆☆ |
| 5 | 905 nm LED | Selective illumination where offered | Often less harsh blooms | ★★★★☆ |
| 6 | 940 nm LED | Reduced visible spill | Glare can still occur | ★★★★☆ |
| 7 | 1064 nm (laser-class IR) | Longer reach illuminators | Range-focused behavior | ★★★☆☆ |
Note: “Test Clarity” and “Field Diagnostic Value” reflect how reliably the wavelength’s typical interaction patterns reveal issues like glare and overexposure during standard lights-off comparisons.
What can go wrong (and how to spot it fast)
Night vision problems usually have repeatable patterns, so you can diagnose them quickly if you know what to watch. If your test shows a failure, change only one variable at a time and interpret symptoms carefully.
– Night mode triggers incorrectly: Some cameras won’t enter IR/low-light the way you expect if the sensor threshold is misconfigured. Re-check the night mode/threshold setting.
– Fast sign: the camera looks “day-ish” when you expected IR, or it flips modes repeatedly during a stable scene.
– IR glare from nearby objects: IR can reflect off walls, fences, windows, or even insects close to the lens—move the camera slightly, adjust angle, or reduce IR intensity.
– Fast sign: a bright halo blooms near the center/edge of the frame even when nothing is moving.
– Auto-focus hunting at night: If the image keeps changing softness, you may need a manual focus step in the dim lighting the camera will see.
– Fast sign: sharpness varies frame-to-frame even when brightness doesn’t.
If you want a quick “directional” decision tree, use this:
– If brightness pulses → check exposure control (WDR/HDR interactions, auto-exposure settings).
– If sharpness is consistently soft → check focus/zoom locking and test again after the camera warms up.
– If the scene goes white near the camera → reduce IR intensity or reposition to avoid pointing at reflective surfaces.
Also watch weather and optics conditions. Moist air, light fog, or dew on the lens can amplify IR scatter and make halos worse—so if results change drastically between nights, that’s not automatically a camera defect.
Verdict: what “good” looks like, and who should skip this
If your CCTV night vision is set up correctly, you should see stable brightness and consistent sharpness at the key distances—with fewer glare halos and no constant exposure “pumping.” This testing approach is worth doing when night footage looks dim, blurry, or over-bright, because it distinguishes between focus issues, IR triggering problems, and exposure instability.
Do this testing if you’re diagnosing blur/darkness or verifying coverage after installation. You’ll also benefit if your camera has IR LEDs (common on dome/bullet models) or if you’ve changed mounting location, lens position, or night-mode configuration.
Skip (or be extra cautious) if you don’t have safe access to the mounting location, if the camera is exposed to power/wiring work you’re not comfortable with, or if your camera is under warranty and the manufacturer specifically discourages certain adjustments. Downsides: testing can be time-consuming, and results can vary with weather, fog, and nearby reflective surfaces—so you may need a couple of runs to be confident.
Quick night-vision test checklist (scan/save)
| Test | What to look for | Pass looks like |
|---|---|---|
| Lights-off + IR on | Brightness and readability | Clear details at your key distances (not just “lit”) |
| Focus check | Sharp edges on targets | Faces/plate-like details are noticeably clearer than before |
| IR glare check | Halos/white-out | No strong glare from nearby walls/fences |
| IR intensity adjustment | Over/under exposure | Less glare without losing distant detail |
| Stability check | Flicker or pumping | Brightness stays consistent across the clip |
Frequently Asked Questions
How should I test my CCTV night vision before mounting the camera?
Test the CCTV camera at the same mounting height and distance you plan to install it, because IR and focus behavior changes with geometry. In a dark area, check both the live view and recorded footage to confirm the image is sharp and the IR illumination reaches the target area. Also verify day-to-night switching occurs correctly by covering the lens (for IR mode triggers) or using the camera’s IR/night settings.
What’s the best way to check IR night vision range and coverage on a CCTV camera?
Use a consistent target—like a printed sign, reflective tape, or a textured object—placed at multiple distances, then observe when the image becomes too dim or blurry. Walk the target outward from the camera and note where the CCTV night vision stops providing readable detail, not just where the image becomes visible. If your camera supports adjustable IR power or “Smart IR,” test again after you change settings because overpowered IR can cause glare and washout.
How can I test whether my CCTV night vision is focusing correctly in low light?
Switch the camera to night mode (or use a controlled dark environment) and look for signs of focus hunting, soft edges, or inconsistent sharpness between frames. If the lens has manual focus, adjust it while watching live view at night until license plate numbers, faces, or fine textures look crisp. For varifocal lenses, repeat the focus test at the exact zoom level you’ll use, then record a short clip to confirm stability.
Why does my CCTV night vision look blurry or have “white glare,” and how do I test the cause?
Blurry night vision is often caused by incorrect focus, dirty or smudged lenses, or misconfigured IR settings, while white glare is commonly caused by IR reflecting off nearby walls, glass, or spider-webbing. Clean the lens, remove any obstructions near the IR path, and test again by slowly changing the camera angle while monitoring the live image for glare patterns. If glare persists, reduce IR intensity (if supported) and test at different angles until the illumination lands on the intended scene.
Which settings should I use to test CCTV night vision modes (IR on, off, auto) effectively?
Test each mode—IR ON, IR OFF, and AUTO—under identical lighting conditions so you can compare exposure and clarity fairly. In IR OFF, verify the camera can still produce usable footage with ambient light (streetlights), and in IR ON, confirm correct brightness without overexposure. For AUTO, confirm the day-to-night trigger timing and color-to-black-and-white transition behavior by recording a short session while lighting conditions change slowly.
📅 Last Updated: November 03, 2026 | Topic: How should I test CCTV night vision? | Content verified for accuracy and freshness.
References
- low light camera sensitivity measurement – Search Results – PubMed
- https://www.nist.gov/pml/quantum-measurement/radiometry-and-photometry
- Night vision
- Infrared photography
- Illuminance
- Signal-to-noise ratio
- Infrared
- https://scholar.google.com/scholar?q=how+to+test+cctv+night+vision+infrared+illuminator Google Scholar
- https://scholar.google.com/scholar?q=minimum+illumination+measurement+test+method+camera Google Scholar
- https://scholar.google.com/scholar?q=low+light+image+sensor+signal-to-noise+ratio+measurement Google Scholar