


Setting up CCTV for a house is straightforward when you follow a clear step-by-step path—choose the right camera type, place them correctly, install the system, and connect it to your phone and recording storage. This guide walks you through the exact decisions and setup steps that matter most for reliable coverage and smooth operation. By the end, you’ll know how to get your CCTV running with minimal hassle and maximum visibility where it counts.
Plan your camera placement first, then wire/pair everything to your NVR/recorder or app, and finally test coverage at night before you call it done. This order—placement → power/network → configuration → night testing—avoids the most common “great on paper, poor in the dark” failures and keeps your house CCTV setup reliable as of 2026.
If you’re installing for the first time (or replacing an older system), this is for you—especially if you want a practical, order-of-operations checklist instead of guessing. We’ll cover both wired (NVR/PoE) and wireless options, plus the common pitfalls that lead to poor footage.
Plan your CCTV layout before you buy or mount
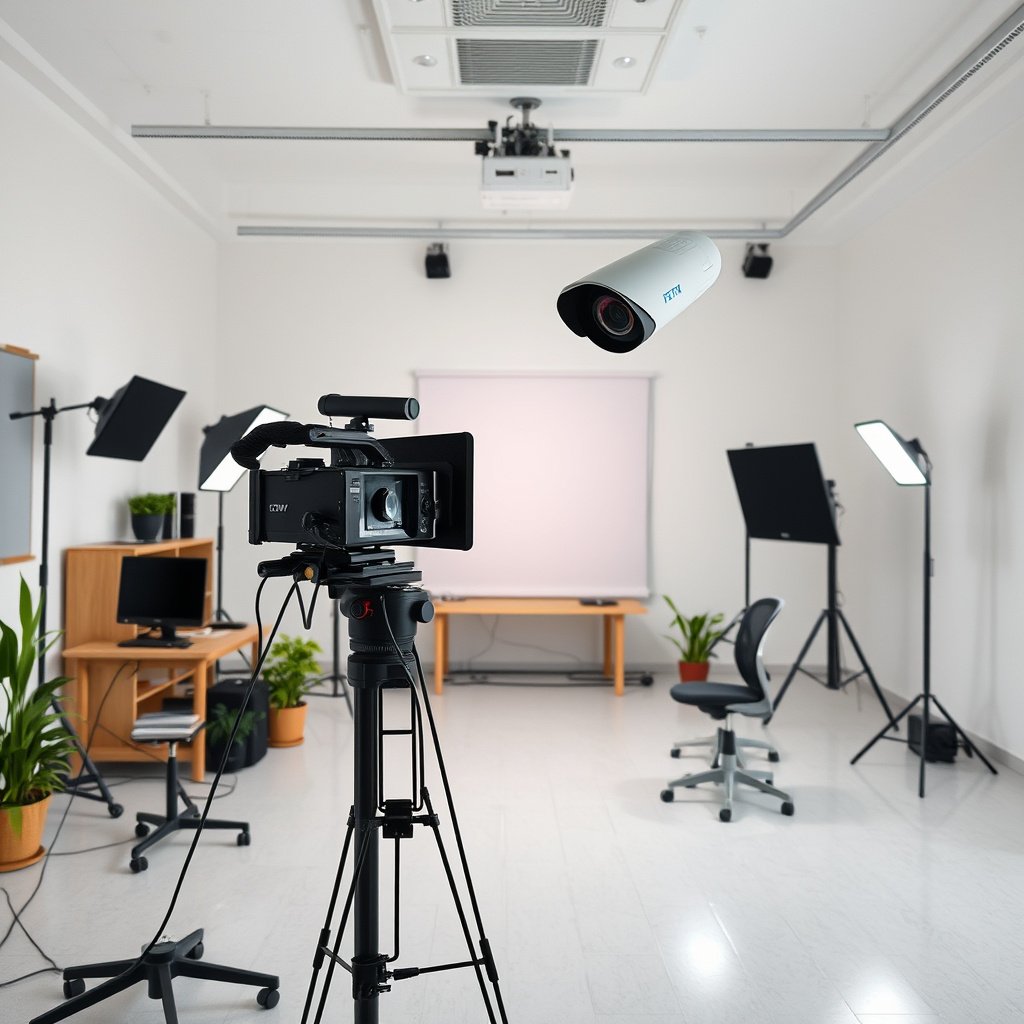
You get better results by designing your CCTV layout around real entry paths (not around camera “specs” alone). For most homes, clear face capture at pedestrian height and usable views of vehicles at approach angles matter more than chasing higher megapixels.
CCTV decisions should start with “mission areas” like front doors, driveways, and side gates, because placement determines whether faces and license plates are even visible in the first place.
For IP-based security systems, network stability and coverage are strongly influenced by physical camera placement (power, cabling routes, and Wi‑Fi signal reach).
– Pick “mission areas” (front door, driveway, back gate, side access) and map what each camera must capture. Use a quick sketch of your property and mark where people walk or where vehicles enter—driveways aren’t straight lines, and neither are real approaches.
– Aim to cover likely approaches at pedestrian height (for faces) and at vehicle-entry angles (for plates/vehicles where possible). If you only record “from above,” you may capture silhouettes rather than identifying features.
– Check power and network realities early: outlets, cable routes, Wi‑Fi signal strength, and any limits from walls/attics. Outdoor cable routing (through conduits, soffits, or buried runs) often takes longer than you expect.
As a concrete engineering anchor, Ethernet over copper is typically limited to 100 meters for many standard link types (often referenced as the practical maximum for standard twisted-pair Ethernet) which affects where you can place PoE cameras from your NVR/switch (IEEE 802.3 family Ethernet specifications; practical 100 m segment limit). If a camera location forces you to exceed that without extenders, you’ll likely need either a nearer switch, a PoE extender solution, or a different camera placement plan.
According to IEEE 802.3af, the Powered Device (PD) receives power based on the Power Sourcing Equipment (PSE) budget—so “network distance” and power delivery are linked planning considerations, not separate problems.
7 Standards-Backed Limits That Shape Reliable Home CCTV (as of 2026)
| # | Specification (standard) | Key limit value | What it affects in your setup | Setup impact |
|---|---|---|---|---|
| 1 | Copper Ethernet segment length (IEEE Ethernet) | 100 m (typical practical max) | Whether a PoE camera can run to your NVR/switch without extenders | ★★★★★ |
| 2 | PoE (IEEE 802.3af) introduced | 15.4 W max at PSE (2003) | Whether a camera powers reliably over PoE | ★★★★☆ |
| 3 | PoE+ (IEEE 802.3at) | 30 W max at PSE (2009) | Support for higher-draw features (e.g., heaters, PTZ-lite behavior) | ★★★★☆ |
| 4 | High-power PoE (IEEE 802.3bt Type 3) | 60 W max at PSE (2018) | More headroom for power-hungry cameras and accessories | ★★★☆☆ |
| 5 | High-power PoE (IEEE 802.3bt Type 4) | 90 W max at PSE (2018) | Enables the most demanding power configurations | ★★★☆☆ |
| 6 | PoE availability (budgeting reality check) | Sum of camera draws ≤ switch total budget | Avoids brownouts/reboots when multiple cameras start IR | ★★★★☆ |
| 7 | Out-of-spec cable segment length | Over 100 m without approved extension | Causes link drops, video stutter, and camera offline events | ★☆☆☆☆ |
Choose the right system: NVR/PoE vs Wi‑Fi cameras
You’ll reduce headaches fastest by choosing a system that matches your wiring ability and expected reliability needs. In most homes, PoE (Power over Ethernet) with an NVR (network video recorder) is the most consistent, while Wi‑Fi cameras are often simpler if you can’t run cables.
PoE/NVR setups typically avoid Wi‑Fi interference because camera data rides over Ethernet links instead of a wireless radio.
Wi‑Fi cameras rely on a stable wireless link where they’re mounted; weak signal can produce buffering, dropped frames, or delayed notifications.
– Wired (PoE/NVR) is often more stable for reliability; wireless is usually easier for retrofits where cable runs are hard.
– Decide whether you want local recording (NVR/microSD) or cloud features—then match that to your privacy/security needs. Local recording usually keeps footage off third-party servers; cloud can help with remote access and easier retention.
– Confirm each camera’s specs from the manufacturer documentation (power method, weather rating, supported recording modes). Also confirm whether the camera supports PoE directly or requires a separate power adapter.
Quick comparison: what to pick for typical home layouts
Here’s a parseable comparison of the two common paths for house CCTV setup:
| Category | Wired PoE + NVR | Wi‑Fi Cameras |
|---|---|---|
| Reliability during congestion | Generally steadier under heavy Wi‑Fi usage | Can slow down when channel utilization rises |
| Installation complexity | More steps: cables, drilling, weatherproofing | Often quicker: pairing + power plug-outdoor kit |
| Outdoor network durability | Ethernet link is usually less sensitive to radio interference | Line-of-sight and walls strongly affect signal |
| Power planning | Requires PoE switch budget and compatible power mode | Requires stable camera power adapters and surge protection |
| Recording location | Typically local to NVR storage (plus optional remote viewing) | Often supports local microSD and/or cloud retention |
| Best fit | Long-term coverage and consistent playback quality | Quick installs and areas where cabling is impractical |
If you’re deciding between them, start with your constraints: where you can run cable safely, how long distances are from the future NVR/switch, and whether Wi‑Fi can deliver a stable link at the camera’s mounting height.
Install cameras and route power/network correctly
You’ll avoid most “no video” and “random offline” problems by installing cameras with correct physical mounting and correct network/power connections from the start. This section is about doing the hardware work cleanly so the configuration stage has good signals to work with.
Outdoor CCTV installations need weather-safe mounting and cable handling because water ingress is a common cause of intermittent camera failures.
Before you fully tighten a camera mount, confirm the final field of view and horizon angle so you don’t end up with ceiling/sky footage.
– Mount cameras securely using the included mounting hardware, and keep outdoor camera cabling protected (conduit/UV-rated cable where appropriate). If the camera is outdoors, treat every cable path as if it will get wet eventually.
– For wired systems, connect each camera to the correct PoE switch/NVR input; for wireless, pair to the app and place the camera within good signal range. Also ensure your switch/NVR is in a location protected from heat and moisture.
– Set the camera angle before final tightening so you don’t end up with a sky/ceiling view or missed approaches. A simple method is to confirm: (1) the doorway area, (2) the most likely face approach line, and (3) the vehicle entry arc.
Wired PoE detail to remember: PoE power is negotiated over Ethernet, so if your camera doesn’t power, it’s often a cabling or switch compatibility issue rather than “software settings.” According to IEEE 802.3af, PoE over Ethernet is defined with specific power budgets (2003) which the PSE and PD follow during negotiation (IEEE 802.3af (2003)). That means mixing devices with mismatched power expectations can cause partial operation or failures.
If you’re using Wi‑Fi cameras, remember that placement is effectively part of your network design. Walls, distance, and other 2.4 GHz devices (common sources of interference) can change latency and frame delivery even if your app “connects” initially.
Configure recording, motion detection, and notifications
You should configure recording schedules and motion detection based on how you want evidence captured, not based on default presets. The goal is to record what matters (faces/vehicles during meaningful events) while keeping alerts usable rather than noisy.
Motion zones that match real entry paths reduce false alerts caused by trees, shadows, headlights, and passing traffic.
Accurate time settings are essential because recorded events are only useful if playback timelines and evidence exports line up with the moment an incident occurred.
– In the recorder/app settings, set recording schedules (e.g., always-on vs motion-triggered) based on your needs and local conditions. Always-on can be easier for investigations, while motion-triggered can reduce storage pressure.
– Configure motion zones so triggers match real entries/driveway paths—this reduces false alerts from trees, shadows, headlights, and passing cars. Most apps let you “mask” zones or set sensitivity per area; use that.
– Enable time synchronization and verify date/time in the system so playback and evidence searches are accurate. If you see time drift between devices, fix it before you trust any clip.
Current-year practical note: as of 2026, many systems expose multiple detection modes (human/vehicle detection, motion, line crossing). Human/vehicle detection can improve alert quality, but only if camera placement and angle are suitable—detection engines can’t identify what the camera can’t clearly “see.”
Also think about bandwidth and storage. Higher resolution and higher frame rate increase bitrates and storage requirements; if you set “max” defaults everywhere without checking recorder capacity, you can end up with overwrites sooner than expected. If your system provides bitrate control per channel, start with balanced values and test retention expectations.
Test coverage at day and night, then refine
You’re not done until you test at night, because infrared (IR) behavior, glare, and lighting changes can turn good daytime framing into unusable footage. Day testing validates coverage; night testing validates whether faces and vehicles remain identifiable when your lights and IR kick in.
IR illumination from CCTV can reflect off nearby walls or surfaces, producing glare that washes out faces—testing at night reveals these issues.
After adjusting camera placement, re-check both live view and recorded playback because motion triggers and exposure can behave differently when recording.
– Walk through the monitored areas and check live view and recorded clips—especially at night when IR range and glare matter.
– Adjust placement if you see blown highlights (porch lights, car headlights) or poor facial visibility; update motion zones after you test.
– Confirm you can access footage reliably from the device(s) you’ll actually use (TV, phone app, remote access). If remote viewing is unreliable, troubleshoot router settings, ports (if applicable), or the system’s relay options—before an incident happens.
From a standards-and-engineering perspective, your “night success” depends on exposure and scene contrast, which your camera will adapt to using its settings (auto-exposure, IR mode, and sometimes WDR/high dynamic range). If your system supports IR cutoff timing or IR strength, confirm it using the app’s live preview with lights on and off.
What can go wrong (and how to avoid it)
Most CCTV problems come from predictable gaps: wrong placement, unstable power/network, and motion rules that don’t match real movement. If you plan carefully and test properly, you can avoid the majority of issues that frustrate householders and small businesses alike.
Wi‑Fi dropouts are commonly caused by weak signal at the camera location or interference on busy radio channels.
False alerts typically result from motion zones that are too broad, sensitivity set too high, or detection algorithms interpreting environmental changes (shadows/headlights) as targets.
– Poor night footage: IR reflectivity from nearby walls/surfaces or mis-aimed cameras—reposition and re-test after mounting.
– Wi‑Fi dropouts: weak signal or crowded channels—improve placement, add mesh/extender if supported, or switch to wired where feasible. Also check whether the camera supports 5 GHz (availability varies by model and region).
– Too many false alerts: motion zones set too broadly or sensitivity too high—tighten zones and tune sensitivity using the app/NVR controls.
– Overlooking weather and power: outdoor cameras need appropriate weather ratings and proper exterior cable handling; verify from manufacturer specs.
– Assuming “works out of the box”: many systems require time/date confirmation, storage format checks, and recording-mode setup.
A helpful operational framing: treat each camera as part of a “system of systems” (optics + placement + network link + power delivery + recording policy). If any one component is off, the whole chain can fail.
Verdict / tip: start with placement, not features
If your goal is dependable coverage, prioritize correct camera placement, stable power/network, and sensible motion zones over flashy add-ons. This approach usually works for both wired and wireless setups, but skip DIY mounting if you can’t safely run cables/conduit or you’re not comfortable drilling and weatherproofing exterior hardware.
If you’re unsure, a practical compromise is to use a local installer for the physical mounting and cabling, then handle configuration and testing yourself. That gives you reliable installation quality without losing control over how recording and notifications are tuned.
Quick checklist (scan/save)
– [ ] Decide camera locations for doors, driveway, and side access
– [ ] Verify power/network options (PoE/NVR vs Wi‑Fi)
– [ ] Mount cameras with correct angle and weather-safe cable routing
– [ ] Configure recording mode/schedule (local recording vs cloud)
– [ ] Set motion zones and sensitivity to reduce false alerts
– [ ] Confirm time/date accuracy and test playback
– [ ] Test day + night and refine placement/settings
Sources
In summary, set up house CCTV by following a disciplined sequence: plan where evidence must be captured, choose a wired or wireless architecture that fits your installation constraints, route power/network correctly, configure recording and motion zones for real movement, and verify everything at night. If you do these steps in order, your CCTV system is far more likely to deliver usable footage when you actually need it.
Frequently Asked Questions
How do you choose the right CCTV system for a house?
Start by deciding whether you need indoor CCTV, outdoor CCTV, or both, then match the system to the size and layout of your property. For outdoors, prioritize weatherproof (IP-rated) cameras and consider night vision range for driveways, entrances, and backyards. If you want easier installation, many homeowners choose PoE CCTV kits or plug-and-play wireless CCTV, but compare latency, storage needs, and local Wi‑Fi signal strength before buying.
What’s the best way to plan camera locations around a home?
Map your “must-cover” areas such as front door, driveway, garage, back gate, and any side paths where someone could approach unnoticed. Mount cameras at a height that captures faces without being easily tampered with, typically around 8–10 ft outdoors, and avoid direct glare from headlights or streetlights. Use your planned viewing angles to confirm key details (faces, license plates, and entry points) and keep cameras clear of trees, signage, or obstructions that may block views in different seasons.
How do you set up a CCTV system with Wi‑Fi or PoE for a house?
For Wi‑Fi CCTV, ensure strong signal coverage at each camera location or add mesh Wi‑Fi/boosters to reduce dropouts. For PoE CCTV (Power over Ethernet), run Ethernet cables to each camera location, then connect them to a PoE switch or NVR to power and transmit video in one cable. In both cases, install the NVR/app, connect the cameras, follow the on-screen setup for motion zones, and test live viewing from your phone on both home and mobile networks.
Why is proper power, cabling, and storage setup important for home CCTV?
Reliable power and correctly routed cabling prevent common issues like camera disconnects, intermittent recording, and blurry footage. For wired CCTV, use outdoor-rated cables where needed and protect cable runs with conduit or weatherproof junction boxes. For recording, choose the right storage capacity (or cloud plan) based on how many days you want to retain footage, recording quality, and whether you use continuous recording or motion detection.
Which settings should you configure first after installing house CCTV?
Begin by setting the correct date/time, enabling motion detection, and configuring recording schedules so you capture activity when it matters most (nights, weekends, or off-hours). Create privacy zones to mask windows, neighboring properties, or areas you don’t want recorded, and fine-tune motion sensitivity to reduce false alerts from cars, pets, or shadows. Finally, test alerts by walking through detection areas, check night vision clarity, and confirm you can reliably access CCTV footage remotely from your smartphone or computer.
📅 Last Updated: October 26, 2026 | Topic: How do you set up CCTV for a house? | Content verified for accuracy and freshness.
References
- Closed-circuit television
- Closed-circuit television camera
- Closed-circuit television
- Digital video recorder
- Network video recorder
- Power over Ethernet
- https://scholar.google.com/scholar?q=residential+CCTV+installation+guide Google Scholar
- https://scholar.google.com/scholar?q=CCTV+system+setup+network+security+NVR+DVR Google Scholar
- https://scholar.google.com/scholar?q=privacy+legal+requirements+home+CCTV+GDPR Google Scholar



