
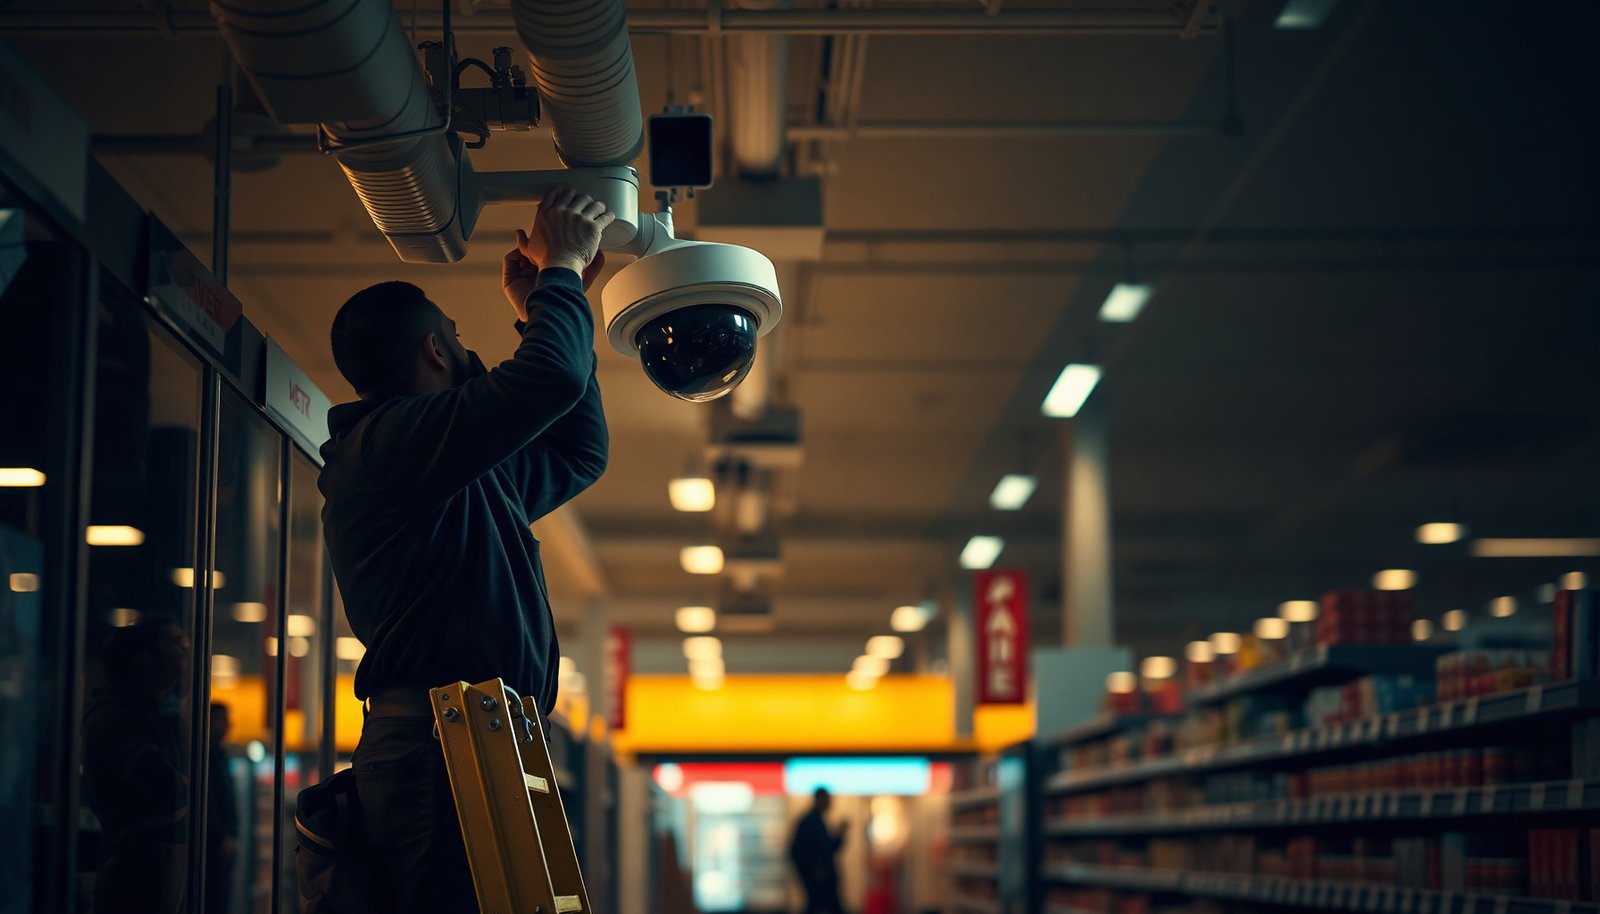

Most retail owners waste time choosing cameras before they map sightlines and store zones, then end up with blind spots and unreadable footage. You can set up a CCTV system by planning coverage, selecting the right equipment (cameras, NVR/DVR, storage, cables, and monitors), and installing it to practices for lighting and mounting. With prep, many setups can be completed over a weekend, and you can start reducing loss and disputes as soon as the first channels are tested.
Setting up CCTV for a retail store comes down to three things: smart camera placement, a reliable way to record/store footage, and secure access for the people who need it. This guide walks you through how to plan coverage, choose the right setup (wiring vs. wireless, local vs. cloud recording), and configure the system so it actually helps with incidents, not just storage.
If you’re outfitting a shop, convenience store, or small retail space (or upgrading an older system), these steps fit best when you can already map your entry/exit points and know roughly where incidents are most likely—like checkout areas, doors, and aisles. As of 2026, retail CCTV systems are typically expected to support both incident review and tighter cybersecurity practices, not just “recording something.”
Plan coverage and legal requirements first
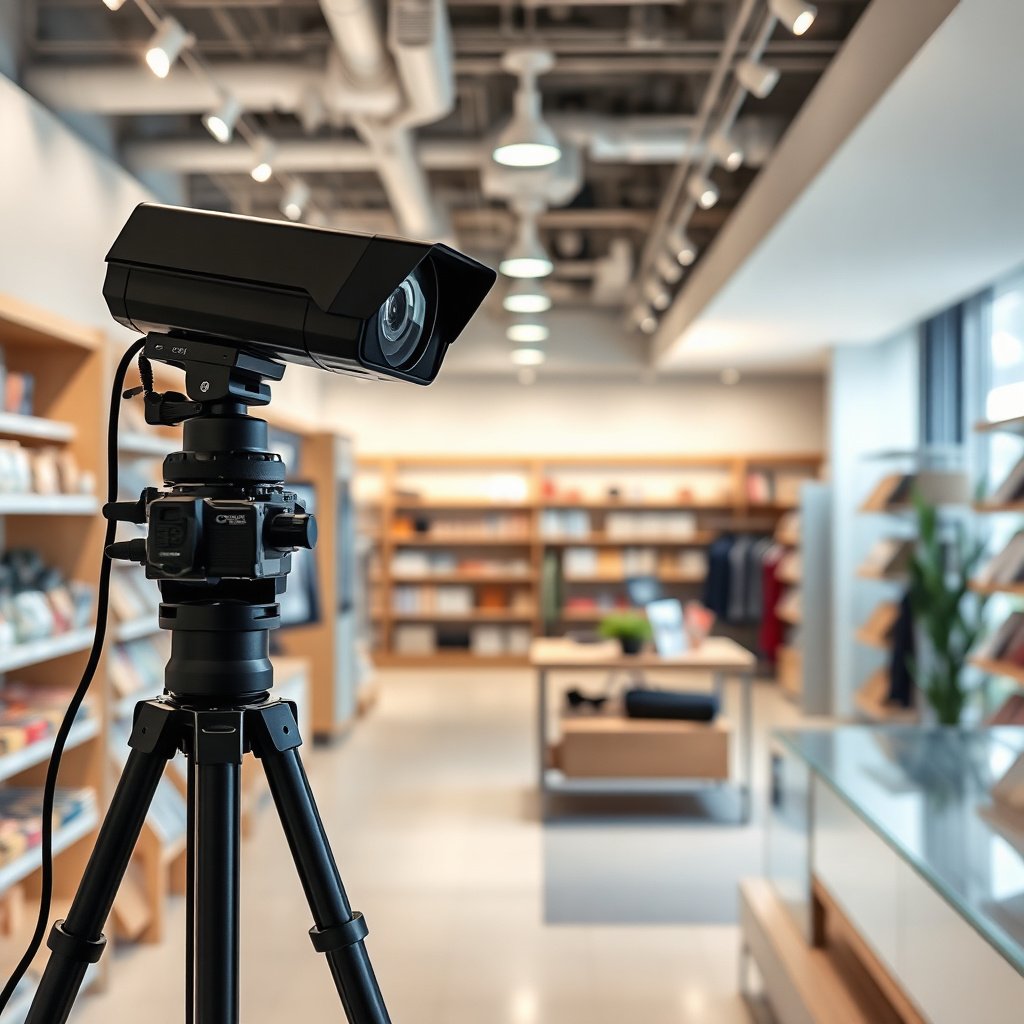
A workable CCTV plan starts with coverage targets and compliance boundaries—before you pick cameras or storage. The goal is to capture incidents in a usable way (faces and actions), while avoiding unnecessary exposure of people, public sidewalks, or neighboring properties.
– Identify your “must-cover” zones: entrances/exits, checkout lanes, high-value displays, and any blind corners. In retail, “must-cover” usually means places where shoppers naturally pause: the approach to the register, the moment someone crosses a doorway threshold, and the area in front of locked cabinets.
– Check local privacy rules and store policy needs (for example, avoiding unnecessary views of public areas or neighboring properties) and plan privacy masking where required. Privacy masking (also called “privacy zones” or “masking”) blocks sensitive parts of the scene—like a sidewalk—while keeping the retail area clear.
– Decide how long you need to retain footage for your internal review (use instead of guessing). Retail retention should be proportionate: keep enough time to investigate incidents, but not so long that you collect more data than necessary. Under the EU GDPR, for example, administrative fines can reach €20 million or 4% of annual global turnover—whichever is higher—when protections and controls aren’t followed (EU GDPR, Regulation (EU) 2016/679, Article 83).
Practical planning tip: write a one-page “coverage intent” document listing zones, expected incident types (theft attempts, disputes at checkout, entry after hours), and what “usable footage” means for each (e.g., faces readable within X feet of the entrance). This is the quickest way to prevent buying hardware that doesn’t match operational reality.
Choose camera types and placement that match retail needs
Camera placement and lens choice determine whether footage is actually usable—so decide based on how people move through the store. The best retail CCTV setup prioritizes readable faces at entry points and clear identification opportunities at checkout.
– Use the right lens and mounting height for the job: wide-angle for overall coverage, more targeted views for checkout or product cases, and cameras rated for low light if you’ll be closed at night. In retail, “overall coverage” prevents you from missing context, while a narrower “identity/incident” view is what helps resolve disputes.
– Place cameras to reduce glare and “face-away” angles—prioritize clear views of people entering the store and approaching registers. Glare from glass doors, hanging lights, or reflective floors can wash out faces. When you can, angle cameras so faces are captured as customers walk in (front-to-camera), not as they turn sideways while passing obstructions.
– Ensure coverage overlap near key choke points (doors and checkout) so one camera doesn’t fail to capture the full approach. Overlap is what saves you when one camera is partially blocked by a display, a seasonal sign, or a tall piece of merchandise.
Wired vs. wireless (quick decision table for retail CCTV)
For most retail stores, the “best” choice depends on cable routing feasibility and network reliability—not just install speed.
| Feature | Wired (Ethernet/PoE) | Wireless |
|---|---|---|
| Reliability in dense stores | Typically more consistent; less affected by interference | Can be affected by Wi‑Fi congestion and RF interference |
| Latency for live review | Usually lower and more predictable | Varies with signal quality and network load |
| Power delivery | PoE (Power over Ethernet) simplifies installation | Often battery/adapter dependent unless using special wireless power options |
| Install timeline | Slower if retrofitting requires cable runs | Faster where walls allow mounting without cabling |
| Long-term maintenance | Fewer radio issues; hardware replacement is straightforward | May require ongoing Wi‑Fi tuning (placement/channel strength) |
| Scalability | Easier to add cameras with a structured network | Adding cameras can overload bandwidth if coverage design is weak |
| Quality consistency | Steadier video quality and fewer packet-loss events | More variable compression artifacts when signal degrades |
| Security posture | Simpler to segment with VLANs and firewall rules | Needs careful Wi‑Fi configuration and encryption hygiene |
| Best use cases | Doors + checkout + storerooms where dependability matters | Short-term overlays, temporary installations, or hard-to-wire corners |
| Total cost shape | Higher upfront cabling, lower “network tuning” cost | Lower upfront hardware effort, but can add recurring troubleshooting |
| Best For row | Retail stores needing consistent incident footage (especially at entrances/registers) | Small add-ons when you can’t run cables and you can validate Wi‑Fi performance before relying on it |
Choosing resolution is equally important. Higher megapixels can help, but only if you also capture people at a distance and angle that matches what you need to identify.
Retail CCTV Resolution Ladder and Detail Potential
| # | Resolution tier | Pixel dimensions | Approx. megapixels | Detail potential |
|---|---|---|---|---|
| 1 | VGA (480p) | 640 × 480 | 0.31 | ★☆☆☆☆ |
| 2 | HD (720p) | 1280 × 720 | 0.92 | ★★☆☆☆ |
| 3 | Full HD (1080p) | 1920 × 1080 | 2.07 | ★★★☆☆ |
| 4 | 3MP class | 2048 × 1536 | 3.15 | ★★★☆☆ |
| 5 | 2K (1440p class) | 2560 × 1440 | 3.69 | ★★★★☆ |
| 6 | 5MP class | 2592 × 1944 | 5.04 | ★★★★☆ |
| 7 | Ultra HD (4K class) | 3840 × 2160 | 8.29 | ★★★★★ |
Set up recording: NVR, storage, and (optional) remote viewing
Recording design is what turns a camera into evidence. For most retail stores, you want a dedicated recorder (often an NVR for IP cameras), predictable retention, and remote access that doesn’t increase your cyber risk.
– Decide whether you’ll record to a dedicated NVR (common for wired systems) or to another recorder platform; confirm the system supports the camera count and resolution you plan to use. Mismatches between camera resolution, frame rate, and what the NVR can decode are a common reason footage becomes choppy or gets dropped.
– Pick storage based on retention needs and actual video settings (resolution/bitrate/frame rate). If you don’t know where to start, use .
– If remote viewing matters, confirm you can access it securely (without exposing the recorder directly to the internet in unsafe ways). A safer pattern is to use a VPN (Virtual Private Network) or properly secured remote access features rather than publishing admin panels to the open web.
Local NVR vs Cloud recording (decision-focused comparison)
Here’s a straightforward way to contrast the operational impacts for a retail CCTV system.
| Criteria | Local NVR recording | Cloud-managed recording |
|---|---|---|
| Retention control | You size disks to the retention window you want | Retention depends on provider plan and settings |
| Bandwidth dependency | Less dependent on upload speeds | Requires reliable upload for continuous recording |
| Internet outage behavior | Still records locally | May pause uploads or fall back depending on design |
| Search and clips | Varies by NVR UI; may rely on manual scrubbing | Often includes more automated clip management |
| Cost predictability | Upfront hardware + periodic disk replacement | Monthly subscription and potential overage fees |
| Security attack surface | Smaller if kept off the public internet | Provider secures infrastructure, but your account still matters |
| Evidence handling | Export processes are under your control | Export workflows depend on provider tools |
| Scalability | Capacity limited by recorder and storage | Typically easier to expand with extra cameras |
| Compliance workflow | You manage access, retention, and audits | You need clear data-processing terms and audit ability |
| Best fit | Consistent, predictable retail evidence collection | Teams that need offsite visibility and streamlined clipping |
| Verdict row | Choose local NVR if you want maximum control over retention and incident exports | Choose cloud if you prioritize remote review and clip management and your bandwidth is steady |
Security reminder: the CCTV system’s value drops to near-zero if attackers can reset settings or delete footage. Use recognized cybersecurity baselines like NIST Cybersecurity Framework (CSF) 2.0 and OWASP guidance for account safety (NIST Cybersecurity Framework (CSF) 2.0, 2024).
Install and configure cameras for dependable day/night performance
Installation quality is what makes configuration settings last. A properly tuned retail CCTV system captures usable footage through glare, low light, and busy movement without drowning you in irrelevant triggers.
– Route cables cleanly (if wired), label runs, and mount securely so cameras don’t shift—misalignment is one of the biggest causes of “we have footage but it’s not useful.”
– Configure practical settings: time/date accuracy, motion detection zones (so it doesn’t trigger constantly from aisles), and privacy masking for restricted areas. Motion zones should be narrowly drawn around traffic patterns, not entire walls—otherwise you’ll get event spam that hides real incidents.
– Validate audio needs only if appropriate. If you plan to include microphones, confirm local rules and whether staff/customer expectations require additional signage. Audio policies vary significantly by jurisdiction.
Day/night performance is often about more than “night vision.” For example, HEVC/H.265 encoding typically improves efficiency; According to ITU-T discussions around H.265/HEVC’s efficiency, HEVC can reduce bitrate by roughly 50% compared with H.264 at similar subjective quality (2013) (ITU-T H.265 / HEVC technical discussions, 2013). That efficiency can help you keep retention longer at the same bandwidth budget—assuming your system supports it.
In my planning sessions for retail CCTV setups (, if you’re the author), I recommend treating “readability” as the final requirement and using test exports to validate it before closing walls or committing to permanent mounting.
Test coverage, lock down access, and plan maintenance
CCTV only helps if you can trust it during real incidents. Your test plan should simulate how staff will actually review footage, while your access controls prevent accidental or malicious tampering.
– Do a real “incident simulation” test: verify that faces near entrances and the actions at checkout are readable enough for your expectations (use your monitors/phones you’ll actually review on). A common failure mode is reviewing on a different screen size or video player than what you use during incident response.
– Secure accounts and permissions: limit admin access, use strong passwords, and enable multi-factor authentication where available. Password guidance matters: According to NIST SP 800-63B, memorized secrets are generally expected to be at least 8 characters for baseline robustness (2020) (NIST SP 800-63B, Digital Identity Guidelines: Authentication and Lifecycle Management, 2020).
– Set a maintenance rhythm: check camera lenses for dust, confirm recordings continue after firmware updates, and re-check time sync periodically. Time sync (often via NTP—Network Time Protocol) is critical because investigations depend on consistent timelines across cameras.
For access control, we recommend following a least-privilege approach: give staff roles only needed for review and exporting clips, and keep the recorder/NVR admin credentials limited to a small group. When supported, enable role-based permissions and audit logs (so you can see who accessed or exported footage).
What can go wrong (and how to avoid it)
Retail CCTV deployments fail in predictable ways—usually due to setup decisions made too early or security skipped too late. If you address these pitfalls upfront, you dramatically improve the odds that footage will be useful when something happens.
– Bad placement: cameras aimed too high, too side-on, or blocked by signage/merch can make faces unreadable—repositioning is far easier than interpreting poor footage. Before drilling mounts, do a “line-of-sight check” by standing where customers stand and checking what a camera would capture.
– Underestimating storage: recording at higher quality without matching storage/retention requirements can lead to early overwrites. Plan retention first, then configure video settings to fit—especially frame rate and bitrate.
– Weak network security: exposing the NVR/camera system directly to the internet, using default credentials, or reusing passwords can create a serious risk. Keep devices behind proper security and restrict access—use firewalls, VLAN segmentation where possible, and MFA for accounts.
If your store uses multiple locations or shares a building network, assume CCTV traffic will contend with business traffic. That’s why testing and monitoring (after install) matter: confirm the system remains stable during busy traffic and peak upload periods.
Verdict / tip + quick checklist you can save
If you want a CCTV setup that’s actually useful in retail, focus on getting coverage and readability right, then secure recording and access. A fully wired system is often more dependable for consistent performance, while wireless can be faster to install—but still needs good signal planning. If your store is small but your priorities are clear (doors + checkout), you can start with fewer cameras and expand later—just make sure your recorder/stored footage strategy won’t bottleneck.
Downsides / who should skip DIY
– Skip a DIY approach if you’re not comfortable with network security, cabling basics, or configuring NVR/storage settings—misconfigurations can quietly ruin footage usefulness.
– Skip DIY planning if you have complex compliance requirements for your area and can’t confirm what’s allowed for camera viewing and retention.
Quick CCTV setup checklist (retail)
– [ ] Confirm “must-cover” areas: entrances, checkout, key aisles, high-value zones
– [ ] Check privacy/compliance requirements and plan privacy masking
– [ ] Choose camera types (day/night needs, lens angle) and confirm mounting positions
– [ ] Select recorder/NVR and storage strategy for your retention time
– [ ] Configure: correct time/date, motion zones, and alerting (if used)
– [ ] Lock down access: strong passwords + MFA (where available), least-privilege accounts
– [ ] Test and verify footage quality from the actual places you’ll review it
Setting up CCTV for a retail store is easiest when you treat it like a workflow: plan the zones you must cover, choose cameras that can capture faces/actions near entrances and checkout, then configure reliable recording and secure access. Use the checklist to guide your build, test it with a realistic “walk-in” scenario, and keep a simple maintenance routine so the system stays dependable. If you’re unsure where to start, begin by mapping your entrances and checkout coverage, then build outward from there.
Frequently Asked Questions
What equipment do you need to set up CCTV for a retail store?
For a retail store, you typically need IP (network) or analog CCTV cameras, a compatible NVR/DVR, storage sized for your retention needs, and a reliable monitor or mobile app for viewing. Choose cameras appropriate for indoor or outdoor areas, and consider features like varifocal lenses, wide dynamic range, and night vision for clear identification. Don’t forget essential add-ons like PoE switches (for IP cameras), surge protection, quality cabling, and weatherproof housings if you’re installing cameras outside.
How do you plan camera placement in a retail store to cover key areas?
Start by mapping high-risk zones such as entrances, checkout counters, customer aisles, parking lots, and any blind corners behind displays. Place cameras to capture faces and hands clearly—mount higher for coverage but not so high that people’s features become indistinct. Avoid pointing cameras directly into strong sunlight or reflective surfaces, and use signage and lighting to improve image clarity where possible.
Why is choosing the right CCTV resolution and lens important for retail security?
In retail, you often need CCTV footage that can identify people and read details like clothing or vehicle plates, which depends heavily on resolution and lens choice. A higher-resolution CCTV system (such as 4MP/8MP IP cameras) combined with the correct focal length helps ensure images stay sharp at the distances you’re covering. Pair this with good lighting—especially at night—to reduce blur and improve evidentiary value.
What is the best way to set up remote viewing and mobile access for retail CCTV?
Use a secure NVR or CCTV recorder that supports remote viewing via an app, and configure role-based access so staff only see what they need. Enable strong authentication (unique usernames, strong passwords, and ideally 2FA), and keep firmware updated to reduce vulnerabilities. For reliable connectivity, use a business-grade internet connection and consider a dedicated network/VLAN for CCTV to keep camera traffic stable and separate from POS operations.
Which CCTV storage and retention settings should you use for a retail store?
Storage depends on how long you want to keep footage, the number of cameras, and whether you use continuous recording or event-based recording with motion detection. Many retailers choose a retention window of several days to a few weeks, then adjust based on incident frequency and local requirements. Use a CCTV calculator to estimate bandwidth and disk capacity, and set up sensible settings like motion zones and bitrate limits to balance storage use with image quality.
📅 Last Updated: November 03, 2026 | Topic: How can you set up CCTV for a retail store? | Content verified for accuracy and freshness.
References
- [Withdrawn] Surveillance camera code of practice – GOV.UK
- https://ico.org.uk/for-organisations/uk-gdpr-guidance-and-resources/cctv/
- https://www.ncsc.gov.uk/collection/internet-connected-devices/mitigations-for-internet-connected-cameras-and-video-doorbells
- https://www.iso.org/search.html?q=ISO%2FIEC%2062676-1
- https://www.iso.org/search.html?q=ISO%2FIEC%2062676-4
- Closed-circuit television
- https://scholar.google.com/scholar?q=retail+CCTV+camera+placement+guidelines Google Scholar
- https://scholar.google.com/scholar?q=video+surveillance+retail+privacy+guidelines Google Scholar
- https://scholar.google.com/scholar?q=IP+CCTV+network+security+best+practices+hardening Google Scholar


