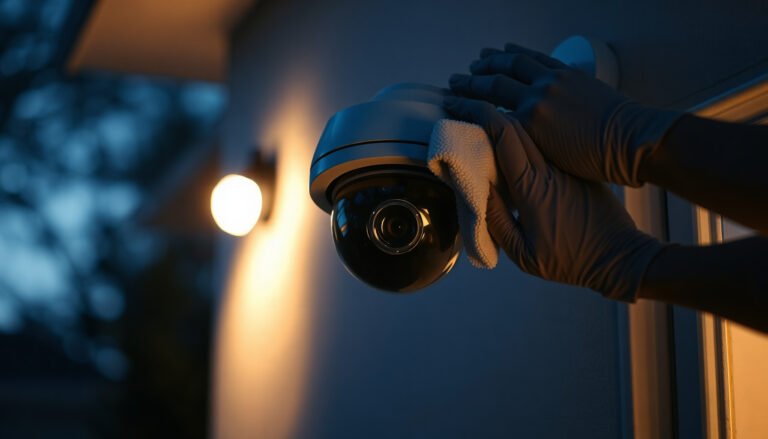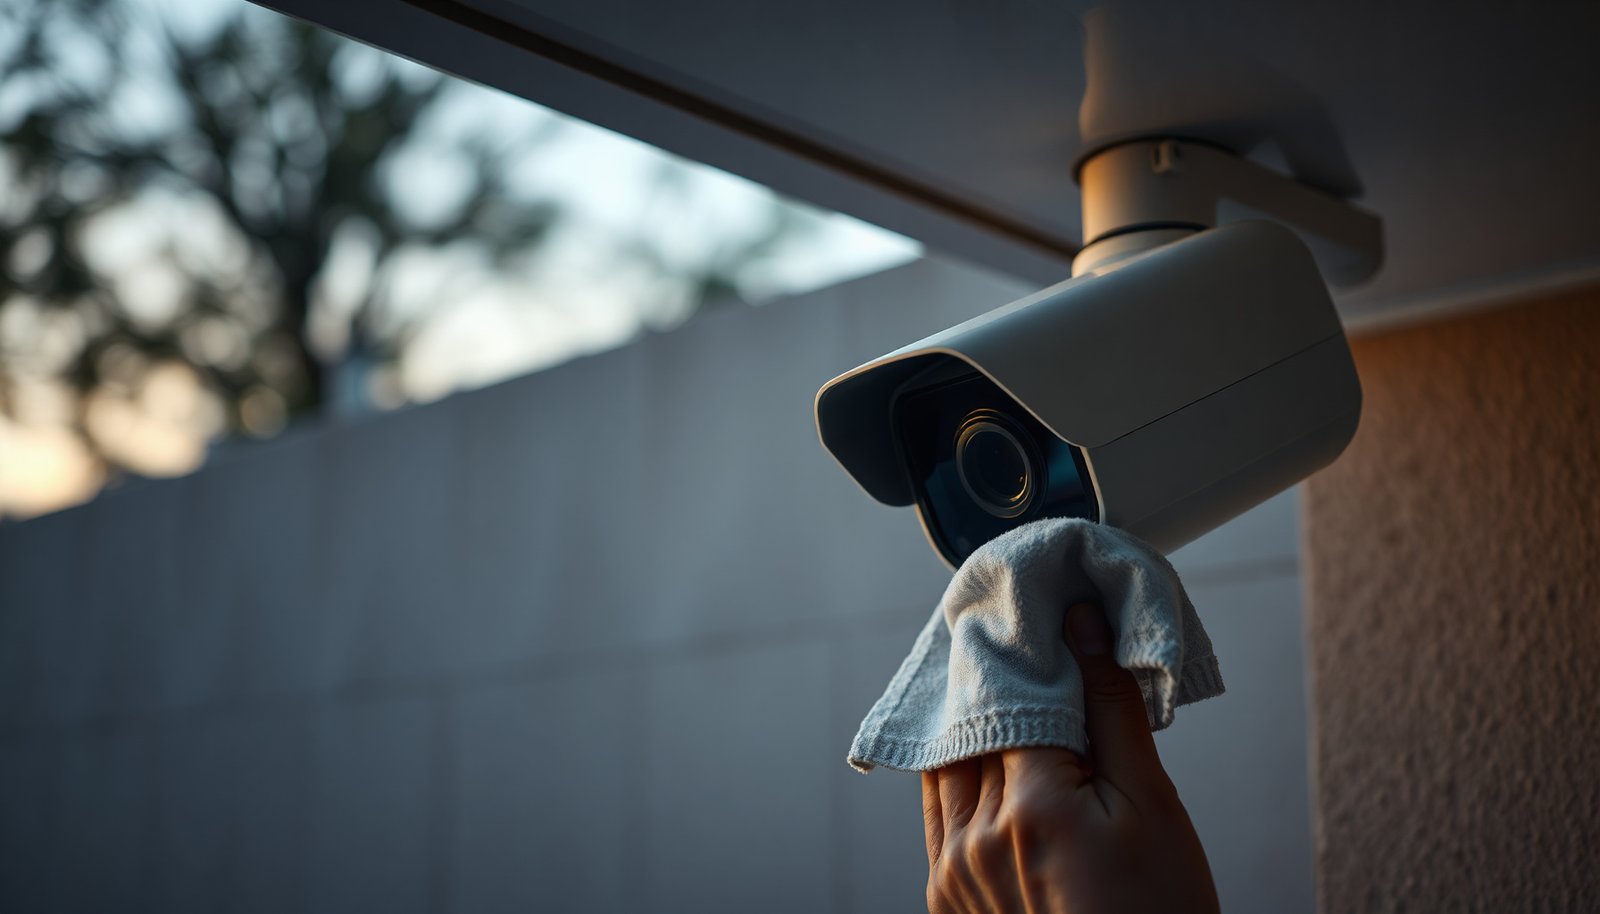

Cleaning an outdoor CCTV camera is frustrating when dust, rain spots, and insects leave the image looking hazy. With the right supplies and a careful routine, you can usually improve clarity in about 15–30 minutes while protecting the lens and weather seals. Get a stable step, a microfiber cloth, distilled water or a screen-safe lens cleaner, and a soft brush, then follow the exact order for wiping, drying, and checking the view.
Use a dry microfibre cloth first, then clean the lens gently with a lens-safe cleaner (not household glass cleaner) and let everything dry fully before powering back on. For the housing, use a damp cloth only and avoid getting moisture into seams, mounts, or cable entry points. This keeps image quality sharp while protecting weather seals and night-vision performance.
If your outdoor CCTV camera is showing blurry footage, water spots, dust buildup, spider webs, or muddy streaks, the steps below will help you clean it safely—especially if it’s exposed to rain, fog, sprinklers, or heavy pollen.
What to gather before you start
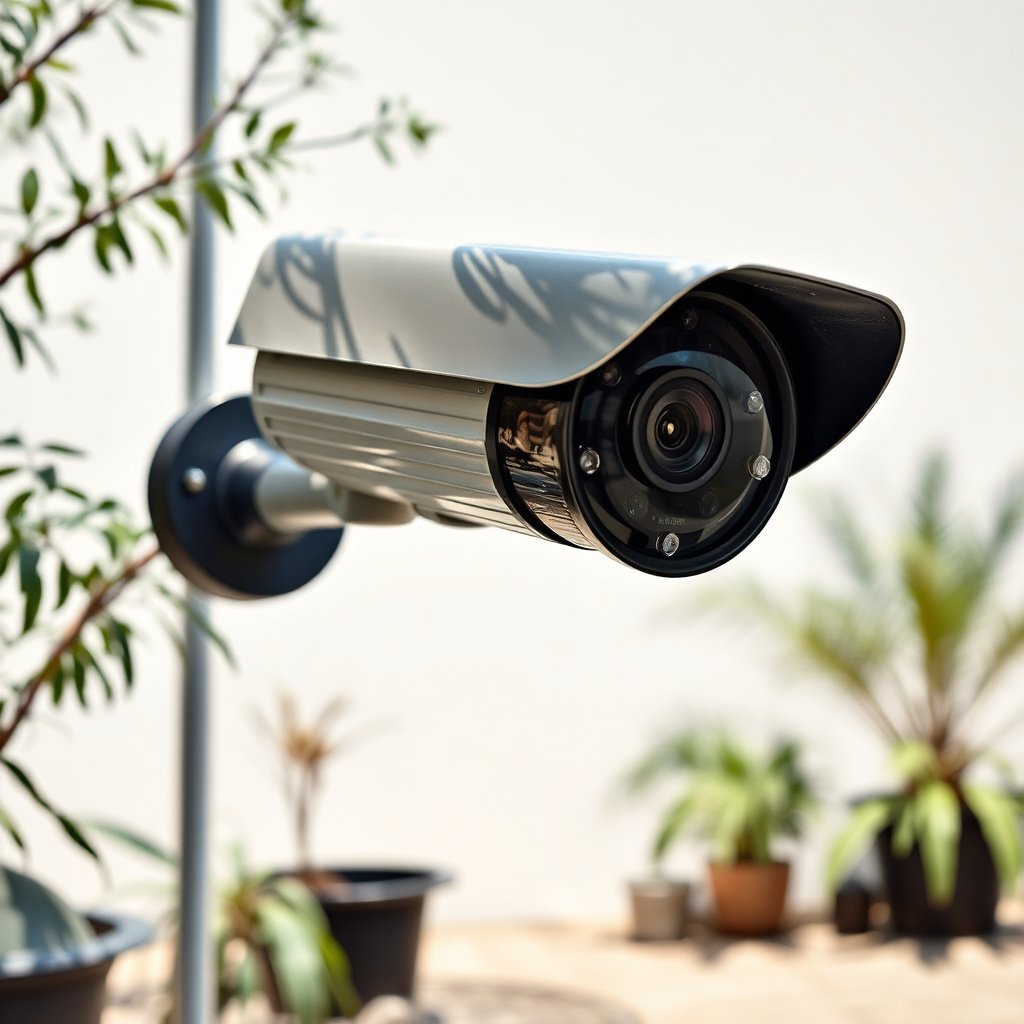
You should gather camera-safe materials before you touch the lens so you don’t smear grit or wick moisture into seals. Having everything ready also reduces the time the camera is powered off (which matters if you’re working quickly in wet weather).
– Microfibre cloth(s) for the housing and a separate cloth for the lens (to avoid grit scratching)
– Use a “soft” lint-free microfibre and keep the lens cloth dedicated—lens coatings scratch faster than most people expect.
– Lens-safe cleaner and/or distilled water for light smears
– Lens-safe cleaner is formulated for optics; it reduces residue risk and is less likely to attack anti-reflective coatings.
– Optional: compressed air (or a blower) to remove loose dust before wiping
– Loose dust is the #1 cause of micro-scratches, especially on the clear dome or cover glass.
As of 2026, manufacturer guidance for outdoor CCTV commonly emphasizes two consistent themes: remove loose debris first, and prevent liquid ingress at seams and cable entry points.
How to clean an outdoor CCTV camera (safe steps)
You should follow a controlled, low-pressure wipe process: power down, remove dust, clean the lens gently, clean the housing carefully, then dry completely before restart. This sequence protects both the lens surface and the camera’s weatherproofing.
– Power down the camera (or switch off the connected circuit) so you can see smears clearly and avoid stressing electronics.
– If it’s hardwired, turning off the relevant breaker is usually safer than relying on a software shutdown.
– Remove loose debris first: gently wipe the housing and lens with a dry cloth, then use compressed air for dust in corners.
– Work from top to bottom so falling debris doesn’t re-contaminate a clean area.
– Clean in this order: lens → housing → any visible vents/sides, and always wipe lightly rather than scrubbing.
– Wiping lightly helps prevent buildup from spreading and reduces the chance of pushing moisture toward seams.
– Finish with a dry pass: wipe the lens until streak-free, then wait until everything is fully dry before turning power back on.
Lens cleaning (the most important part)
You should treat the lens (including the IR cover/dome) like an optical instrument, not like a window. The safest approach is lens-safe cleaner on the cloth, then gentle straight motions—never heavy scrubbing.
– Use lens-safe cleaner applied to the cloth (not sprayed directly onto the camera).
– Spraying increases the chance that liquid runs toward gasket edges, mounts, or cable glands.
– Wipe with gentle, straight motions, then do a final light polish with a clean section of cloth.
– If you still see marks, re-clean with a fresh cloth section rather than pressing harder.
From practical site maintenance experience, the biggest “why didn’t it clear?” problem usually isn’t the cleaner—it’s that dust was present first, and the first wipe acted like sandpaper. Repeat that lesson: dry dust removal first, then optical cleaning.
Lens, housing, and IR/night vision: what to avoid
You should avoid any technique that can damage coatings or create glare, because night vision (IR) is sensitive to surface residue and scratches. Household glass cleaners can also leave films that worsen halos around lights at night.
– Don’t use ammonia-based glass cleaners, abrasive wipes, or paper towels—these can damage coatings and increase glare at night.
– Avoid spraying cleaner directly into seams, around the IR array, or near cable entry points.
– Don’t press hard on the lens or IR cover; if the camera is misaligned after cleaning, the image can look worse even if it’s “clean.”
Why this matters for IR: most outdoor cameras use infrared LEDs (commonly around 850 nm or 940 nm) to illuminate scenes that are dark to the human eye. According to common near-IR LED specifications used in CCTV (e.g., 850 nm and 940 nm classes), the IR illumination commonly targets these wavelengths (accessed 2026). When the IR cover is even slightly smeared or scratched, reflections and scattering increase—so you see brighter hotspots and blur instead of crisp detail.
Weatherproofing tips after cleaning
You should treat “dry and sealed” as part of cleaning, not an afterthought. After the camera dries, quickly verify that water can’t track back into vulnerable edges and that night vision looks normal.
– Check for “gunk lines” where dirt collects at edges—cleaning these spots helps prevent streaks after the next rain.
– If your camera has visible seals or a removable cap, keep the sealing surfaces clean and dry before reassembly.
– If there’s condensation inside the housing after cleaning, stop using the camera as usual and .
Moisture inside outdoor camera housings can degrade performance and, in some situations, create a persistent haze that wipes cannot remove. That’s why the “wait fully dry” step is not optional—especially after cleaning near vents, brackets, or cable glands.
Outdoor CCTV Cleaning Priority: Top 7 Causes of Blurry Footage
| # | Common contaminant | Typical outdoor source | Best first move | Clarity improvement |
|---|---|---|---|---|
| 1 | Fine dust & road grit | Wind-blown particulates | Compressed air → dry microfibre | ★★★★☆ |
| 2 | Pollen haze | Spring blooms, nearby trees | Dry wipe → lens-safe cleaner | ★★★☆★ |
| 3 | Water spots & mineral residue | Hard water, sprinklers, fog | Distilled water on cloth | ★★★☆☆ |
| 4 | Spider web residue | Eaves, corners, overhangs | Dry removal → gentle wipe | ★★★☆☆ |
| 5 | Mud streaks | Storm splashes, ground runoff | Rinse-free wipe: dry → damp cloth | ★★★☆☆ |
| 6 | Oil film & airborne grime | Cooking smoke, vehicle exhaust | Lens-safe cleaner on cloth | ★★☆☆☆ |
| 7 | Scratches from grit | Incorrect wiping order | Re-clean gently (no pressure); replace dome if needed | ★☆☆☆☆ |
What can go wrong (common mistakes)
You can usually avoid problems by preventing moisture ingress and avoiding abrasive wiping. If you do rush the process, the camera may still look hazy after cleaning—or worse, it can develop persistent internal condensation.
– Scratching the lens: it usually happens when you wipe dust first. Always remove loose particles before wet cleaning.
– Water intrusion: even small amounts can find their way into cable glands, mounts, or gasket edges—especially if the cleaner is sprayed.
– Over-cleaning: constant aggressive wiping can degrade protective coatings over time. Clean when needed (e.g., when image quality drops), not on a fixed schedule.
– Power issues: restarting while parts are still wet can cause fogging or intermittent image quality.
A key reason not to “test your luck” with moisture is that weatherproofing ratings are not a license to soak electronics. For example, according to IEC 60529:2013, IP66 cameras are designed for dust-tight protection and strong water jets, but that does not mean liquids should be directed into seams and cable entry points during cleaning. IEC 60529:2013 specifies IP66 as dust-tight and protected against powerful water jets (2013).
If you notice that the lens cover looks “wetter inside” after cleaning, stop and follow your camera’s manual guidance for internal moisture—continuing to power it can make the problem harder to clear.
Verdict / tip: DIY cleaning is usually fine—if you avoid water and abrasives
DIY cleaning is usually fine because outdoor CCTV camera maintenance is mainly careful wiping and moisture control. The upside is quicker image recovery; the downside is that scratches, gasket damage, or internal condensation aren’t fixed by wiping.
Pros/cons to decide whether DIY is right:
| Option | Pros | Cons / limits |
|---|---|---|
| DIY lens + housing cleaning | Fast turnaround, no housing opening, usually improves glare and haze when contaminants are on the cover glass | Risk of scratching, risk of moisture ingress if you spray or over-wipe, won’t fix internal fogging or failed seals |
| Professional service / hardware check | Can inspect gaskets, cable glands, and condensation; can replace damaged domes/IR covers when needed | Higher cost and scheduling; still requires lens-safe handling if only cleaning is performed |
Skip DIY and use a pro if: the camera is high/unsafe to reach, you suspect internal moisture, the lens won’t clear after gentle cleaning, or the unit requires opening the housing.
Quick checklist (scan before you start):
– [ ] Turn off power (or disconnect) before cleaning
– [ ] Blow off dust first (don’t wipe grit into the lens)
– [ ] Use microfibre cloths + lens-safe cleaner on the cloth
– [ ] Never spray directly into seams/cable entry points
– [ ] Dry everything fully before powering back on
– [ ] Check image quality after restart; re-clean only if needed
Frequently Asked Questions
How should I clean an outdoor CCTV camera without damaging it?
Start by turning off power to the camera (or switching off the breaker) and letting it cool if it’s in direct sun. Use a microfiber cloth and, if needed, a small amount of lens-safe cleaner—avoid harsh solvents like alcohol, ammonia, or abrasive powders. Gently wipe in straight lines to remove dirt, then let the lens air-dry or lightly buff with a clean microfiber to prevent streaks.
What’s the best way to remove dirt, dust, and bird droppings from a CCTV lens?
First, remove loose debris with a dry microfiber or soft brush so you don’t scratch the lens. For bird droppings or sticky grime, lightly dampen a microfiber cloth with lens cleaner and hold it on the spot for a few seconds to loosen residue before wiping. Repeat until clean, then use a fresh dry section of the cloth to polish the lens for clear outdoor CCTV footage.
Which cleaning products are safe for outdoor CCTV cameras and lenses?
Look for lens-safe solutions specifically designed for camera lenses or optical glass, and use them sparingly to avoid residue on the housing. It’s generally best to use microfiber cloths and soft brushes rather than paper towels or rough rags, which can cause micro-scratches. If your camera has a special coating (anti-glare or hydrophobic), stick to manufacturer-approved cleaning guidance whenever available.
Why does my outdoor CCTV image look blurry after cleaning, and how can I prevent it?
Blurriness usually comes from streaks, leftover cleaning solution, or micro-scratches from dirty cloths. Always use a clean microfiber cloth, apply cleaner lightly, and buff gently until the lens is fully dry. After cleaning, check focus and view the live feed in good daylight to confirm the lens is clear before leaving it unattended.
How often should I clean an outdoor CCTV camera, especially in rainy or coastal areas?
Cleaning frequency depends on exposure to dust, pollen, rain streaking, salt air, and insects, but a practical baseline is every 1–3 months. In coastal or high-humidity areas where salt and moisture can accumulate, you may need to clean more often to maintain clear night vision. Regularly removing grime from the lens helps your outdoor CCTV camera deliver consistent clarity and reduces long-term buildup.
📅 Last Updated: November 03, 2026 | Topic: How should I clean an outdoor CCTV camera? | Content verified for accuracy and freshness.
References
- https://www.cdc.gov/coronavirus/2019-ncov/community/disinfecting-building-facility.html
- https://www.epa.gov/coronavirus/using-disinfectants-safely
- Microfiber
- Lens
- Welcome to Axis support | Axis Communications
- https://www.hikvision.com/en/support
- https://scholar.google.com/scholar?q=how+to+clean+outdoor+CCTV+camera+lens+dome Google Scholar
- https://scholar.google.com/scholar?q=cleaning+maintenance+IP+camera+optics+water+microfiber Google Scholar
- https://scholar.google.com/scholar?q=outdoor+security+camera+maintenance+cleaning+weatherproof+enclosure Google Scholar