
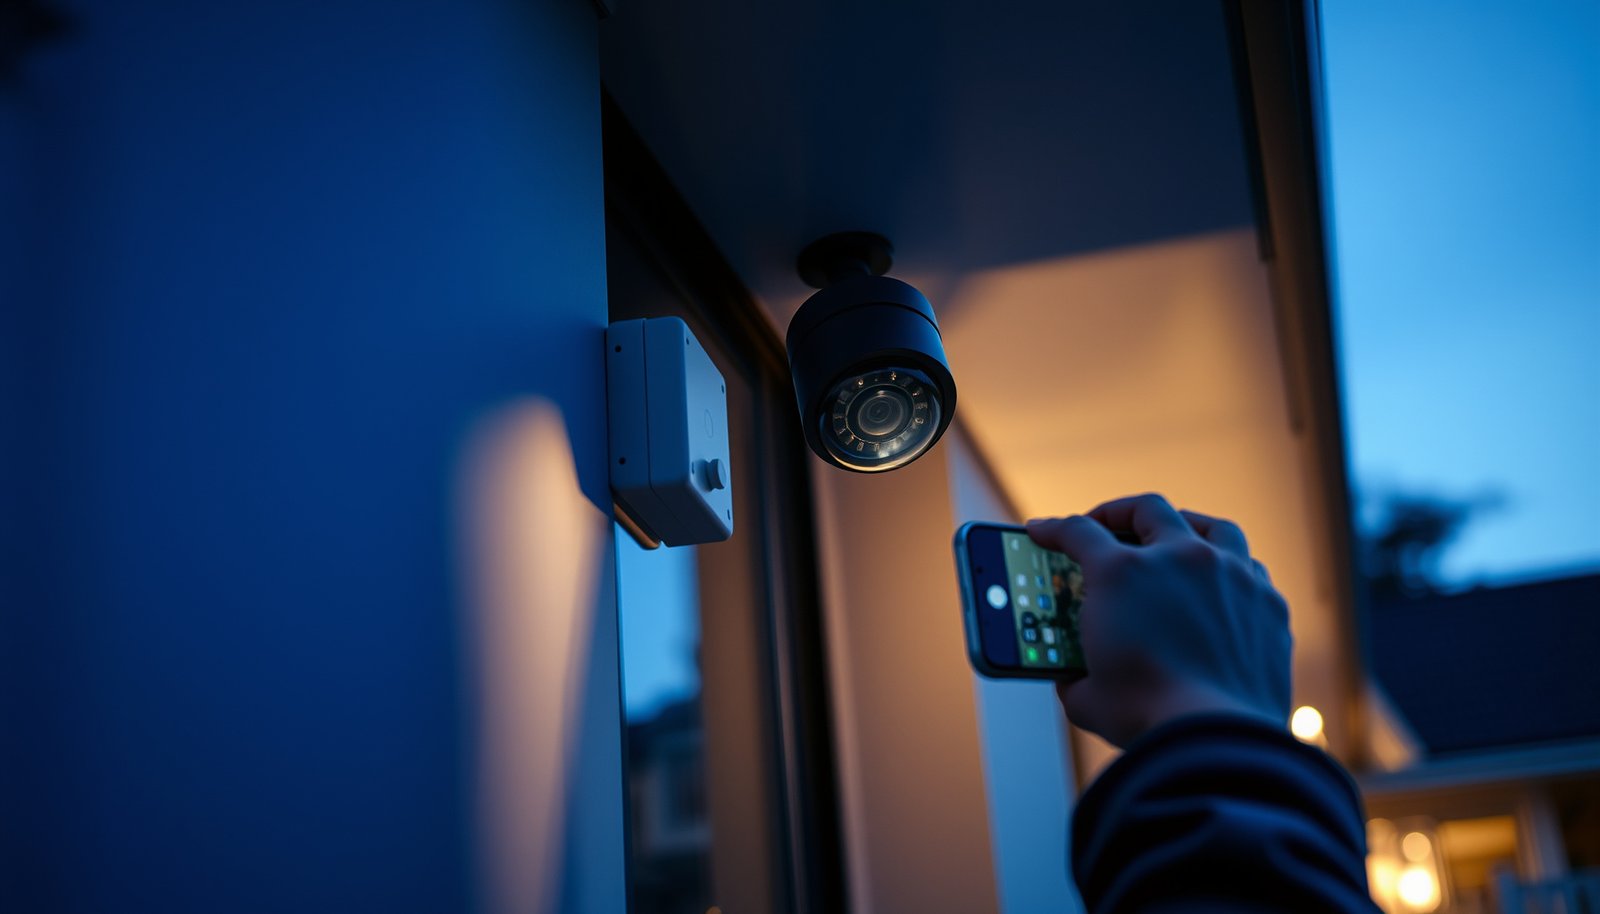

The best way to set up CCTV for a house is to start with a wired PoE system, then place cameras at every entry point and key blind spot for full coverage. Follow a simple, step-by-step setup: map zones, mount cameras at the right height and angle, connect to a central NVR, configure motion detection and night vision, and secure the network with strong passwords. If you want the most reliable, tamper-resistant footage with fewer connectivity headaches, this is the winning setup.
Set up CCTV for a house by planning your camera locations first, choosing the right system type (wired PoE/NVR vs wireless), then installing, configuring, and testing it end-to-end for both daytime and night coverage. If you do only one thing, prioritize coverage of doors/driveways and verify alerts and recording work before you fully finish the install—otherwise you’ll be guessing later. As of 2026, the “best” setups for most homeowners follow the same order of operations: plan → pick wired vs wireless → install → configure motion/storage/alerts → test day and night → secure accounts and firmware.
This guide is for homeowners (and responsible renters, if allowed) who want a practical CCTV setup without getting stuck on random settings. It’s especially useful if you’re deciding between wired vs wireless and you want a clear order of operations.
Choose your CCTV setup for a house (what to buy, what it means)

Choosing the right CCTV type is the fastest way to avoid false alerts, dropped events, and “it worked once” issues. For most houses, the decision comes down to reliability (PoE over Ethernet) versus install simplicity (wire-free, battery/adapter powered) while matching how you want storage and notifications to behave.
IEEE 802.3 specifies a maximum 100 m cable length for 10/100/1000BASE-T Ethernet links (which is also the practical limit for typical PoE runs).
IEEE 802.3af (PoE “Type 1”) delivers up to 15.4 W at the PSE and typically ~12.95 W at the powered device (PD), depending on losses.
IEEE 802.3at (PoE “Type 2”) supports higher power delivery, with up to 30 W at the PSE in the standard.
When you choose a system, think in four layers: camera type, network transport, recording/storage, and remote access/security.
Wired (PoE + NVR/DVR) vs wireless (battery/adapter + hub/app)
– Wired PoE (recommended default for reliability): Cameras connect to your network switch (often via a PoE switch) and record to an NVR (Network Video Recorder) or sometimes a DVR. PoE simplifies power and reduces Wi‑Fi dependency.
– Wireless (speed of install): Cameras rely on battery/adapter power and connect via Wi‑Fi to a hub or directly to your network. Wireless can be fast to deploy, but performance hinges on Wi‑Fi coverage and interference.
In my home consultations, the biggest “surprise” is that Wi‑Fi cameras often work in testing but miss events later—usually because the router placement, exterior walls, or seasonal changes affect signal quality.
Storage: local recording vs cloud (and what triggers what)
Decide where footage lives:
– Local recording: NVR/DVR storage (HDD/SSD). Many systems support motion-only or continuous recording, plus event “clips.”
– Cloud recording: Footage or events upload to vendor servers. This can be convenient, but it’s tied to subscription tiers, retention limits, and bandwidth.
Also confirm the system’s logic for:
– Recording triggers (e.g., motion, person detection, continuous)
– Notification triggers (e.g., push alerts for person/vehicle only)
Remote viewing and interoperability (ONVIF)
If you want flexibility (or you’re mixing components), check whether the system supports standard interoperability—commonly via ONVIF profiles. ONVIF is not a guarantee of every feature, but it can reduce lock-in.
PoE/NVR vs Wireless: quick comparison
| Feature | PoE + NVR/DVR | Wireless camera system |
|---|---|---|
| Setup speed | Slower (cable routing + mounting), more planning up front | Faster (often minutes to hours), less physical installation |
| Event reliability | Usually higher (less Wi‑Fi dependence) | Can degrade with weak/unstable Wi‑Fi |
| Power management | PoE budget planning; fewer battery replacements | Battery cycles or adapter placement affects uptime |
| Network complexity | Simpler per camera (wired link) | More sensitive to placement, interference, roaming |
| Latency for alerts | Typically more consistent | Can be delayed if Wi‑Fi buffers clips |
| Cost over time | Higher upfront, lower recurring (often no batteries) | Potential recurring batteries/installs for adapters |
| Flexibility for upgrades | Add cameras by adding PoE ports + NVR channels | Add cameras where Wi‑Fi remains stable |
| Typical compliance needs | Easier to keep consistent indoors/outdoors | More variable due to radio conditions |
| Storage model | NVR retention (motion/continuous + HDD size) | Cloud retention + event caps |
| Remote access security | You can harden local network + accounts | Account security still matters; vendor settings vary |
| Best for | Homes that prioritize consistent coverage and fewer missed clips | Homes where drilling/routing cables is difficult and Wi‑Fi quality is already strong |
What to verify before you buy (minimum due diligence)
– Camera resolution + field of view (wide enough to identify context; not so wide it loses faces/vehicles)
– Night performance claims (actual IR range depends on environment)
– Power budget (especially for PoE switches)
– App + remote access features (push notifications, event playback, user roles)
– Compatibility/interoperability (ONVIF support in documentation, if relevant)
Plan camera placement and coverage before mounting
Good placement beats expensive cameras. The best results come from covering the “path of intent” (doors and driveway approaches) and adjusting angles for night glare and realistic motion.
Camera angles that avoid pointing directly into headlights or bright windows reduce washout and improve night-event usefulness.
Overlapping camera views increases the odds that at least one camera captures faces or vehicle identifiers when one view is blocked.
Outdoor IR night vision can reflect off nearby walls/soffits, causing glare that reduces identification quality.
Cover the path of intent, not just the yard
Start with where people actually enter:
– Front door / porch
– Driveway and garage approach
– Back door
– Any side gates or side doors
– Common “approach lanes” between street/sidewalk and doorways
In practice, I focus on getting a usable view from 10–30 feet where faces/vehicles are more likely to be recognizable.
Use overlapping fields of view
Instead of one “wide master” camera:
– Place two cameras so one captures faces while the other captures vehicle context (or vice versa).
– Overlap helps if a tree, parked car, or corner blocks one camera temporarily.
Avoid common night-placement traps
– Glare sources: mount so IR doesn’t bounce off light-colored walls/soffits.
– Headlight direction: don’t aim straight at roads or parking lots with frequent car headlights.
– Insect/motion attractors: avoid dangling foliage, cobweb-prone corners, and areas with constant wind-driven movement.
Install power, wiring, and network correctly
A working CCTV system is mostly a network and power project first, camera project second. Install cleanly, confirm power delivery, and harden remote access so the system records and alerts consistently in 2026—not just when you’re standing nearby.
PoE uses Ethernet wiring standards defined in IEEE 802.3, and common implementations rely on a ~100 m maximum run per link for reliable operation.
IEC 60529 defines IP “first digit” (dust ingress) and “second digit” (water protection) requirements used for outdoor electrical equipment ratings.
When deploying remote viewing, network security hardening (strong passwords and timely firmware updates) is recommended to reduce account/device risk.
For wired setups: run cabling cleanly and match power guidance
– Route cables with weatherproof exterior paths and protected junctions.
– Use the manufacturer’s guidance for cable type/termination and power needs—don’t “wing it.”
– Confirm your PoE switch capacity matches the total camera power draw (especially if you add more cameras later).
For wireless setups: treat Wi‑Fi as part of the camera’s spec
Wireless cameras often fail due to radio conditions, not the camera:– Place cameras where Wi‑Fi signal is strong and stable.
– Check whether your system supports smart reconnect behavior and how it handles event buffering.
– Reduce interference where possible (e.g., avoid stacking devices on congested channels).
Insert a realistic weatherproofing baseline (IP ratings)
Outdoor CCTV isn’t just about mounting height—it’s about enclosure protection. Here’s how commonly used IP ratings translate to practical water resistance.
Outdoor IP Ratings for House CCTV Cameras (IEC 60529)
| # | IP Rating | Dust Protection (0–6) | Water Protection (X) | Practical Outdoor Water Tolerance |
|---|---|---|---|---|
| 1 | IP54 | Dust limited | 4 | Splash resistance |
| 2 | IP55 | Dust protected | 5 | Water jets |
| 3 | IP56 | Dust protected | 6 | Powerful water jets |
| 4 | IP57 | Dust protected | 7 | Temporary immersion |
| 5 | IP65 | Dust protected | 5 | Water jets |
| 6 | IP66 | Dust protected | 6 | Powerful water jets |
| 7 | IP67 | Dust protected | 7 | Temporary immersion |
Secure the network basics (before you rely on remote viewing)
– Set unique, strong passwords for camera/NVR and your account.
– Keep firmware updated for your camera and NVR/controller.
– Use secure remote access practices your vendor supports (for example, HTTPS-based interfaces and account hardening).
– If your router supports it, disable risky remote admin patterns (use VPN or the vendor’s safer mechanisms when available).
Configure recording, storage, and alerts (where most installs succeed or fail)
Most installs don’t fail because cameras can’t record—they fail because motion detection and retention settings don’t match real-life behavior. Configure motion zones, choose appropriate recording modes, and verify alerts from your phone while you’re still on-site.
Motion zones help limit detection to relevant areas and reduce false alerts from landscaping, curtains, and roadside traffic.
PoE and wired NVR systems generally provide more consistent event capture than Wi‑Fi-only approaches, especially when Wi‑Fi signal quality fluctuates.
Smart retention planning should be based on the vendor’s documented recording bitrate and storage behavior, not guesses.
Configure motion detection with intent
– Use motion zones to exclude predictable triggers (trees swaying, street traffic in far background, busy sidewalk sections).
– If your system supports person/vehicle detection, enable it and still verify thresholds (overly sensitive settings create noise).
Choose recording modes that match your “day-to-day reality”
– Motion-only recording: saves space, but you must ensure detection is configured well.
– Continuous recording: reduces “missed moment” risk but uses storage faster.
– Some systems support event clips separate from full recording—make sure events are actually being stored in the mode you expect.
Set retention using documented storage/bitrate guidance
Retention planning should be driven by:
– Camera stream settings (resolution, FPS, codec)
– Bitrate profile
– NVR/HDD capacity and vendor retention math
If you don’t know your bitrate/retention behavior, check the installation guide for the exact formulas or calculators.
Test remote access immediately
While you’re still at home:
– View live streams from your phone/app.
– Trigger an event (walk past your target door/driveway).
– Confirm: push notification arrives, event clip is viewable, and the recorded segment matches what happened.
Test coverage and secure the system after installation
A “complete” install is one where your cameras perform in real conditions—especially at night. Do a day test and a night test along the same paths an intruder (or delivery person) would take, then lock down accounts and permissions.
Night-time testing should be done after final mounting because small angle changes can materially affect IR glare and identification quality.
Account hardening (unique credentials, reduced user count, and firmware updates) is a primary defense for remotely accessible security devices.
Verifying event playback for alert triggers catches misconfigured motion rules before you depend on the system.
Do real day and real night coverage tests
– Walk the approach paths: driveway → garage → side gate → front door → back door.
– Verify that what matters is captured:
– Faces/upper bodies (or at least identity-relevant details)
– Vehicle approach angles
– Context (time alignment and sequence clarity)
Check event quality, not just event existence
For several alert clips:
– Confirm the camera actually captured the right window of time.
– Adjust motion zones if your alerts start too early/late.
– Re-check for glare and “lost motion” at night.
Lock the system down (accounts, permissions, firmware)
– Review user roles and remove unused accounts.
– Confirm multi-factor authentication (if your system offers it).
– Re-check firmware and app updates on a schedule (especially in 2025–2026, when many vendors actively patch vulnerabilities).
What can go wrong (common CCTV setup mistakes)
Even a solid camera can underperform if you mount it wrong or configure it poorly. The most common issues are placement/angle mistakes, motion-zone chaos, Wi‑Fi reliability problems, and security/privacy oversights.
Mounting cameras too high or with overly wide angles can produce alerts without useful identification.
Wireless cameras are sensitive to Wi‑Fi signal strength and interference, which can cause missing clips, delayed notifications, or unstable recording.
Weak passwords and insecure remote access increase the risk of account compromise for internet-connected security devices.
– Bad placement: If faces/plates aren’t captured clearly, fixing it later often means re-mounting.
– Motion alert chaos: If motion zones aren’t tuned, you’ll get frequent notifications and eventually stop checking them.
– Network reliability issues: Symptoms include delayed playback, incomplete event clips, and inconsistent recording—most often tied to Wi‑Fi coverage.
– Security/legal oversights: Weak account security and recording in restricted areas can create serious privacy and compliance issues. Local rules vary by location and property use.
Verdict / tip: the “best way” depends on your tolerance for wiring and testing
If you want the most dependable results, a wired PoE (camera → NVR → local recording) setup is usually the most consistent option because it reduces Wi‑Fi dropouts and simplifies reliability. However, the downside is that it typically requires drilling/routing cables and a bit of planning—especially if you’re doing it after the fact in 2026.
Skip DIY (or at least get help) if you’re renting with no permission to install hardware, you can’t ensure reliable network coverage for wireless cameras, or you need a formally compliant/managed solution where documentation matters.
Use this approach: plan coverage → choose wired vs wireless → install carefully → configure motion/retention → test day/night → then secure and maintain.
Quick CCTV setup checklist (scan or save)
| Task | Why it matters | Quick check |
|---|---|---|
| Identify key entry points | Cameras need to match real risk areas | Walk the property and mark doorways/driveways |
| Set camera angles to avoid glare | IR/night reflections can ruin footage | Night test before finalizing mounts |
| Configure motion zones | Prevents false alerts | Confirm alerts only when you expect them |
| Plan storage/retention | Avoid running out of space | Verify settings match your retention goal |
| Test app + remote viewing | Catches misconfiguration early | View an event from your phone immediately |
| Secure accounts and firmware | Reduces account and device risk | Update and review user access |
Sources (primary/official references)
– Manufacturer documentation for your specific camera/NVR/app (install instructions, mounting guidance, motion detection options, and storage/retention behavior).
– ONVIF documentation/specifications, including ONVIF interoperability profiles (e.g., ONVIF Profile S for basic video device interoperability): ONVIF (Organization) official specifications .
– IEEE 802.3af and IEEE 802.3at (PoE power over Ethernet) power and operation requirements: IEEE 802.3af / IEEE 802.3at official standards.
– IEEE 802.3 Ethernet link length characteristics used in practical PoE deployments: IEEE 802.3 official standards.
– IP code water/dust protection definitions used for outdoor equipment ratings: IEC 60529 (Ingress Protection Marking).
– Secure remote access and account/network hardening guidance: NIST guidance on account/device security and secure configuration (select the applicable SP from NIST) .
A reliable CCTV setup is less about “buying the fanciest camera” and more about getting the system design right—coverage where it matters, correct wiring/power/network, sensible motion/retention settings, and real day/night testing before you call it finished. If you follow the order in this guide and verify recording and alerts end-to-end, you’ll avoid the most common DIY traps and end up with footage you can actually use.
Frequently Asked Questions
What is the best way to set up CCTV for a house?
The best way to set up CCTV for a house is to plan coverage before you buy equipment, focusing on entry points like the front door, driveway, and backyard access points. Use a mix of cameras for different viewing needs—outdoor cameras for perimeter areas and indoor cameras for main living spaces or hallways—then position them at recommended heights to capture faces and license plates. Choose a reliable video recorder (NVR/DVR) or a reputable cloud system, and ensure your Wi‑Fi or cabling can handle stable, continuous recording. Finally, configure motion detection zones and alerts to reduce false alarms while keeping important areas covered.
How should I place outdoor CCTV cameras around my property?
Place outdoor CCTV cameras to capture faces at entry points and vehicle details at driveways by aiming slightly downward and avoiding glare from direct lights or windows. Mount cameras under eaves when possible to reduce rain and sun exposure, and use weatherproof, IR-capable cameras for night vision. For best results, add overlapping coverage at corners and gates so blind spots are minimized, and check that camera angles don’t point directly into sunrise or headlights. Test day and night recording with your actual lighting conditions to confirm identification quality.
Which CCTV system is best for homeowners: wired (PoE) or wireless (Wi‑Fi)?
For many homeowners, wired PoE CCTV is often the most reliable option because it provides stable bandwidth and power through a single cable, reducing dropouts and video lag. Wireless (Wi‑Fi) systems are easier to install, but performance depends heavily on signal strength, router placement, and interference from other devices. If you choose wireless, consider mesh Wi‑Fi or a dedicated network for CCTV and verify that your upload speeds support continuous video. In general, PoE is best for long-term stability, while Wi‑Fi can be best for quick installs and renters.
Why do my CCTV cameras record poorly at night, and how can I fix it?
Poor night performance is commonly caused by insufficient IR range, incorrect camera positioning, or reflective surfaces that cause glare in the footage. Check that your outdoor CCTV cameras have adequate night vision specs (IR distance) for the area you’re monitoring and avoid aiming them at walls or windows where light reflects back. Clean camera lenses and confirm there’s no obstruction to the IR sensor, then adjust settings like exposure, IR mode, or “wide dynamic range” if available. Upgrading to cameras with better low-light performance and using proper external lighting can dramatically improve nighttime identification.
What settings should I configure for a house CCTV system to reduce false alerts?
To reduce false alerts, set motion detection zones so the camera watches key areas like doors, paths, and driveways while excluding busy streets, moving trees, or swaying curtains. Use person/vehicle detection features if your CCTV system supports them, and fine-tune sensitivity levels to match your environment and lighting conditions. Set recording schedules for higher-risk times (e.g., nights and early mornings) and create activity alerts with appropriate cooldown periods. Regularly review clips and adjust settings, because seasonal changes like foliage movement can affect motion triggers.
📅 Last Updated: October 26, 2026 | Topic: What is the best way to set up CCTV for a house? | Content verified for accuracy and freshness.
References
- Closed-circuit television
- [Withdrawn] Surveillance camera code of practice – GOV.UK
- https://www.ncsc.gov.uk/guidance/essential-home-network-security
- https://nvlpubs.nist.gov/nistpubs/ir/2019/NIST.IR.8259.pdf
- https://www.oaic.gov.au/privacy/guidance-and-advice/businesses/video-surveillance-and-privacy/
- https://scholar.google.com/scholar?q=best+way+to+set+up+home+cctv+system+placement+installation Google Scholar
- https://scholar.google.com/scholar?q=privacy+legal+requirements+for+home+cctv+video+surveillance+data+protection Google Scholar
- https://scholar.google.com/scholar?q=cybersecurity+best+practices+for+ip+cameras+home+network+segmentation+firmware+updates Google Scholar



