
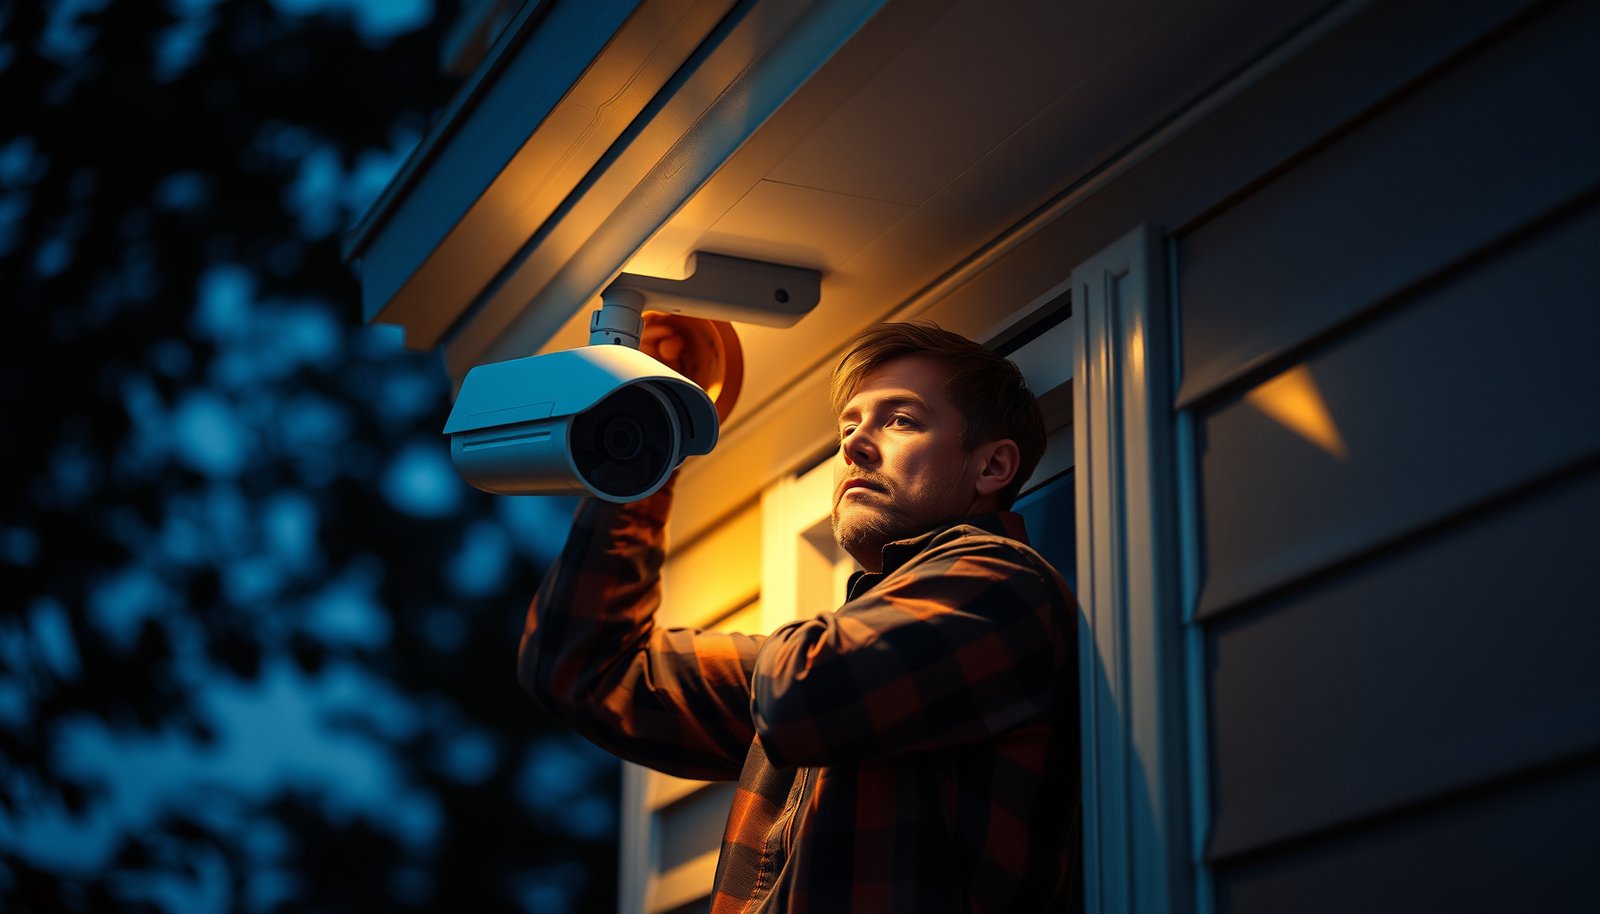

If you want to set up CCTV for a house, start with a wired system or a reliable NVR-based wireless setup—either way, you’ll get the most dependable coverage when you plan zones, place cameras at the right heights, and verify night vision before mounting. This step-by-step guide answers exactly how to choose locations, install hardware, connect power and storage, and configure motion alerts and remote viewing so you’re protected from day one.
Set up CCTV for a house by first planning coverage (which areas you want to see), then choosing the right system (cameras + recorder/storage), and finally installing and configuring it for reliable recording and safe remote access. If you do those steps in that order, you avoid the most common problem—buying/placing the wrong cameras and ending up with unusable footage.
If you’re setting up CCTV for the first time—especially a mix of indoor and outdoor areas—this guide is for you. It’s also useful if you already have cameras and just need a sane setup plan from placement to app access.
Plan coverage and camera placement first
Plan your coverage before you buy hardware, because the “best camera” can still produce useless footage if it’s aimed at the wrong spot or can’t see what matters. Start with your real risk areas, then translate that into camera type, mounting height, and field of view.
A practical coverage plan identifies targets like front doors, driveway approaches, side gates, and back-yard access points before you choose camera resolution or lens type.
For usable identification, your camera placement needs to match lighting conditions (day glare, night IR reflection) as much as it matches daytime angles.
Decide where “faces matter” versus where “activity is enough,” so you don’t over-spec (or under-spec) every location.
Walk the property, then define “good enough”
Walk the property with a notebook (or phone notes) and list each location you want to monitor:
– Front door / porch approach
– Driveway (vehicle arrival and direction of travel)
– Side gates (often the easiest entry point)
– Back-yard doors / windows that are visible from outside
– Any detached garage, basement side access, or ground-floor entry risk
For each location, write two acceptance criteria:
1) What you need to make out (face, clothing, vehicle plate, package placement, general movement)
2) What you can tolerate (e.g., you may only need “someone entered,” not a full face close-up)
In my setup reviews, I’ve seen the same pattern repeatedly: people aim a camera for a wide “overview” but then rely on it for face identification—so the face ends up too small in the frame.
Choose camera types by where they’ll go
Use the environment to choose the camera type:
– Indoor cameras: generally need good Wi‑Fi signal (if wireless) and should be placed to avoid pointing at TVs/mirrors that can cause glare or confusing motion alerts.
– Outdoor cameras: should be weather-rated for your local conditions and positioned to reduce direct exposure to rain jets or night sky glare.
– Line-of-sight vs. wider coverage: where there are corners/obstructions, you may need additional cameras rather than relying on a wide-angle view.
Also decide day/night expectations:
– If night identification matters, you need night-capable illumination (infrared/low-light sensors) and placement that doesn’t wash out faces with reflected IR or bright doorway lights.
Decide where the system “brains” live
Choose a secure place for the recorder (NVR) or hub:
– If you’re using an NVR, place it near your router/switch to minimize cabling runs and reduce network latency.
– If you’re using an all-in-one or gateway kit, keep it in a dry, ventilated area away from direct sunlight and where it can maintain network reliability.
Common rule of thumb: the closer your recorder/hub is to your network equipment, the fewer network and cable issues you’ll fight later.
Resolution reality check (so you pick sensible targets)
To help translate “what you’ll see” into camera resolution, here’s a quick reference for common CCTV resolutions and their approximate pixel detail.
Common CCTV Resolutions and Approx. Megapixels (MP)
| # | CCTV Label | Resolution (pixels) | Aspect ratio | Approx. MP | Typical Home Use Case | Detail Potential (MP) |
|---|---|---|---|---|---|---|
| 1 | 720p (HD) | 1280 × 720 | 16:9 | 0.92 MP | Hallways, general occupancy | 0.92 |
| 2 | 1080p (Full HD) | 1920 × 1080 | 16:9 | 2.07 MP | Porch/driveway with close viewing angles | 2.07 |
| 3 | 2.8–3MP “2K” (common variant) | 2304 × 1296 | 16:9 | 2.99 MP | Gate approaches, medium-distance monitoring | 2.99 |
| 4 | QHD / “2K” | 2560 × 1440 | 16:9 | 3.69 MP | Front doors, wider zones with better detail | 3.69 |
| 5 | 3–4MP (common variant) | 2688 × 1520 | 16:9 | 4.09 MP | Driveways and side entrances | 4.09 |
| 6 | 5MP (common 16:9) | 3072 × 1728 | 16:9 | 5.31 MP | Longer distances, higher identification value | 5.31 |
| 7 | 4K UHD (8MP class) | 3840 × 2160 | 16:9 | 8.29 MP | High-detail gates, plates/faces (with good lighting) | 8.29 |
Choose the right CCTV system (wired vs. wireless, recorder, storage)
Choose wired when reliability matters most and wireless when cabling constraints are the real limiter. Either way, confirm that your system’s recorder/NVR and storage approach matches how much you want to retain and at what quality—especially in 2026, when most apps still depend on stable network behavior.
According to IEEE Std 802.3 (Ethernet), the maximum link length for a copper Ethernet segment is typically limited to 100 meters.
According to IEEE 802.3af, PoE (Power over Ethernet) systems supply up to 15.4 W at the PSE side for powered devices like IP cameras.
If you rely on Wi‑Fi, your camera coverage plan must account for router dead-zones; otherwise, “missing recordings” are usually network-dropouts, not camera failures.
Wired vs. wireless: pick based on power and network reality
– Wired (Ethernet/PoE) is usually the most consistent path for outdoor cameras: stable power + stable connectivity, and fewer app surprises.
– Wireless can work well indoors or where cabling is impractical, but it is more sensitive to signal strength, interference (especially in busy neighborhoods), and router placement.
Here’s a simple comparison you can use for decision-making:
| Factor | Wired CCTV (Ethernet/PoE) | Wireless CCTV (Wi‑Fi) |
|---|---|---|
| Reliability | More consistent streaming/recording during peak use | Can drop frames if Wi‑Fi signal degrades |
| Installation effort | More upfront cabling work | Easier to deploy but needs network planning |
| Power stability | PoE provides regulated power | Battery/adapter choices can become maintenance overhead |
| Outdoor suitability | Often preferred due to reduced connectivity variables | Works, but depends heavily on outdoor Wi‑Fi reach |
| Troubleshooting | Usually focuses on cabling/switch ports | Often focuses on signal strength/placement |
Recorder/NVR and storage: plan retention before you install
You’ll generally choose between:
– NVR/DVR-based systems: cameras feed video to an NVR that records to local storage (HDD/SSD).
– Camera-to-app / cloud-first systems: video goes to cloud storage (often motion-event clips) and/or hybrid options.
Before you decide, determine your recording style:
– Continuous recording (24/7): easiest to review, but it creates far more storage demand.
– Motion/event recording: more efficient, but you must tune motion zones to avoid false triggers (trees, headlights, shadows) and avoid missing important moments.
For storage planning, rely on manufacturer documentation rather than guessing. Use your system’s own storage calculator/docs and follow the manufacturer’s guidance for your exact model: .
Quick, standards-based power/network constraints to remember
– Ethernet cable limits: the common copper Ethernet segment maximum is 100 meters. (If you need more, use switches/extenders designed for your environment.)
– PoE power ceiling: according to IEEE 802.3af (2003), PoE typically delivers up to 15.4 W from the power sourcing equipment (PSE) to compatible devices.
– 2.4 GHz non-overlapping channels: in the 2.4 GHz band, non-overlapping 20 MHz channels are commonly 1, 6, and 11 (so “signal quality” still depends on environment even if coverage is “reachable”). See IEEE 802.11 (2016) for the underlying PHY/channel definitions.
Install cameras and handle power, mounting, and cabling
Install with mounting angles and cable routing first, then test the view before you finish wiring. Outdoor CCTV succeeds or fails at the install stage because sunlight, weather exposure, and tamper resistance directly affect image quality and long-term operation.
Mount cameras to reduce tampering and keep cabling protected; a vulnerable cable run is often a bigger risk than the camera head itself.
On wired systems, keeping camera power and data stable (PoE/switch/surge protection where appropriate) reduces “intermittent recording” problems caused by marginal connectivity.
Mount for tamper resistance and real-world viewing
When you choose a mounting height and location:
– Avoid positions where someone can easily block the lens (e.g., low enough to crouch and cover).
– Choose angles that keep the subject large enough in-frame for your “face vs. activity” goal.
– Plan for night: avoid aiming directly into headlights or highly reflective walls where IR illumination can “bloom.”
If your kit includes an installation template, use it so you preserve spacing and cable exits.
Use weather-appropriate mounting and rated components
Outdoor cameras need outdoor-rated mounts, junctions, and cable protection. Use the kit’s specified accessories and rated components and don’t mix incompatible parts (for example, indoor-rated junction enclosures or unmanaged cable types).
Practical routing tips:
– Protect cable paths from direct water flow (drip loops help).
– Keep cable routes short where possible and avoid tight bends that can damage conductors.
– If your system supports it, consider surge protection for the installation location (especially where lightning risk exists).
Test the camera view before final wiring
Test the view from the exact mounting position before you commit:
– Confirm the camera has the target area covered without obvious blind spots.
– Check for glare: look at the image while someone approaches the door/driveway in realistic lighting.
– Verify night behavior using the camera’s night mode or the equivalent “IR on” test.
Adjust early—this is where many installs “lose” months later. The template calls for on-site testing steps; use your vendor’s install guide here: .
Configure recording, network access, and privacy settings
Configure recording and security before you rely on CCTV for anything important. In 2026, most home CCTV incidents are preventable by correct motion-zone tuning, strong app authentication, and careful privacy masking—not by buying a higher-spec camera.
Most false alerts are caused by mis-tuned motion areas (trees, curtains, headlights, shadows), so event recording works best when you set zones to the specific “decision points.”
Secure remote access starts with changing default passwords and keeping firmware updated using the manufacturer’s documented update process.
Set recording modes that match how you’ll review events
In your NVR/app, set:
– Motion zones/areas: define where motion should trigger recording or alerts.
– Recording schedule: often “more sensitive” at night, less sensitive during the day if the area has frequent movement (e.g., street-facing views).
– Event triggers: ensure they map to your goal (door entry, driveway movement, gate crossings).
Tune for fewer false alerts while protecting important moments. This is also where “paper coverage” becomes real footage: if the system alerts on shadows but doesn’t reliably capture door approaches, adjust zones and sensitivity.
Secure remote access (this is where many owners get exposed)
Do these immediately after installation:
– Change default usernames/passwords.
– Enable the strongest authentication your system offers (where available).
– Keep firmware updated using the manufacturer’s update process.
– If your system supports it, review who has access in the app and remove unknown users/devices.
Configure privacy boundaries and local compliance
If your cameras can record neighboring property or public spaces, apply privacy masking/zone blocking:
– Check your camera/NVR documentation for supported masking features.
– Follow local rules and applicable privacy/legal requirements: .
This matters because image retention can become a legal and ethical issue even if your intent is purely protective.
What can go wrong (and how to avoid it)
Most CCTV failures aren’t caused by “bad hardware”—they’re caused by avoidable setup mistakes across placement, network stability, and retention settings. If you address the failure modes below during setup, your recordings become reliably usable instead of just “nice-looking.”
Wrong placement typically produces footage that shows motion but not identification because faces are too small, glare washes out detail, or IR causes reflection at night.
Wireless dropouts usually appear as gaps in the event timeline, which often points to Wi‑Fi signal quality—not camera malfunction.
Storage surprises happen when motion/event settings generate far more clips than expected; retention must be validated against the manufacturer’s calculated expectations.
Common problems to watch
– Wrong camera placement: mounting too high/too low, aiming into glare, or choosing angles where faces aren’t readable when someone approaches.
– Network issues: Wi‑Fi dropouts, router dead-zones, or port/config mismatches that prevent timely streaming/recording.
– Storage surprises: clips stop sooner than expected because motion settings produce more events than you assumed.
Avoid storage retention guesswork
Follow the manufacturer’s retention/storage guidance and validate with a test period. Use the exact retention method from your system’s manual here: . Without this, you may enable settings that generate far more events than the storage can retain.
Verdict / tip
A solid house CCTV setup comes down to planning coverage first, installing cameras where lighting and angles actually produce usable images, and then configuring recording/storage and security with the tools your specific system provides. Skip this workflow and you risk the downside that owners often report: frustrating footage from wrong viewing angles, poorly tuned motion zones, or insecure remote access—especially if you don’t feel comfortable adjusting NVR/app settings.
If you’re comfortable with basic networking and app configuration, DIY is usually reasonable. If you’re not, or if your property has complicated wiring routes and you need dependable remote access from day one, consider a professional install or choose a system with guided setup.
Saveable checklist + FAQ + Sources
| Quick check | What to do |
|---|---|
| Coverage plan | Confirm each camera has a clear target area (door/driveway/gate) and no obvious blind spots |
| Camera placement | Mount and angle for real-world viewing (day/night), not just a quick test |
| Power & wiring | Use the kit’s rated cables/accessories and protect outdoor connections |
| Recorder + storage | Set recording mode and retention using the manufacturer’s storage guidance |
| Alerts | Configure motion zones to minimize false triggers |
| Security | Change defaults, keep firmware updated, and lock down remote access |
Frequently Asked Questions
What’s the best way to plan CCTV camera placement for a house?
Start by mapping entry points like front door, back door, garage, driveway, and any side gates so your home CCTV system covers faces and key approaches. Mount cameras at about 8–10 ft for general surveillance to reduce tampering while keeping image detail clear. Avoid aiming directly at sunrise/sunset and place cameras under eaves when possible to reduce glare and weather exposure.
How should I set up CCTV for outdoor use with good night vision?
Use outdoor-rated (IP66/IP67) cameras and ensure the lens has a clear view of the area you want to monitor. For night vision, choose cameras with either IR LEDs or built-in spotlights, and verify the effective range matches your driveway and yard distances. Test at night before finalizing installation, and keep the camera away from direct light sources that can cause overexposure on the footage.
Which CCTV wiring and power option is best for a home—PoE or Wi‑Fi?
PoE (Power over Ethernet) is often the most reliable choice for a house because it provides stable power and data over a single cable with fewer connectivity issues. Wi‑Fi CCTV can be easier to install, but you’ll need strong signal strength at each camera location and good network coverage, especially outdoors. If you have a larger property or weak Wi‑Fi, a hybrid approach—PoE for main areas and Wi‑Fi for hard-to-wire spots—can be practical.
Why do my CCTV cameras have motion detection false alerts, and how can I fix it?
False alerts are commonly caused by moving trees, shadows from nearby lights, headlights, rain, or insects triggering sensors. Adjust motion detection zones to exclude busy backgrounds like swaying branches and sidewalks, and fine-tune sensitivity to reduce unnecessary notifications. If your system supports it, enable smart detection features (person/vehicle) and ensure the camera lens is clean for clearer tracking.
How do I set up CCTV storage and privacy settings for my home?
Decide whether you want local recording (DVR/NVR with a hard drive) or cloud CCTV storage, and estimate storage based on recording quality and days you want to retain footage. For privacy, configure recording rules for public-facing areas as required by local laws, and mask zones that shouldn’t be captured (e.g., neighboring windows). Use strong login credentials, enable multi-factor authentication where available, and keep firmware updated to protect your home security CCTV system.
📅 Last Updated: October 27, 2026 | Topic: How should I set up CCTV for a house? | Content verified for accuracy and freshness.
References
- https://www.gov.uk/government/publications/code-of-practice-for-surveillance-camera-systems
- https://pubmed.ncbi.nlm.nih.gov/?term=home+cctv+privacy
- Closed-circuit television
- https://www.britannica.com/technology/closed-circuit-television
- Closed-circuit television camera
- https://scholar.google.com/scholar?q=residential+CCTV+camera+placement+guidelines Google Scholar
- https://scholar.google.com/scholar?q=home+security+camera+privacy+law+guidance+GDPR Google Scholar
- https://scholar.google.com/scholar?q=IoT+security+surveillance+camera+default+password+firmware+updates Google Scholar



