
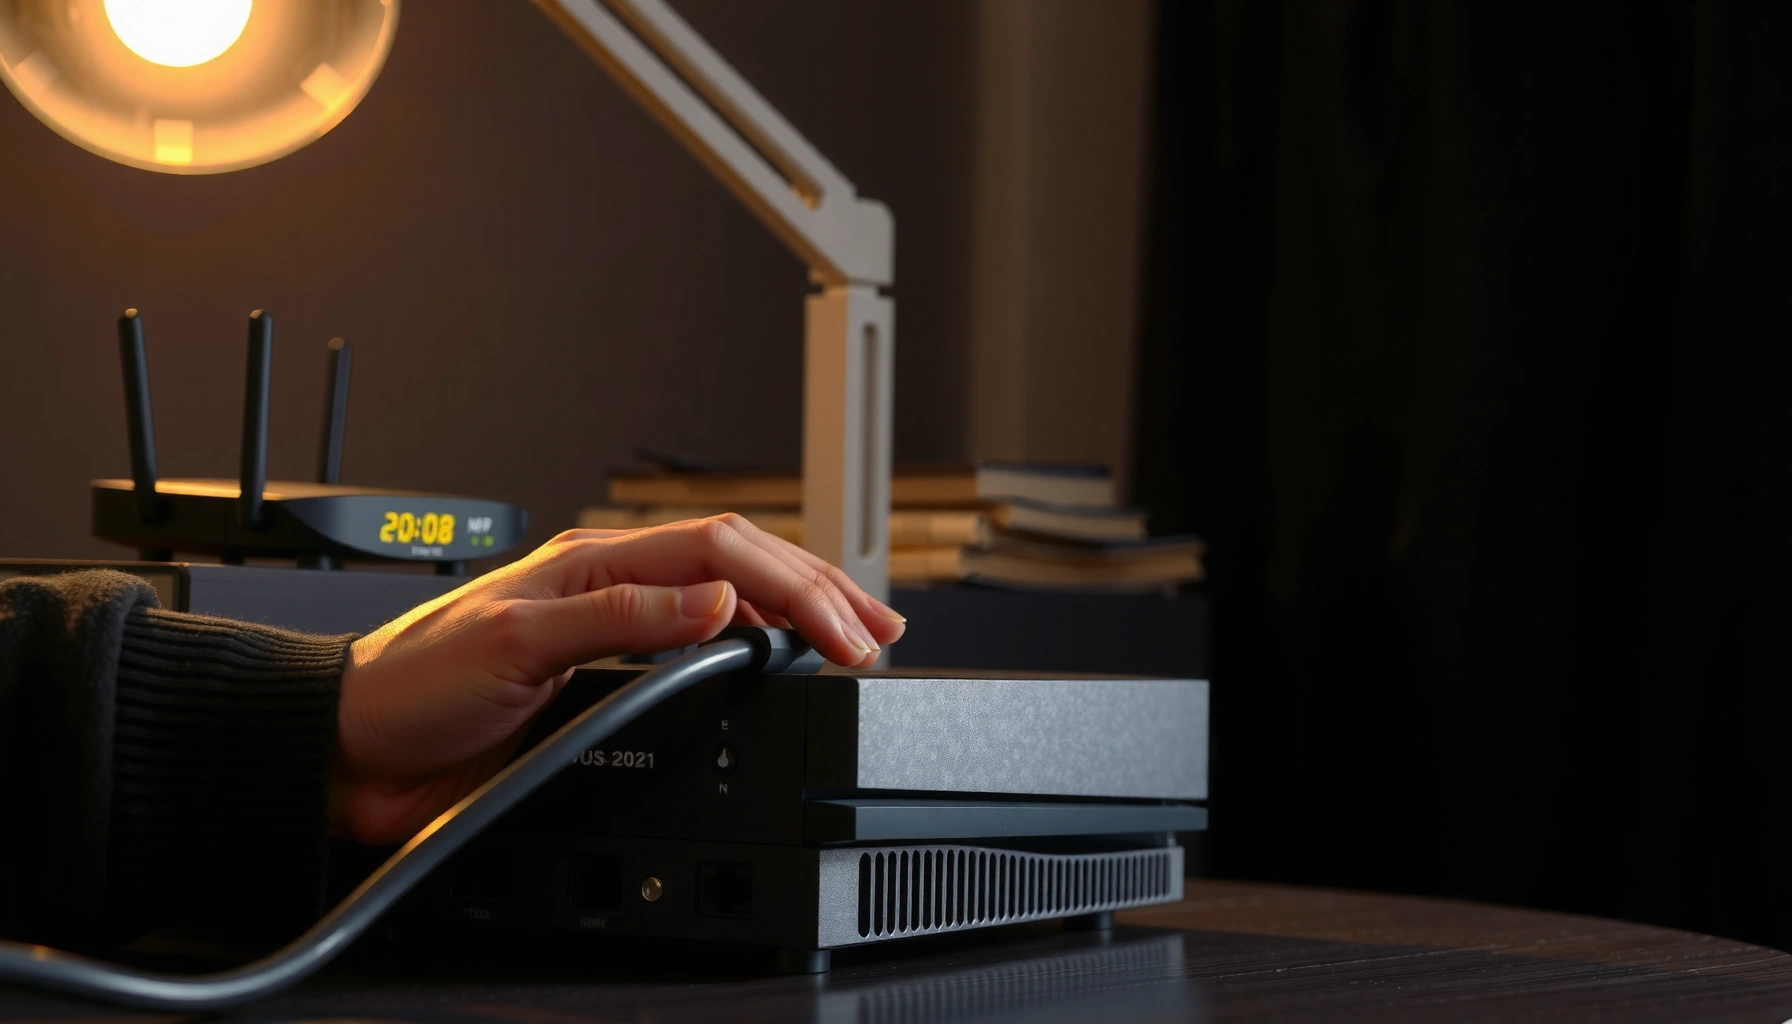

Safely setting up a CCTV NVR means powering it correctly, using the right Ethernet cabling, and configuring the network before you start recording. With an NVR, compatible cameras (often PoE), Ethernet cables, a monitor, and either a router or a dedicated switch, the setup typically takes about 1–2 hours and is straightforward if you work methodically. Follow the steps to label cables, avoid mismatched voltages, secure your login, and confirm live video before final placement.
Setting up a CCTV NVR safely comes down to doing things in the right order: plan cabling and power first, connect cameras one-by-one, verify live view and storage locally, then lock down the network and remote access. This step-by-step guide helps you reduce “no video / won’t record” issues while also improving overall security—especially important in 2026, when many NVRs are targeted after they’re left in unsafe default configurations.
If you’re installing an NVR at home or a small business—especially if you’re running new cables or using PoE cameras—this layout will help you avoid the most common “won’t record / no video” problems and reduce security risks.
Plan your setup before you connect anything

Planning first prevents the two biggest installation failures: incompatible components and cabling that forces you to rework later. Before you power anything, decide whether your cameras are PoE (Power over Ethernet) or require separate power and video runs.
– Confirm how your system works: PoE cameras (single Ethernet cable carrying power + data) versus separate power + video runs.
– Map camera locations to cable routes so you can estimate runs and avoid tight bends or outdoor exposure issues.
– Check compatibility (camera protocol, supported resolutions, and the NVR’s max channel/storage limits) in the manual before purchasing or assembling.
A key “safe setup” mindset is to treat the NVR like a system integrator: it can only record what it can reliably talk to (camera protocol/ONVIF support), decode at the chosen resolution/codec (H.264 vs H.265/HEVC), and store to a compatible drive. If any one part is mismatched, the result is often silent failure—live view might appear, but recording schedules or storage can still fail.
7 Technical Checks to Validate Before You Run Cable (2026)
| # | Planning check | Typical max value | What it impacts | Priority |
|---|---|---|---|---|
| 1 | Ethernet copper run length | 100 m | Video stability / PoE voltage drop | ★★★★★ |
| 2 | Cat6a cabling performance (bandwidth) | 500 MHz | Noise resistance for higher data rates | ★★★★☆ |
| 3 | PoE (802.3af) power to device (PD) | Up to 12.95 W | Whether midspans/switches can power cameras | ★★★★★ |
| 4 | PoE+ (802.3at) power to device (PD) | Up to 25.5 W | Infrared (IR) and PTZ camera power headroom | ★★★★★ |
| 5 | PoE++ (802.3bt) Type 3 power to device (PD) | Up to 51.0 W | High-power multi-sensor cameras | ★★★★☆ |
| 6 | PoE++ (802.3bt) Type 4 power to device (PD) | Up to 71.3 W | Heated housings, heavier PTZ loads | ★★★★☆ |
| 7 | Minimum password length guidance | At least 8 chars | Resistance to easy credential guessing | ★★★★★ |
To anchor these checks in standards you can trust: According to ANSI/TIA-568.2-D (2018), the maximum 100 m channel length limit applies to twisted-pair Ethernet cabling; According to IEEE 802.3af-2003, a Powered Device (PD) can receive up to 12.95 W; and According to NIST SP 800-63B (2020), memorized passwords should be at least 8 characters. These aren’t “marketing numbers”—they’re the kinds of limits that directly drive whether cameras boot reliably and whether your login is harder to attack.
Install cameras and cables safely
Cable safety is what keeps the system stable long after installation day. If you install in a way that reduces connector stress, moisture ingress, and electrical interference, you avoid the most expensive problem class: re-running cabling after the NVR is already configured.
– Use proper cable types for the environment (indoor/outdoor-rated, UV-resistant where needed) and follow local electrical code practices.
– Secure cabling to prevent strain on connectors and keep junctions protected from moisture.
– Avoid common installation errors like reversed polarity (if applicable), loose RJ45 terminations, or running low-voltage lines alongside high-voltage power without separation.
PoE vs non-PoE cable implications (what to do differently):
– With PoE, poor terminations or long runs cause both “power instability” and data dropouts—so a weak link can show up as random camera restarts, not just missing video.
– With separate power + video, you can get clearer symptoms (power present but no video), but you still need separation between low-voltage signal cabling and high-voltage power to reduce noise and protect against interference.
From my troubleshooting workflow, the one habit that consistently reduces mistakes is . When labels are missing, installers often waste hours chasing the wrong camera or port.
Comparison: PoE cameras vs separate power (quick risk trade-off)
The best choice depends on wiring distance and how much flexibility you have for running one vs two cable types.
| Option | Pros (safer/less failure-prone in practice) | Cons (where installs commonly fail) |
|---|---|---|
| PoE cameras |
|
|
| Separate power + video |
|
|
Connect the NVR (power, storage, and video links)
The safest connection sequence is: storage first (if your NVR needs it), then live-view verification channel-by-channel, then networking. That order prevents a common scenario where cameras look correct but recording never starts because storage wasn’t set up or recognized yet.
– Ensure the NVR is set up with the correct storage configuration (especially if it requires installing a hard drive) before you start camera verification.
– Connect cameras one at a time so you can identify which cable or camera causes issues quickly.
– Power on and confirm each channel displays a live feed before moving to network settings.
Storage setup that avoids “it records nothing”
If your NVR uses an HDD (Hard Disk Drive), confirm three things before testing recording:
1) The drive type is compatible with the NVR (often SATA).
2) The NVR has initialized the disk (status should show healthy/ready).
3) Recording mode and schedules align with your intent (continuous, motion-triggered, or both).
When recording doesn’t save, it’s frequently one of these: storage not installed/recognized, a filesystem/init failure, schedule set to “off,” or a mismatch between what the NVR expects from the camera codec/resolution. Checking live view first reduces variables.
Live-view verification is more than “a picture”
During channel-by-channel verification, look for:
– Video artifacts (blockiness, frozen frames, rolling distortions).
– Consistent camera boot behavior after power-up or power cycling.
– Stream stability over a few minutes, not just the first instant after connecting.
A safe workflow is to keep cameras temporarily mounted (or on a stable surface) until you’ve confirmed both live view and at least one recording scenario.
Configure network and security the right way
Good security starts the moment the NVR first comes online. In 2026, attackers commonly target internet-exposed devices and weak credentials, so you should prioritize strong passwords, correct account settings, and cautious remote access.
– Set a strong admin password and change defaults immediately; enable account protection features if the NVR supports them.
– Choose a safe network approach: use DHCP where appropriate, and avoid exposing the NVR directly to the internet unless you know what you’re doing.
– Turn on alerts/logging if available, and confirm remote access works through the method recommended in your NVR’s documentation.
Passwords and access control
A practical rule is: change every default credential you can find (admin, user accounts, and camera credentials if your NVR requires them). According to NIST SP 800-63B (2020), memorized passwords should be at least 8 characters; in practice, longer passphrases are harder to guess than short “complexity-only” passwords.
If your NVR supports:
– Account lockout after repeated failures
– Two-factor authentication (2FA)
– IP access restrictions for the management interface
…enable them before you finalize remote access.
Remote viewing without opening the front door
Many NVR manuals recommend a safer method (for example, manufacturer remote services, a mobile app tunnel, or a VPN approach). Avoid broad port forwarding “to make it work,” because it turns your NVR into a public endpoint that can be scanned and probed automatically. If you must expose services, use least-privilege access (limited IPs) and ensure your firewall rules match your actual needs.
Also verify time settings (NTP) so recordings and event timestamps line up with real incidents—timezone mismatch is a subtle failure that makes investigations harder later.
Test recording and troubleshoot early
You should test recording before you fully commit to permanent mounting. A reliable install proves three things: live view works, events trigger correctly, and the NVR stores and plays back the footage you expect.
– Verify that motion detection (or continuous recording) actually triggers events and saves footage in the expected time window.
– Check recording playback on the local monitor/TV output first, then test remote viewing later.
– If you get “no signal” or intermittent video, re-seat connections, test the cable with a known-good port, and confirm camera settings match what the NVR expects.
A simple “recording proof” routine
1) Put the system in motion-detect mode (or enable continuous recording if that’s your plan).
2) Trigger at least one event (walk in front of the camera, test at night if IR is relevant).
3) Wait for the event to register, then play back the clip locally.
4) Repeat after a reboot of the NVR (if the manual supports safe reboot procedures).
From a documentation standpoint, you’re verifying that the camera stream parameters (codec/resolution/frame rate) are compatible with the NVR’s recording pipeline. If the NVR can display live view but doesn’t record, the issue is often schedule settings or codec expectations, not cabling.
If something goes wrong, isolate the cause fast
Common early troubleshooting steps:
– Reseat RJ45 connectors and check for bent pins (where applicable).
– Switch one known-good camera to the suspect channel to isolate “port vs camera vs cable.”
– Confirm the channel type in the NVR matches how the camera sends video (IP/ONVIF, channel assignment, and stream profile).
– If PoE is involved, verify the switch/NVR PoE port provides enough power for the camera model.
What can go wrong (and how to avoid it)
Mistakes during setup usually fall into a few predictable categories. If you methodically verify one variable at a time, you prevent most failures from turning into rework.
– No live view: loose connectors, wrong camera protocol, mismatched channel type, or a bad cable run. Re-check one camera at a time.
– Recording won’t save: storage not installed/recognized, filesystem errors, incorrect recording schedule, or storage set to the wrong mode.
– Remote access insecurity: using a default password, leaving ports forwarded broadly, or relying on weak credentials. Prefer safer access options recommended by the manufacturer.
– Outdoor camera failures: water ingress at junctions, cable not rated for exterior use, or connectors not protected with appropriate weatherproofing.
Outdoor installs deserve extra discipline: use outdoor-rated cable, seal any outdoor junctions, and avoid leaving connectors exposed where water can wick into the termination. In many “intermittent” failures, the camera works during dry periods and fails when humidity or rain increases.
Verdict: a safe setup is methodical—skip this if you can’t follow steps
If you can follow the NVR manual closely and take basic care with cabling and passwords, you’ll usually end up with a reliable system. The downside is that “safe” setup often takes longer upfront (planning routes, confirming compatibility, and validating recording before final mounting). Skip DIY (or get help) if you’re uncomfortable working with low-voltage wiring, installing outdoor-rated cabling, or making network changes—especially anything involving internet exposure.
Quick checklist (scan and save)
– [ ] Confirm NVR + camera compatibility (protocol, channels, supported resolutions)
– [ ] Plan cable routes; use proper outdoor-rated cable where needed
– [ ] Install cameras and run cables without stressing connectors
– [ ] Set up storage (if required) and confirm live view channel-by-channel
– [ ] Change default admin password immediately
– [ ] Configure network safely (avoid broad internet exposure unless documented)
– [ ] Test recording + playback locally, then remote access
Frequently Asked Questions
What should I check before installing a CCTV NVR for safe setup?
Before you power on a CCTV NVR, confirm your monitor/TV supports the NVR’s video output (HDMI/VGA) and that your network settings match your router (DHCP vs static IP). Verify you have the right cables for each CCTV camera, including the correct BNC or Ethernet connections, and ensure the NVR is placed in a ventilated, dry location. Plan your cable routes to avoid power lines and heat sources, and double-check that any outdoor-rated cables and junction boxes are used for weather protection.
How do I safely connect CCTV cameras to an NVR without damaging the system?
Connect cameras with the correct interface first—either BNC (coax) for analog setups or Ethernet for IP cameras—using matching ports on the CCTV NVR. If your cameras use PoE, connect them to the NVR’s PoE ports only (or use the correct PoE injector) and avoid mixing power sources that could cause voltage mismatch. After wiring, test each camera one at a time in the NVR software/firmware, and keep the system powered off while making physical cable changes.
How can I set up a CCTV NVR securely to prevent unauthorized access?
Use strong, unique admin credentials for the CCTV NVR and disable or change any default passwords immediately after installation. Turn on firmware updates in the NVR settings, and enable features like IP filtering, HTTPS/SSL, and network authentication if available. For remote viewing, avoid exposing the NVR directly to the internet with open ports—use a VPN or the manufacturer’s secure cloud access, and keep your router firewall enabled.
Which power setup is safest for a CCTV NVR—direct power or a UPS?
A UPS (uninterruptible power supply) is generally safer because it prevents sudden shutdowns that can corrupt recordings or interrupt camera startup. If you are using a UPS, confirm its wattage/load rating is sufficient for the NVR and any connected PoE switches or PoE cameras. Use surge protection and ensure all outdoor power connections are properly grounded, using weatherproof enclosures where required.
Best practices for configuring motion detection and recording on a CCTV NVR safely and accurately?
Start by setting the correct time zone, enabling NTP time sync, and confirming each camera’s resolution and frame rate match your storage capacity needs. For motion detection, define detection zones to reduce false alerts from traffic, shadows, or tree movement, and test sensitivity levels after installation. Record and playback a short trial period to confirm the CCTV NVR captures the right events, then adjust schedules (continuous vs motion) and retention settings so you don’t overwrite important footage too quickly.
📅 Last Updated: November 03, 2026 | Topic: How do I safely set up a CCTV NVR? | Content verified for accuracy and freshness.
References
- Closed-circuit television
- Network video recorder
- SP 800-213, IoT Device Cybersecurity Guidance for the Federal Government: Establishing IoT Device…
- Electrical – Overview | Occupational Safety and Health Administration
- Network Interface Specifications – ONVIF
- NIST Special Publication 800-63B
- https://scholar.google.com/scholar?q=CCTV+NVR+security+setup Google Scholar
- https://scholar.google.com/scholar?q=network+video+recorder+installation+best+practices+cybersecurity Google Scholar
- https://scholar.google.com/scholar?q=smart+camera+privacy+and+security+guidelines+network+hardening Google Scholar


[…] open your CCTV camera’s app and see a speaker or microphone control, but audio is disabled and won’t record. You can safely turn it on by verifying the camera model supports audio, confirming the microphone […]