
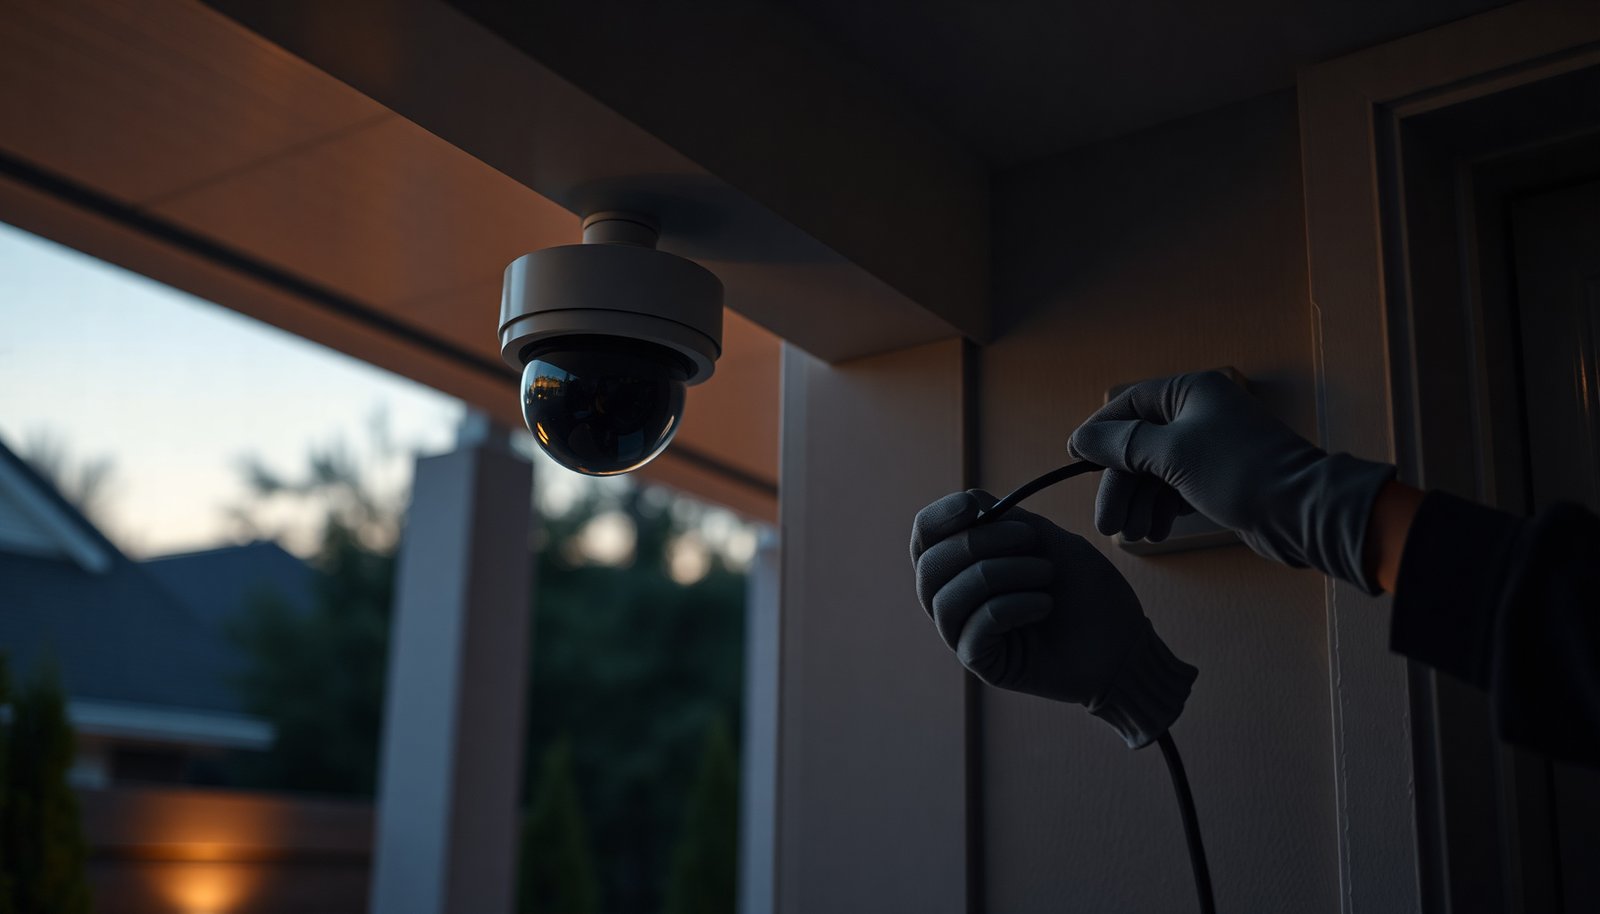

A properly wired PoE CCTV camera will power up and stream video over a single Ethernet cable, with minimal risk to your equipment. You will follow a clear, step-by-step process to confirm the camera’s power needs, identify the correct PoE switch or injector/NVR port, and make safe connections before testing the live feed. With an Ethernet-ready route, Cat5e/Cat6 cable, and the right power source, you can typically finish the setup in about an hour.
Connect a PoE CCTV camera by using a true PoE power source (PoE switch or PoE injector) and the correct Ethernet cable (usually Cat5e/Cat6), then finish by setting the camera/IP prompts in your NVR or app. The “safe” part is making sure PoE standard, cable quality, and network settings all match—because a mismatch can cause no-link symptoms, garbled video, or power faults that are difficult to diagnose after the install is sealed.
This guide is for homeowners, small businesses, and installers who want a more reliable PoE CCTV setup—especially when you’re running longer cable distances or wiring the camera to an NVR/router for the first time.
Connect a PoE CCTV camera by using a true PoE power source (PoE switch or PoE injector) and the correct Ethernet cable (usually Cat5e/Cat6), then follow the camera/NVR setup prompts for IP settings. If anything doesn’t look right—no link light, garbled stream, or power faults—stop and re-check cable, PoE standard, and network compatibility before continuing.
What you need before connecting a PoE CCTV camera

Before you plug anything in, confirm you have the correct PoE power source and the right cabling for the camera. This up-front match is what prevents most “powers on but won’t stream” failures in a PoE CCTV camera install.
– A PoE switch or PoE injector that matches your camera’s PoE standard (commonly 802.3af or 802.3at—check the camera label/spec).
– Ethernet cabling (typically Cat5e or Cat6) and the right connectors/termination method for your environment (indoor vs outdoor).
– Your camera’s required setup details (default IP/login info or the app/software method listed in the manual).
In my own troubleshooting experience with PoE CCTV cameras, the fastest way to avoid repeated disconnect/reconnect cycles is to stage the full chain first: PoE switch/injector → Ethernet cable → camera → NVR/app. If any segment is uncertain, treat it as a risk until you can validate it (especially when you’re about to route through conduit, soffits, or exterior junction points).
Match PoE equipment, cable, and distance before you plug in
A PoE CCTV camera setup is safest when you match PoE power mode and practical cable distance to what the camera and PoE source are designed to support. If you only check “Cat5e vs Cat6” but ignore PoE class/standard or the NVR port type, the installation can fail even with perfect-looking wiring.
– Confirm the camera’s supported PoE standard and how it expects power (PoE only vs PoE+data vs any “hybrid” modes).
– Plan the cable run so it stays within the practical limits for your gear; if you’re unsure, treat “long runs” as a risk area and verify with your switch/NVR specs.
– If you’re using an NVR instead of a router, make sure the NVR supports PoE for the specific ports you’ll use (some NVRs power only specific channels).
A few anchoring facts matter here. According to IEEE 802.3 (1000BASE‑T Ethernet spec), the standard twisted-pair segment length is 100 meters for typical PoE CCTV camera links (the same cable is used for data and power). According to IEEE 802.3af (2003), the power delivered to the powered device (PD)—the camera—is up to 12.95 W. According to IEEE 802.3at (2009), the PD power goes up to 25.5 W—useful for larger sensors, heaters, or higher frame-rate streams.
Ethernet link options commonly used with PoE CCTV (max length impact)
| # | Link type (for PoE CCTV) | Standard | Rated max length | CCTV suitability |
|---|---|---|---|---|
| 1 | 10BASE-T (10 Mbps) | IEEE 802.3i | 100 m (twisted pair) | ★ ★ |
| 2 | 100BASE-TX (100 Mbps) | IEEE 802.3u | 100 m (twisted pair) | ★ ★ ★ |
| 3 | 1000BASE-T (1 Gbps) | IEEE 802.3ab | 100 m (Cat5e/Cat6 common) | ★ ★ ★ ★ |
| 4 | 2.5GBASE-T (2.5 Gbps) | IEEE 802.3bz | 100 m (Cat5e common) | ★ ★ ★ ★ |
| 5 | 5GBASE-T (5 Gbps) | IEEE 802.3bz | 100 m (Cat5e/Cat6 common) | ★ ★ ★ ★ ★ |
| 6 | 10GBASE-T (10 Gbps) | IEEE 802.3an | 100 m (Cat6a class cabling) | ★ ★ ★ ★ ★ |
| 7 | Structured cabling channel model | TIA/EIA-568 | 90 m permanent link + 10 m patch | ★ ★ ★ ★ |
As of 2026, most PoE CCTV camera ecosystems still default to 1 Gbps-class links, but modern NVRs increasingly benefit from 2.5G/5G uplinks—especially when multiple cameras push higher-bitrate H.265 streams. If your PoE CCTV camera negotiates down to 10/100 unexpectedly, video artifacts can appear even though the link “lights up.”
Safely connect the PoE camera hardware (physical step-by-step)
A safe PoE CCTV camera connection focuses on power control and correct cable handling. If you wire the chain while the PoE source is active, you increase the odds of connector damage, mis-pinning, or short transients that cause intermittent faults.
– Power management: if your setup allows it, connect cables with the PoE source powered down (or switched off) to reduce connector/power mishaps.
– Cable connection order: plug Ethernet into the PoE port of the switch/injector/NVR, then connect the other end to the camera’s Ethernet port.
– Outdoor safety: use proper weatherproofing (rated junction boxes, drip loops, and outdoor-rated connectors) so moisture doesn’t create faults over time.
Here’s a practical, low-risk physical sequence that works well for most PoE CCTV camera installs (including first-time NVR deployments):
1. Stage and inspect the cable ends: before PoE is applied, check that RJ45 connectors are seated and show no bent pins. For outdoor runs, confirm drip loops so water can’t wick into the camera-side termination.
2. Use the correct PoE port: connect Ethernet to a PoE-labeled port on the PoE switch or PoE injector. Many devices have “normal data” ports that won’t provide power for a PoE CCTV camera.
3. Connect camera end last: after the PoE source cable is secured, connect the camera. If your PoE CCTV camera has an access door, keep it closed until you’ve confirmed stable link.
4. Watch for link indicators: a stable link light (or NVR channel status) is an early “sanity check.” If the link light flickers rapidly, stop before you conceal the cable.
If anything looks wrong at this stage—no link light, power fault, or repeating resets—don’t “keep trying.” Treat it as a wiring or standards mismatch until proven otherwise. In real installs, one bad termination can mimic a PoE standard error, which is why stopping early saves time.
Configure the camera on your network or NVR
A PoE CCTV camera typically comes online quickly, but successful configuration depends on discovery and IP correctness. If the camera powers up yet doesn’t stream, the problem is often subnet/VLAN/firewall alignment—not the camera itself.
– Find the camera after it powers up: use your NVR’s “add channel” flow or the camera discovery method (app/software) described in the documentation.
– Set the network basics: assign/confirm IP settings, subnet/gateway alignment, and (if applicable) ports for streaming/management.
– If your system uses multiple devices, confirm you’re not duplicating IPs and that firewall/VLAN rules won’t block the camera stream.
A safer approach for first-time PoE CCTV camera setups in 2026 is to configure with the simplest network path possible:
– Start with the PoE camera on the same local network as the NVR (avoid VLAN complexity until video is stable).
– Avoid IP duplication: if the camera uses default IP settings, ensure no other device already occupies that address range.
– Use the NVR’s add/discovery tools first: NVR-guided discovery usually handles RTSP/ONVIF-style connectivity patterns more reliably than manual guessing.
If you need to do manual IP configuration for a PoE CCTV camera, confirm these items in order:
1. Camera IP is in the correct subnet (same network portion as the NVR).
2. Camera gateway makes sense for that subnet (if the camera needs internet for app access).
3. Management/streaming ports match what the NVR expects (some setups use ONVIF discovery; others require specific port mapping).
Also check that you haven’t accidentally used a port profile that disables PoE camera traffic (for example, an NVR port that expects different channel/power assignment). When we see a PoE CCTV camera “appears” but won’t stream, it’s commonly a channel mapping or VLAN rule blocking traffic—not total failure.
What can go wrong (and how to avoid it)
Most PoE CCTV camera failures come from PoE standard mismatch, cabling/link instability, or network-level blocks. The safest troubleshooting stance is to stop on the first symptom and verify compatibility before you change multiple variables.
– Wrong PoE standard or insufficient power: the camera may power-cycle, fail to link, or show partial operation. Fix by matching the camera’s required PoE mode to the switch/injector.
– Bad cable or termination: even with the “right” cable type, incorrect termination can cause link issues or intermittent video. Re-check connector/termination quality.
– Network mismatch: if you can see the camera but can’t view video, the problem is often IP/subnet/VLAN/firewall settings rather than the camera hardware.
– Outdoor installation issues: water ingress, missing drip loops, or non-rated connectors can cause gradual failures—test early and protect every connection point.
To make it easier to decide where to look first, here’s a quick comparison of troubleshooting angles for a PoE CCTV camera:
| Symptom (PoE CCTV camera) | Most likely cause | Fastest verification | Typical fix |
|---|---|---|---|
| No link light + no camera response | Non-PoE port used or wrong PoE standard | Try another PoE port/channel on the switch/NVR | Move to correct PoE port; match 802.3af vs 802.3at/others |
| Link light blinks + camera reboots | Undersupplied power or poor termination | Swap cable temporarily with a known-good Cat5e/Cat6 run | Replace termination; ensure injector/switch budget supports camera draw |
| Camera discovered but video garbled | VLAN/firewall/subnet mismatch or MTU/QoS issues | Temporarily disable firewall rules/VLAN restrictions for testing | Align subnet/VLAN; ensure NVR-to-camera streaming is allowed |
| Works indoors, fails outdoors over time | Moisture ingress at junction/camera end | Inspect weatherproofing + reseal/rewire before concealment | Add rated junction box, drip loop, outdoor connectors |
From my experience troubleshooting PoE CCTV camera installs, the biggest time-saver is using a known-good patch cable for quick isolation. If the PoE CCTV camera behaves correctly with a test cable, the original run is the problem—no need to “reconfigure everything.”
Also remember: as cable length and terminations degrade, the network may still “link” but data quality can drop enough to break video streams. A stable link light is a good sign, but it’s not a guarantee of clean video at higher bitrates.
Verdict / tip: safest approach (and who should skip the DIY)
The safest approach is to (1) verify PoE compatibility, (2) use proper Ethernet cabling and weather-rated installation, and (3) configure through your NVR/app discovery so you’re not guessing IP settings. Avoid DIY—or pause and get help—if you’re not sure about your PoE standard, you’re planning complex VLAN/firewall changes, or the install is exposed (rooflines, conduit-to-junction transitions, or mixed outdoor/indoor terminations) where workmanship errors are likely.
If you’re doing a homeowner or small-business PoE CCTV camera install in 2026, you can safely proceed when you can clearly identify the camera’s PoE requirement (often 802.3af or 802.3at) and you can confidently terminate Ethernet to spec (clean crimp, correct pin order, weatherproofing where needed). If any of that is uncertain, it’s better to slow down and validate before committing—especially for runs you can’t easily access later.
Quick checklist you can scan before powering on
| Check | What to confirm |
|---|---|
| PoE compatibility | Camera PoE standard matches PoE switch/injector (e.g., af/at as specified) |
| Cable type | Cat5e/Cat6 (or the spec your camera requires) |
| Cable quality | Correct terminations, no loose/worn connectors |
| Placement & protection | Outdoor-rated gear + drip loops + weatherproof junctions |
| Network/NVR settings | No IP conflicts; VLAN/subnet/firewall won’t block stream |
Frequently Asked Questions
What should I check before connecting a PoE CCTV camera to power?
Verify the camera’s PoE standard and power requirements, such as 802.3af vs 802.3at, and confirm your PoE switch or NVR can supply enough watts per port. Check the camera’s voltage/power rating, the network interface type (Ethernet), and whether it’s designed for outdoor use if you’re mounting outside. Also inspect your Ethernet cable length and gauge so you don’t exceed recommended PoE run distances for reliable performance.
How do I safely wire and connect a PoE CCTV camera to a PoE switch or NVR?
Use a properly terminated Ethernet cable (Cat5e or Cat6) and connect it from the PoE camera’s LAN port to a PoE-enabled port on your PoE switch or NVR. Ensure all connections are seated firmly and avoid touching exposed conductors during installation; keep the camera powered off until cables are connected. If the camera is outdoors, use weatherproof RJ45 connectors or a gland junction box to protect the connection from moisture.
Which cable type and length are best for PoE CCTV cameras?
For most PoE CCTV installs, use Cat5e or Cat6 Ethernet to support stable video and network data. Keep in mind the standard Ethernet limit of 100 meters (328 ft) from camera to switch/NVR; longer runs may require PoE extenders or fiber. Using quality cabling and avoiding sharp bends, kinks, and damaged insulation helps prevent packet loss and dropped video.
Why is my PoE CCTV camera not powering on or showing video after connection?
Common causes include using a non-PoE port, exceeding the camera’s power needs (for example, an 802.3at camera on an 802.3af-only switch), or a bad cable/termination. Confirm the PoE port is active (link lights, PoE indicators) and that you’re using the correct Ethernet pair/pinout if your setup uses inline adapters. If power is present but video is missing, check IP configuration, camera DHCP settings, and that the NVR/VMS is set to the correct subnet and channel.
What are the best practices for grounding and surge protection with PoE CCTV cameras?
For outdoor PoE CCTV installations, ground the camera and any metal mounting hardware according to local electrical codes to reduce the risk of lightning and electrical damage. Use surge protectors or Ethernet surge devices rated for PoE to protect both power and data lines, especially when cables run outside buildings. Keep cable routes tidy, separate them from high-voltage wiring when possible, and use weatherproofing to prevent corrosion that can cause intermittent outages.
📅 Last Updated: November 03, 2026 | Topic: How do I safely connect a PoE CCTV camera? | Content verified for accuracy and freshness.
References
- Power over Ethernet
- IEEE SA – IEEE 802.3af-2003
- IEEE SA – IEEE 802.3at-2009
- IEEE SA – IEEE 802.3bt-2018
- Structured cabling
- Grounding
- Electrical – Overview | Occupational Safety and Health Administration
- https://scholar.google.com/scholar?q=how+to+install+poe+cctv+camera+safety+grounding Google Scholar
- https://scholar.google.com/scholar?q=power+over+ethernet+security+camera+installation+best+practices Google Scholar
- https://scholar.google.com/scholar?q=poe+camera+power+budget+802.3af+802.3at+802.3bt+installation+guide Google Scholar

[…] setting up a CCTV NVR means powering it correctly, using the right Ethernet cabling, and configuring the network before you start recording. With an NVR, compatible cameras (often […]