
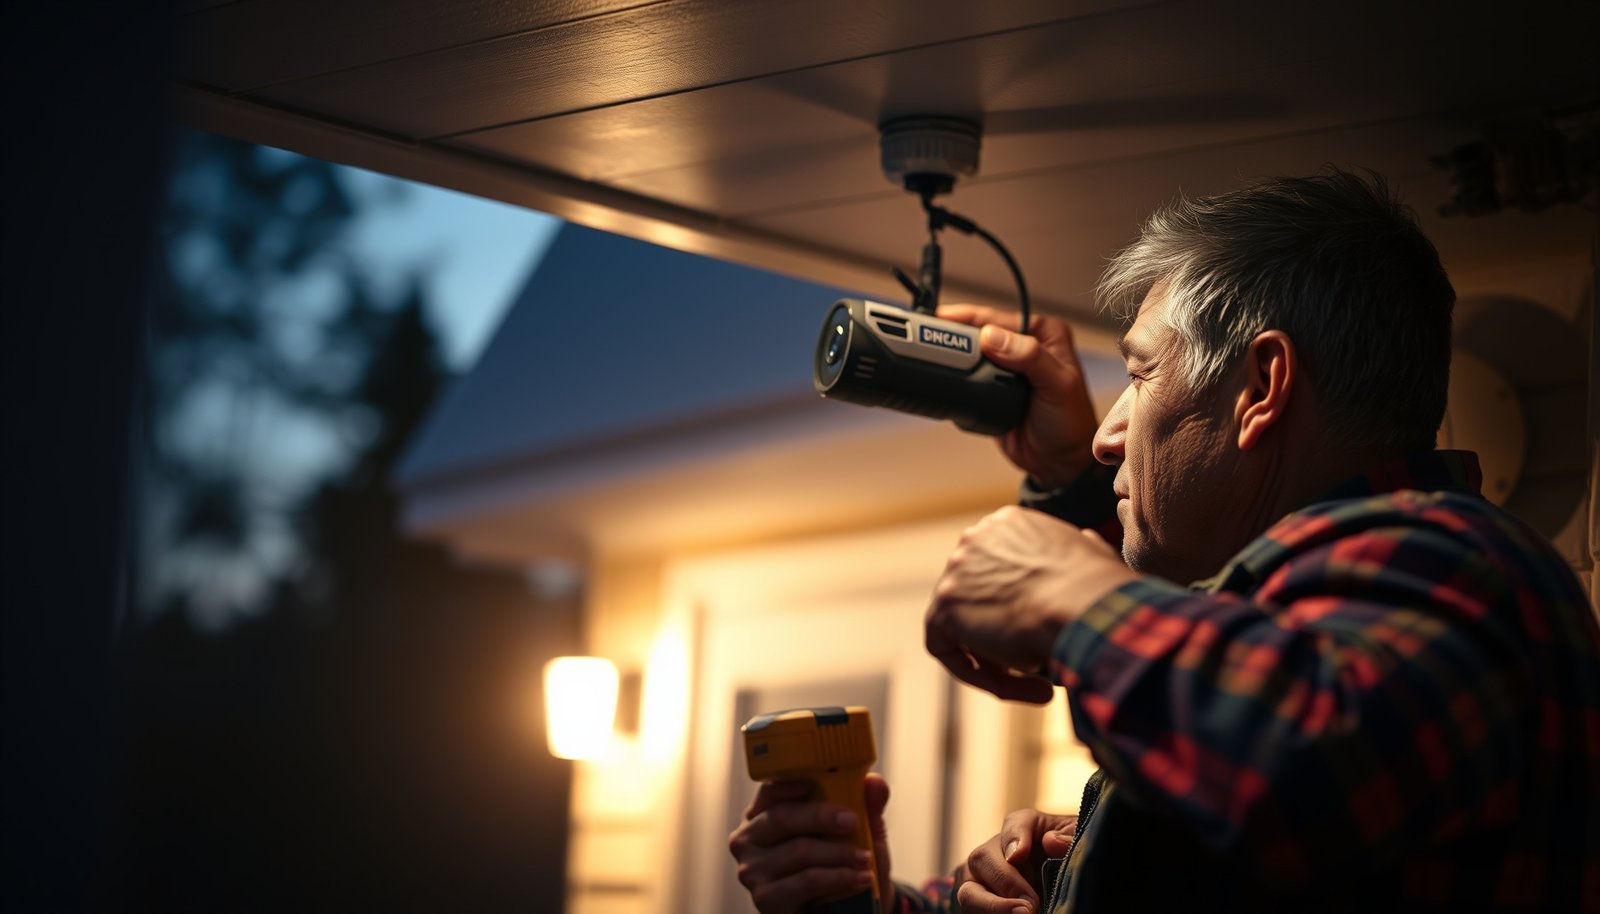

Setting up CCTV for a house is straightforward when you follow a step-by-step plan for choosing the right kit, placing cameras for coverage, and connecting everything to your monitor or phone. This guide walks you through the exact setup process—from wiring or wireless installation to configuring recording, motion alerts, and remote access. If you want a working CCTV system quickly and correctly, this is the fastest path from unboxing to live view.
You can set up CCTV for a house by planning camera locations first, choosing a compatible recorder/NVR, then running power and network (or choosing battery/Wi‑Fi models) to get reliable coverage. Next, mount and aim the cameras, configure motion/recording settings, and test everything from your phone so you know it actually captures faces and key entry points. This guide walks you through the practical setup order and what to check if it doesn’t work as expected.
If you’re installing CCTV for the first time—or upgrading from a basic doorbell/camera—this layout is for you. It’s especially useful when you need clear guidance on where to place cameras, how to avoid common wiring/network mistakes, and how to configure settings without missing important areas.
Plan camera placement and coverage
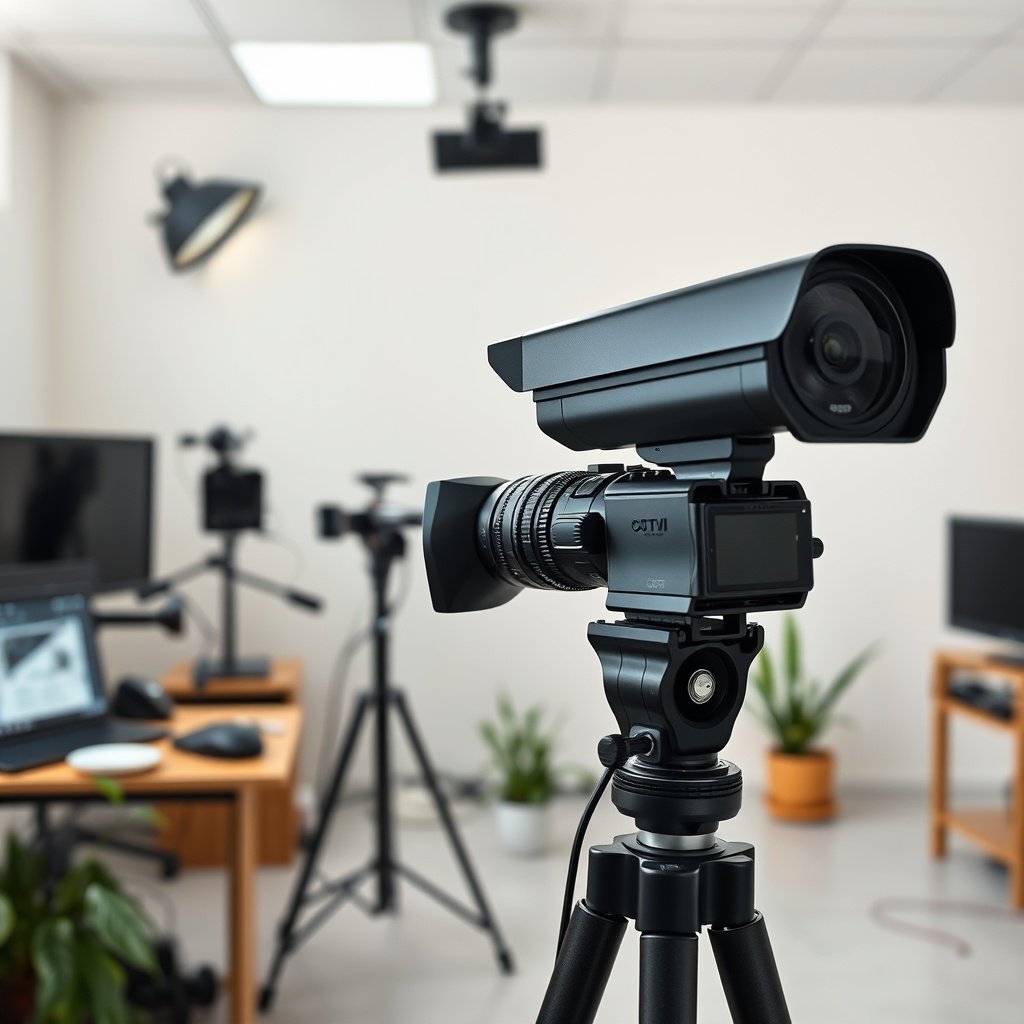
Place cameras so every likely entry point is visible at a usable angle—then add overlap so no “blind strip” remains. The core idea is simple: wider views catch motion, but closer, correctly angled views capture faces.
Good CCTV placement starts with entry points (front door, driveway, back door) and uses overlapping views to reduce blind areas.
A camera aimed too high or too far may record movement but still fail to provide identifiable details for identification.
Start with entry points: front door, back door, garage, driveway, and ground-floor windows you can access. From there, map your “coverage path” as if you’re an intruder moving toward the most valuable area inside. For each location, decide what you want to accomplish:
– Face capture: usually needs a lower angle and enough distance clarity.
– Behavior awareness: wider angles can show approach routes, loitering, or vehicle movement.
Overlapping views matter because houses aren’t perfect rectangles—corners, porch columns, hedges, and side gates create gaps. When two cameras overlap, at least one typically frames a person clearly even when the first camera’s view is partially blocked.
Also, think about light and reflections. Outdoor cameras should face ways that avoid direct glare from headlights or sun. If you’re installing in 2026, remember many households now have smart lighting and reflective surfaces; both can change the “effective view” at night compared with daytime.
Quick placement logic that avoids common blind spots
Use this simple placement order when you’re standing outside with your phone in live-view mode (or with a temporary stand-in camera):
1. Front door/porch: prioritize facial angle at step-in height.
2. Driveway/garage: prioritize vehicle approach and license plates only if your field-of-view and distance support it.
3. Side gates / walkway edges: add overlap so long, narrow paths aren’t missed.
4. Ground-floor accessible windows: cover the window area and the approach lane, not just the glass.
In my own planning checklists, I always mark two lines on the layout: a “motion line” (where the camera sees movement) and a “detail line” (where it can reasonably capture a face). If those lines don’t overlap near entry points, I reposition before any wiring or drilling.
Choose the right CCTV system (NVR, DVR, or Wi‑Fi)
Pick your CCTV system based on what you can reliably power and connect—not just what looks easiest. In most homes, wired PoE + NVR is the most dependable for continuous recording, while Wi‑Fi kits can work well if your signal is strong where cameras mount.
If you’re using wired IP cameras, an NVR is the typical recorder that collects and manages video over the network.
Some DVR systems work with older coax-style camera setups, so the camera connector type determines whether you need a DVR or an NVR.
First, decide what hardware category you’ll buy:
– NVR (Network Video Recorder): usually paired with IP (network) cameras, often using PoE (Power over Ethernet).
– DVR: commonly used with older analog/coax camera systems.
– Wi‑Fi systems: may include an NVR-like hub, camera internal storage, and/or cloud recording depending on the brand.
Compatibility is the make-or-break factor. Confirm that the camera model supports the recorder/NVR you plan to use (or that the Wi‑Fi kit’s app supports the exact camera models). Mixing brands can create partial functionality (for example, preview works but advanced recording settings don’t).
Wired vs Wi‑Fi: which one fits your house?
Here’s a practical comparison you can use while choosing what to install in 2026.
| Feature | PoE + NVR / Wired CCTV | Wi‑Fi / Battery or Plug‑In Wireless |
|---|---|---|
| Best for 24/7 recording | Strong fit (commonly continuous) | Varies by model; may be event-only |
| Network dependency | Low once PoE/Ethernet is installed | High (signal strength and stability) |
| Setup complexity | More upfront cabling planning | Often simpler initial mounting |
| Interference risk | Minimal with wired connections | Can increase packet loss and lag |
| Power reliability | PoE is generally stable for cameras | Battery adds maintenance; Wi‑Fi plug‑in depends on outlets |
| Cabling distance limits | Ethernet segments are typically limited (commonly 100 m) | Distance depends on Wi‑Fi design and placement |
| Storage model | Local storage via NVR drives is common | Often cloud subscription or camera/local microSD |
| Ongoing subscription risk | No cloud fee by default (local only) | May require a plan for full retention |
| Long-term ownership | Usually predictable once installed | Can change if app/cloud policies evolve |
| Troubleshooting | Clearer diagnostics per camera and network port | Often harder when Wi‑Fi drops intermittently |
| Best for | Homes that can run Ethernet/PoE for stable results | Homes needing minimal wiring and can support strong outdoor Wi‑Fi |
If you’re comparing choices in 2026, the practical question is: can you get stable power and stable video connectivity to each camera location? If not, invest time in signal planning (for Wi‑Fi) or cable planning (for wired).
Ethernet over copper is commonly limited to 100 meters per segment, so longer runs typically require a switch, extender, or different cabling strategy. IEEE 802.3 (Ethernet physical layer guidance)
IEEE 802.3af PoE provides up to 15.4 W at the power sourcing equipment, which informs whether a camera can run fully over PoE. IEEE 802.3af (PoE) specification
Run power, network, and install mounting hardware
Run power and connectivity in a way that you can verify before you finalize camera angles. For wired homes, the most reliable path is typically PoE + Ethernet; for wireless, it’s strong Wi‑Fi at the camera location.
For outdoor CCTV, protect exposed cabling and use weather-rated connections to reduce intermittent recordings.
A secure mount matters because even small vibration can soften facial detail at night when images rely on digital enhancement.
For wired systems, plan cable routes early: walls/attics/under eaves are common paths. Protect cable where it’s exposed (for example, when crossing soffits) and avoid pinching during drywall/finish work. If you’re terminating connectors yourself, reseat and inspect them before powering the system—intermittent recording is often “connection quality,” not camera failure.
For network cameras, ensure you can provide stable internet/Wi‑Fi signal strength where cameras mount. If Wi‑Fi is your only option, test signal strength at the exact camera location—not just in the kitchen. Many setups look “fine” indoors but fail at the exterior corner where the camera actually lives.
Weatherproofing: IP rating is part of reliability
In my experience with real-world installs, weather protection often gets treated like a checkbox. In practice, it affects lifespan and consistent performance—especially where wind-driven rain hits a camera housing.
Outdoor IP Ratings Commonly Used for Home CCTV (IEC 60529)
| # | IP rating (example) | Solid protection (1st digit) | Water protection (2nd digit) | Best fit for typical home setups | Water resistance |
|---|---|---|---|---|---|
| 1 | IP44 | Protected ≥1 mm | Splashing water | Covered porches / sheltered eaves | ★★ |
| 2 | IP54 | Dust-limited | Splashing water | Front steps with some exposure | ★★ |
| 3 | IP55 | Dust-protected | Water jets | Exposed walls facing heavy rain | ★★★ |
| 4 | IP56 | Dust-tight (ingress limited) | Powerful water jets | Wind-driven rain zones | ★★★ |
| 5 | IP65 | Dust-tight | Water jets | Most standard outdoor CCTV mounts | ★★★ |
| 6 | IP66 | Dust-tight | Powerful water jets | Hard exposure (spray + driving rain) | ★★★ |
| 7 | IP67 | Dust-tight | Temporary immersion | Areas with occasional flooding/spray events | ★★★★ |
These IP ratings come from the IEC 60529 framework for “Ingress Protection” testing. IEC 60529 (IP Code standard) If your cameras are under strict cover, you may get away with lower IP ratings—but if you’re mounting under eaves with rain splash and wind, aiming for IP65/IP66 is usually the safer default.
IEC 60529 defines IP ratings using two digits: the first for solid particle protection and the second for water protection.
IP66-level equipment is tested for dust-tight operation and protection against powerful water jets under the IP test method. IEC 60529
Connect, configure settings, and test coverage
Connect your app and recorder first, then configure cameras one at a time so you can verify each feed before moving on. Finally, test at the times you actually need surveillance—day, dusk, and night—so you know faces and key entry points are truly captured.
Motion zones and sensitivity settings directly affect whether the system captures people versus triggering on irrelevant movement.
Testing from your phone (not just on a monitor) matters because viewing and downloads depend on the app and connection path.
Set up your app/account and recorder first, then add cameras so you can verify each feed while you still have access. Start by confirming:
– Each camera displays correctly in live view.
– Time/date sync is correct (timestamp mismatch becomes a headache later).
– Night mode behavior matches expectations (IR lighting, color mode, and exposure).
Configure recording and motion zones the right way
Your system will usually offer choices like continuous recording, motion-based recording, or event-driven recording. If you want the most defensible footage for incidents, continuous recording (or “always record”) is helpful, but it increases storage needs. If you want event-based recording, motion zones become essential.
When tuning motion detection:
– Create motion zones that include entry routes (walkway, porch steps) and exclude areas that constantly move (tree branches, street traffic).
– Adjust sensitivity gradually. Too high creates noise; too low misses key moments.
– Use “record on motion” with zones so notifications and clips are meaningful.
In my own installation workflow (before any final mounting), I typically run a short “zone drill”: walk toward the camera at normal approach speed, then repeat from two directions. If the system only triggers when you’re already at the door, the zone is too narrow or sensitivity too low.
A practical tuning approach is zone-based testing: adjust one camera setting at a time and re-check live view and clip playback immediately.
Plan night testing around real lighting changes (porch lights, headlights, and street glare) because camera exposure behavior changes after dusk.
Finally, test coverage using your phone:
– Can you open live view quickly?
– Can you view and download recorded clips?
– Do you get usable facial detail at the expected distance?
What can go wrong (and how to prevent it)
Most CCTV failures come from placement, unstable network connectivity, overly sensitive motion settings, or weak power/cable connections. Fixing these early prevents the frustrating scenario where cameras record—but not the moments you care about.
If a camera is aimed too wide or too high, it may produce alerts but not identifiable video detail.
Weak Wi‑Fi can cause lag, delayed notifications, or dropped events, which makes event-based footage incomplete.
Common problems and quick prevention steps
1. Bad placement
– Symptom: you see movement but can’t identify faces.
– Prevention: re-check angles using live view at both day and night settings. If possible, stand where someone would stand at the entry point and confirm framing.
2. Network instability (Wi‑Fi systems)
– Symptom: delayed playback, “offline” alerts, or gaps in event clips.
– Prevention: strengthen signal coverage (positioning, mesh nodes, or wired backhaul), or use wired where possible.
3. Wrong motion settings
– Symptom: false alerts (trees, shadows, passing cars) or missed events.
– Prevention: use motion zones and sensitivity tuning with real movement tests, not only static viewing.
4. Power/cable issues (wired systems)
– Symptom: intermittent recording or cameras that drop.
– Prevention: inspect connectors, verify PoE power availability, and test each camera during initial setup before final wall/ceiling finishing.
Ethernet-based PoE setups are often more reliable than Wi‑Fi for long-term exterior video stability because the camera link is wired.
PoE budget matters: IEEE 802.3af limits available power per port, so camera power requirements must fit the standard’s electrical envelope. IEEE 802.3af specification
One practical caution for 2026
If you’re adding cameras to a network that already handles gaming, streaming, or multiple work-from-home devices, the camera may be “online” but still suffer from congestion. Prioritize camera traffic with network configuration if your router supports it, or segment devices so your CCTV traffic isn’t competing with peak usage.
Verdict: a solid path forward (with downsides)
A DIY CCTV setup is usually worth it if you plan camera locations carefully, choose compatible hardware, and spend time tuning motion zones and night visibility. The downside is that reliability depends on placement, stable power/network, and correct settings—so if you can’t run cables or troubleshoot connectivity, a professional installation may be safer and faster.
DIY CCTV can work reliably when you verify live view, motion zones, and night capture during installation—not just during daytime setup.
The most important trade-off is control versus convenience: wired systems demand more planning, while wireless systems demand stronger signal and careful placement.
If your goal is “set and forget” without adjustment, or you have limited access to wiring paths, consider professional installation or a simpler, fully wireless kit designed to work together as a system.
Who should strongly consider not going DIY:
– Homes with poor Wi‑Fi outside and no realistic way to improve signal (mesh placement and backhaul can be complex).
– Properties that require long runs beyond typical Ethernet segment expectations.
– Situations where you can’t test and troubleshoot after installation (because cameras may “appear online” but still fail to capture usable evidence).
Quick scan checklist (save this)
– Coverage plan: entry points + overlapping views
– System match: cameras compatible with your NVR/DVR/app
– Installation: secure mounts + weather protection for outdoor units
– Setup: recording mode + motion zones + sensitivity tuned
– Test: day/dusk/night + phone viewing works
– Troubleshoot: confirm stable network/power and event playback
Conclusion
If you want CCTV that actually helps, focus on the setup order: plan coverage first, pick a recorder/camera approach that’s truly compatible, run power and network reliably (or verify Wi‑Fi outdoors), then mount, tune motion zones, and test at day/dusk/night from your phone. A DIY install is practical in 2026 when you can commit to tuning and troubleshooting—otherwise, a professional install or a fully integrated kit can prevent weeks of “it records, but it’s not useful” frustration.
Sources
– IEEE 802.3 (Ethernet physical layer guidance for typical segment limits)
– IEEE 802.3af (Power over Ethernet, PoE)
– IEC 60529: Ingress Protection (IP) Code
Frequently Asked Questions
What’s the best way to plan CCTV camera placement for a house?
Start by mapping likely entry points—front door, driveway, garage, back door, and ground-floor windows—and place cameras to capture faces and license plates at an appropriate distance. Use a mix of wide-angle overview coverage plus a couple of closer cameras for identification, and ensure each camera has a clear line of sight without heavy glare from lights or windows. Consider mounting height (often around 8–10 ft for exterior cameras) to reduce tampering and improve image quality, while avoiding angles that point directly into sunrise/sunset. Finally, confirm coverage overlaps so blind spots are minimized and you can review events end-to-end.
How can you set up a DIY home CCTV system step by step?
Begin by choosing a wired or wireless CCTV setup and then install cameras near power/connection points, using proper weatherproof junction boxes for outdoor cameras. Run cables neatly (for wired systems) or pair each wireless camera to your router/bridge, then configure recording in an NVR/DVR or a compatible app. Next, adjust camera angles, enable motion detection zones, and test night vision by checking live video and recorded clips after dark. Complete setup by setting up secure remote access, user accounts, and notifications, and confirm storage capacity is sufficient for your desired recording length.
Which CCTV system is better for house security: wired or wireless?
Wired CCTV systems (IP PoE or coax with DVR) are typically more reliable for homeowners who want consistent performance, lower latency, and fewer issues with signal dropouts. Wireless CCTV is often faster to install and easier to expand, but performance can depend on Wi‑Fi strength, interference, and battery life for battery-powered cameras. If you already have good router coverage or can add a mesh system, wireless may be a practical option; otherwise, consider running Ethernet to outdoor locations or using hybrid setups. Evaluate your coverage needs, expected weather exposure, and whether you can support continuous power for the cameras.
Why do your CCTV cameras look blurry at night, and how can you fix it?
Blurry night footage is commonly caused by misaligned lenses, dirty camera domes, insufficient lighting, or condensation on the lens in cold/humid conditions. Check that night vision settings are correct (IR mode vs. color mode) and that you’re not pointing the camera at reflective surfaces like windows, white walls, or direct floodlights. For clearer identification, use cameras with good low-light sensors, consider adding motion-activated floodlights, and clean lenses regularly. Also verify your recording settings and bitrate/storage health, since low quality settings can reduce sharpness in recordings even if live view looks okay.
What’s the best way to set up remote viewing and protect your home CCTV from hacking?
Use a reputable CCTV brand, keep firmware updated, and set strong, unique passwords for your NVR/DVR and mobile app. Enable multi-factor authentication if available, and avoid exposing camera login screens directly to the internet without proper security measures. For remote access, prefer secure methods like a vendor app, VPN, or a properly configured remote viewing feature rather than open port forwarding. Finally, review notification and access logs, limit who can view footage, and periodically test that remote viewing still works securely while maintaining the privacy of neighbors and public areas.
📅 Last Updated: October 27, 2026 | Topic: How can you set up CCTV for a house? | Content verified for accuracy and freshness.
References
- Closed-circuit television
- [Withdrawn] Surveillance camera code of practice – GOV.UK
- https://www.britannica.com/technology/closed-circuit-television
- https://www.ncsc.gov.uk/guidance/securing-your-home-network
- https://consumer.ftc.gov/articles/internet-connected-devices
- ONVIF Profiles – ONVIF
- https://scholar.google.com/scholar?q=home+cctv+system+installation Google Scholar
- https://scholar.google.com/scholar?q=cctv+camera+placement+field+of+view+illumination Google Scholar
- https://scholar.google.com/scholar?q=home+video+surveillance+privacy+data+protection+guidance Google Scholar



