
The best way to set up a CCTV DVR is to follow a tight, step-by-step wiring and configuration sequence that gets you live video on screen the first time. This guide walks you through mounting the DVR, connecting power and cameras, setting up the display and network, and securing access so your system is usable and protected from day one. If you want a DVR setup that works reliably without guessing, start here.
Plan, wire, run the DVR setup wizard, verify recording locally, then tune motion and lock down remote access—this order prevents the most common “it looks fine but nothing records” failures. Set up your CCTV DVR by planning the camera locations first, then wiring cameras/monitor/network correctly, and finally running the DVR’s initial wizard (time zone, display, storage) before tuning recording and motion settings. If you want to view remotely, finish by enabling secure access and updating passwords/firmware—otherwise your system can look “working” but fail to record or be exposed online. This guide walks you through each step in the right order so you don’t have to redo settings later.
You’ll get the most from this if you’re installing a standalone CCTV DVR with multiple fixed cameras (not just a single Wi‑Fi camera) and you have access to your DVR’s on-screen setup wizard and manual. If your system is a cloud-only kit or uses a different brand ecosystem, some labels may vary—use the same workflow.
Plan your CCTV DVR setup (before you mount anything)
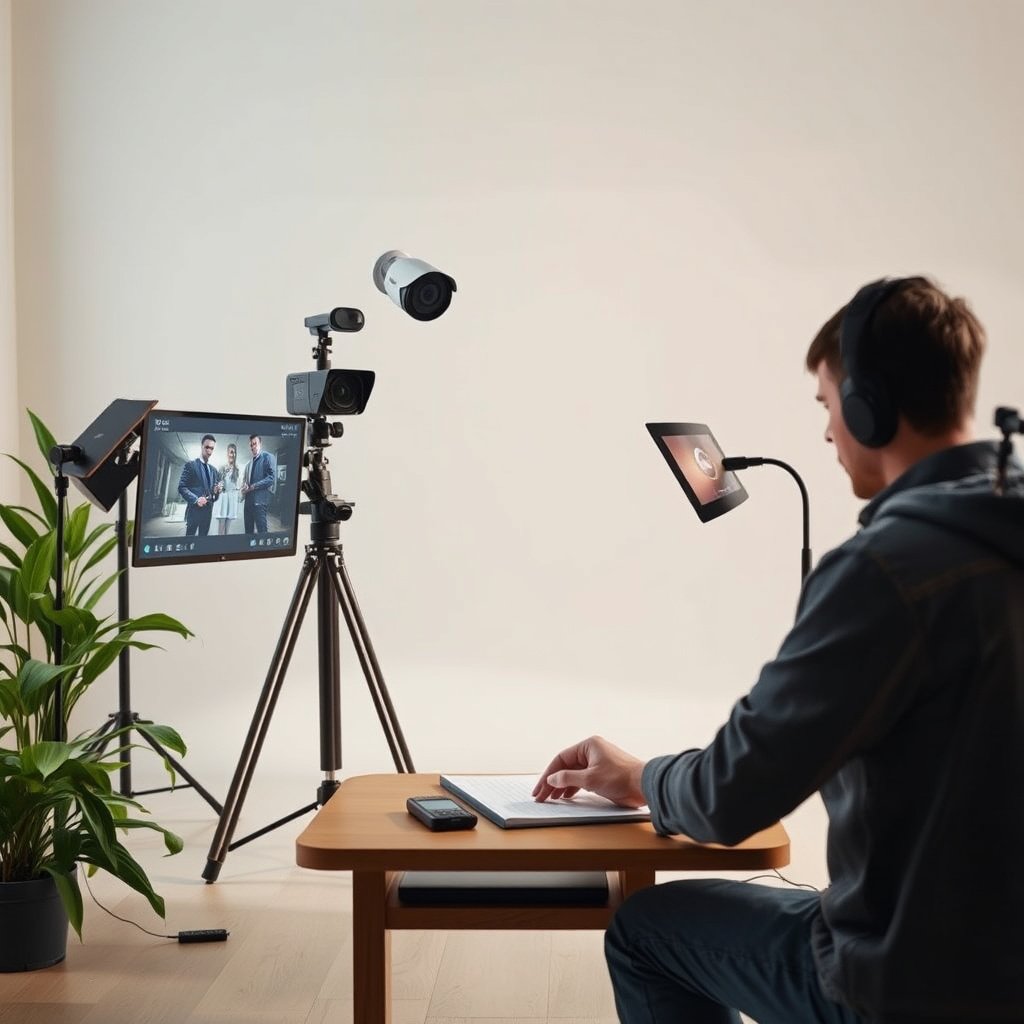
The best place to start is coverage planning and compatibility checks, because wiring mistakes and signal mismatches are expensive to fix later. Once you know exactly where evidence matters (faces, entrances, license plates), you can choose camera types and routing paths that match your DVR’s input requirements.
“Plan camera angles for evidence capture first—doorways, walkways, and driveway approaches—because motion settings can’t fix a camera that never frames the subject.”
“Confirm the camera signal standard (analog TVI/AHD/CVI vs. CVBS/coax) before you run cable; most ‘no video’ issues are compatibility, not broken hardware.”
– Decide camera coverage first: entry points, driveways, and any area you’d actually need evidence for (faces, license plates, entrances).
Think in “approach paths,” not just “camera locations.” A porch camera that points straight at a door can miss faces when someone approaches from the side; a driveway camera angled for vehicle direction can be far more useful for license plate evidence.
– Confirm compatibility: camera type (typically BNC/coax vs. network), DVR channels, and whether your DVR supports the camera signal (analog vs. TVI/AHD/CVI—depends on the kit).
In 2026, many installs still fail on a simple assumption: that “all BNC cameras” behave the same. Analog kits vary by signal standard, and the DVR often needs the matching input mode per channel.
– Sketch cable routes and length limits: measure the run paths so you can avoid “almost reaches” surprises during wiring.
Cable planning also helps you choose where to place a power supply and whether you’ll need an intermediate junction or additional power distribution. Even if the camera has signal now, marginal power or unsupported cable length can produce flicker or loss later (especially at night).
Important reminder (from my day-to-day install checklists):
Connect the CCTV DVR hardware the right way
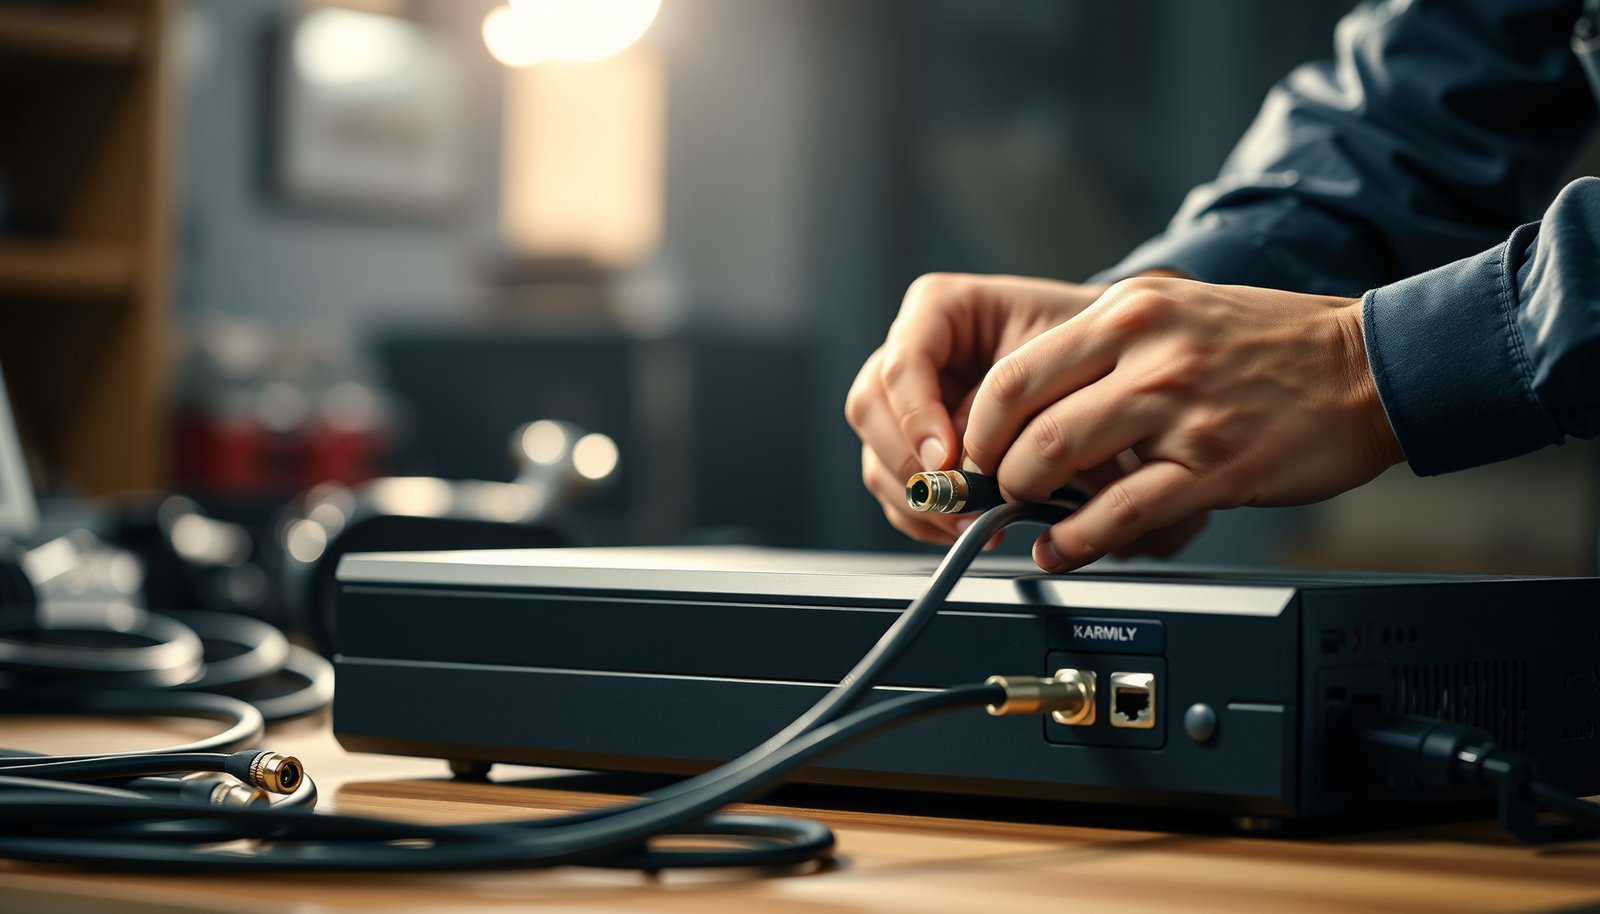
Connect power, cameras, and the monitor in a clean, deliberate order so you can troubleshoot quickly if anything is wrong. Your goal in this step is simple: live view should display every camera on the correct channel before you change recording or motion settings.
“Verify monitor output (HDMI/VGA) first so you can see the DVR menus; if you can’t access the wizard, you can’t correctly set time, storage, and recording modes.”
“Plug cameras into the correct DVR channel inputs and match the DVR’s expected signal standard; channel mismatch is a top cause of ‘no video’.”
– Power and display: connect the monitor/TV via the DVR-supported output (HDMI/VGA/BNC—check your DVR ports), then connect power only after key leads are seated.
If you connect everything and then lose display, you waste time guessing. When the monitor works, the DVR wizard becomes your “ground truth” for what the system believes about cameras, storage, and recording.
– Camera connections: plug each camera into the correct camera channel, ensuring the camera signal type matches what the DVR expects (mismatch is a common cause of “no video”).
A practical technique is to label camera leads before routing through walls/ceilings. Channel 1 vs. Channel 2 confusion is surprisingly common, especially when cables are bundled.
– Network (only if needed): if your DVR supports remote viewing, connect Ethernet to your router (or follow the DVR’s Wi‑Fi instructions if it supports Wi‑Fi).
Remote access uses network connectivity for playback and app access; it doesn’t automatically fix recording. If your Ethernet run exceeds typical limits, your remote stream may drop even while local recording continues. According to IEEE 802.3 (100BASE‑TX), the maximum link segment length over copper is 100 meters (1998). (IEEE 802.3, 100BASE‑TX distance limit) Also, for 1000BASE‑T, the maximum over copper is 100 meters (IEEE 802.3ab, 1999). (IEEE 802.3ab, 1000BASE‑T distance limit)
Quick compatibility sanity check (fast to do)
Before powering everything fully, confirm these three facts:
– The DVR model supports the camera signal type you’re using.
– The number of camera feeds doesn’t exceed the DVR’s channel count.
– The monitor output you’ll use (HDMI/VGA) matches the ports on the DVR.
Run the first-time DVR setup wizard (so recording works)
Run the DVR’s setup wizard immediately after connections are stable—this is where time, storage, and recording behavior get defined. If you skip or misconfigure these prompts, the system may show “live view” while silently not recording.
“Time zone and date/time directly affect schedules and event timestamps; wrong time settings often make footage look missing even when recording is technically running.”
“If the DVR prompts to initialize/format the hard drive, you must complete it for the HDD to be eligible for recording.”
– Set your basics: time zone, system date/time, display mode, and any language/region options shown in the wizard.
Use the correct time zone and make sure daylight saving time settings align with your region. In 2026, many app interfaces still interpret events using the DVR’s internal clock—so “close enough” can become “wrong evidence.”
– Choose how storage will work: initialize/format the hard drive if your DVR prompts for it, then set recording behavior (continuous, schedule, or motion-triggered).
This step determines whether the DVR is ready to write video to disk and what it writes (always-on vs. selective recording). If your recording behavior is set to “off” for a channel, you can get motion alerts without any saved footage.
– Do a live-view sanity check: verify each channel shows the correct camera, then confirm recording starts in the mode you selected (use the DVR’s on-screen status/record indicator).
Don’t wait a day to confirm. Confirm within 5–10 minutes that the DVR is recording to storage under the wizard-chosen mode.
7 Wizard Prompts That Decide Whether a DVR Actually Records
| # | Wizard prompt | What it controls | What to verify on screen | Recording reliability impact |
|---|---|---|---|---|
| 1 | Time zone & DST | Clock alignment | Correct city/time offset and DST state | ★★★★★ |
| 2 | Date & time | Schedule timestamps | Date/time matches local time | ★★★★★ |
| 3 | Video output mode | Menu readability | Live view appears on the connected monitor type (HDMI/VGA) | ★★★★☆ |
| 4 | HDD initialize/format | Write/read readiness | HDD status shows OK/Normal after formatting | ★★★★★ |
| 5 | Recording mode (schedule/motion) | What gets saved | Status shows recording is enabled for the intended hours/channels | ★★★★☆ |
| 6 | Analog input standard (if shown) | Signal compatibility | Each channel shows live video (no “no signal”) | ★★★★☆ |
| 7 | Admin password setup | Account access control | Password is changed from default and stored securely | ★★★★☆ |
Configure cameras and recording (where most quality is decided)
The DVR wizard makes recording possible; camera/channel configuration determines whether recordings are useful. After the first success, you’ll get the biggest “evidence quality” gains by setting per-channel schedules, tuning motion zones, and aligning image resolution/bitrate with your storage plan.
“Name and isolate channels early; when you can quickly identify Channel 3 vs. Channel 4, motion and recording problems stop feeling random.”
“Motion detection quality improves more from zone selection (what to watch) than from sensitivity alone (how easily it triggers).”
– Channel-by-channel setup: name channels, enable/disable channels, and set the recording schedule per area (e.g., nights vs. daytime).
Many homeowners set one schedule for everything. Instead, set different schedules for: exterior driveways (night + dusk), indoor hallways (full-day), and backyard gates (only when doors are likely used).
– Motion detection tuning: adjust sensitivity and detection zones so you capture people while minimizing false alerts from insects, headlights, or tree movement.
Tune from the camera’s perspective: if headlights from a street light sweep across a wall-mounted lens, your zone should exclude the bright sweep region.
– Privacy and image settings: apply privacy masking where needed, then set resolution/bitrate/display settings according to what your DVR and storage can handle (higher quality often reduces total retention time).
Privacy masking (privacy zones) prevents recording in areas where people shouldn’t be captured (like neighbor windows). Image settings then trade off clarity vs. retention time.
Continuous vs. motion recording: a practical comparison
Here’s a straightforward trade-off table you can use while configuring the DVR’s recording schedule:
| Recording mode | Best for | Main drawback |
|---|---|---|
| Continuous (scheduled) | Areas where you need “no gaps” evidence (entries, loading docks) | Faster HDD consumption; higher storage planning needed |
| Motion-triggered (scheduled) | Locations with predictable movement (gates, driveways with vehicles) | Missed footage if zones/sensitivity aren’t tuned |
| Motion + schedule “windows” | Homes where activity is concentrated at night or certain hours | Requires careful time settings and per-channel scheduling |
If your system includes PTZ or special features
Special features can improve coverage, but they also create additional variables that complicate debugging if recording doesn’t work. Use them after your basic channels are reliably recording.
“Set PTZ presets only after you confirm recording and motion are stable; otherwise you can’t tell whether a missing clip is PTZ behavior or recording configuration.”
“Enable only one special feature at a time (alarm input, audio, headlights compensation) so you know what changed when behavior shifts.”
– Use the DVR’s PTZ menu (if available) to set presets and speed, and test each preset from the live view.
Move the camera and confirm the view at the DVR monitor and in playback. PTZ “looks correct” live but can be cropped in playback if output/resolution settings differ.
– For special modes (alarm inputs, audio, headlights compensation), enable only what you need first—extra features can complicate debugging.
If something breaks after enabling alarms, you’ll want a controlled way to revert and isolate causes.
Set up remote viewing and security (don’t skip this)
Remote viewing should be the last step because it depends on correct local recording, time, and credentials. If you enable remote access incorrectly (or leave default passwords), you may still “see the cameras” while recording remains misconfigured—or worse, the system becomes internet-exposed.
“Don’t rely on ‘it streams’ as proof that it records; local HDD recording must be verified first before you troubleshoot networking.”
“Change default credentials and update DVR firmware—many vendor security updates address remote-access and authentication issues.”
– Use secure access: prefer vendor-supported remote access or local viewing over “open-to-world” port forwarding; if you must forward ports, restrict access and document the rule.
Port forwarding increases exposure. As of 2026, many vendors provide safer alternatives (vendor relay, QR pairing, or app sign-in) because they reduce the need for direct inbound access.
– Lock it down: set a strong admin/password, disable default credentials, and update firmware from your DVR manufacturer’s process.
According to NIST SP 800-63B (2017), memorized secrets are generally expected to have at least 8 characters. (NIST SP 800-63B, 2017)
– Test before you rely on it: confirm remote viewing works from a phone or another network, then check that motion/record events also sync correctly.
The real test is: trigger motion, confirm local footage is saved, then confirm remote playback shows the same clip and timestamps.
ADD: If your DVR brand/model supports a specific remote method (e.g., app name, “NVR/DVR remote,” QR pairing, or DDNS), add those exact steps from the manufacturer manual.
What can go wrong (and how to catch it fast)
When something fails, the quickest recovery comes from checking the highest-impact configuration items first: time, schedule, and storage. If you follow this order, you avoid the common trap of re-running cables when the issue is actually a wizard or HDD status setting.
“Live video without recording is usually a schedule/state problem (recording mode off, wrong channel enabled, or HDD not initialized) rather than a camera hardware failure.”
“Some cameras work and others don’t most often means channel mapping mistakes or an analog signal standard mismatch (e.g., TVI vs. AHD/CVI vs. CVBS).”
– “Live video works, but nothing records”: time/date not set correctly, wrong recording schedule (or motion mode set to “off” for that channel), or HDD not initialized/formatted properly.
Start by checking: HDD status (OK/Normal), then the recording schedule timeline for that channel, then whether the record indicator changes when you trigger motion or when continuous recording should be active.
– “Some cameras work, others don’t”: camera wiring into the wrong channel, wrong signal type for the DVR (analog vs. specific analog standard), or a loose BNC/DC power connection.
Reseat connectors, confirm the channel assignment, and if your DVR offers per-channel signal settings, match the signal type exactly.
– Bad footage at night or in motion: resolution/bitrate too low for your needs, motion sensitivity too high (or too low), or cameras aimed slightly off so faces/plates never enter the frame.
If faces never appear in the frame, no bitrate tweak will save your evidence. Fix aim and lens angle first, then tune motion zones and sensitivity.
– Network surprises: remote viewing fails because router settings blocked the DVR, UPnP is disabled, or the account credentials don’t match the DVR’s remote settings.
Confirm local recording first. Then validate remote access using the vendor’s recommended method (app/relay/DDNS). Avoid “trial-and-error” port forwarding if the manual offers a safer approach.
Verdict / tip (the “best way” depends on your goal)
If you want the smoothest setup, follow the order: plan → connect → wizard basics → verify recording → tune motion → then configure remote access and security. This avoids the most common redo loops (wiring mistakes and recording settings that only get corrected after you’ve already mounted cameras).
Downsides to consider:
– Motion detection tuning can take real trial-and-error to reduce false alerts.
– Higher quality video settings usually shorten retention time—so “best-looking” isn’t always “best evidence.”
– Remote access introduces security risk; if you’re not comfortable with passwords/router settings, you may want to stick to local viewing or ask someone with network experience.
Who should skip this approach:
– If your DVR uses a unique proprietary workflow you don’t have documentation for, rely strictly on the manufacturer setup steps.
– If you require regulated/forensic-grade evidence handling, you may need professional install practices beyond DIY configuration.
Quick checklist (save this)
| Step | Do this | Quick test |
|---|---|---|
| Plan | Confirm coverage and camera mounting spots | Sketch matches real lines of sight |
| Connect | Cameras → correct channels; monitor connected; power stable | Live view shows every channel |
| Wizard basics | Set time zone/date/time; choose recording mode | Record indicator turns on and footage appears |
| Storage | Initialize/format HDD if prompted | DVR reports HDD as “OK/Normal” |
| Motion tuning | Set zones/sensitivity per camera | Alerts/recording trigger on people, not random motion |
| Security + remote | Strong password + firmware update + secure remote method | View from phone/remote network works |
What order should I set things up in?
Start with planning, then connect cameras/monitor/network, run the DVR setup wizard, verify recording works locally, and only then tune motion settings and remote access.
Why is my DVR showing “no signal” for some cameras?
Most often it’s the camera plugged into the wrong channel, a loose connector, or the camera signal type not matching what the DVR expects. Check channel mapping and the DVR’s camera input settings.
Do I need the internet connection for recording?
No—recording usually works on the DVR locally once the schedule/mode and storage are set. Internet is mainly for remote viewing and app notifications.
How do I reduce false motion alerts?
Lower sensitivity slightly and use motion zones to exclude obvious triggers (trees, shadows, busy roads). Privacy masking can also help where appropriate.
What should I do first if remote viewing doesn’t work?
Verify local recording first, then check that remote credentials are correct and that your DVR’s network method matches your router setup. Use your router/DVR documentation for the exact remote-access steps.
Sources:
– NIST SP 800-63B (2017), Digital Identity Guidelines (memorized secret expectations). (NIST SP 800-63B, 2017)
– IEEE 802.3 (100BASE-TX) and IEEE 802.3ab (1000BASE-T), copper Ethernet link distance limits (100 meters). (IEEE 802.3; IEEE 802.3ab)
If you set up your CCTV DVR in the planned order—coverage planning, correct wiring, wizard-based time/storage/recording, verified local recording, then motion tuning and secure remote access—you’ll avoid the most common failures and end up with a system you can trust in real-world conditions.
Frequently Asked Questions
What is the best way to set up a CCTV DVR for home security?
Start by placing the DVR in a cool, ventilated location and connecting it to the monitor/TV, router, and power supply before mounting any cameras. Use the DVR’s on-screen setup wizard to configure the date/time, video format (typically H.264/H.265 depending on the model), and camera channels. Then connect each IP or analog camera one by one to verify live view, audio (if supported), and correct frame rate/resolution. Finish by setting motion detection zones, recording schedule (continuous vs. motion-based), and secure network settings like a strong admin password.
How do I connect my CCTV DVR to Wi-Fi or a router?
Most CCTV DVRs connect via Ethernet first for the most reliable setup, then you can enable Wi-Fi if your model supports it. Assign an IP address using DHCP or a static IP, and confirm the DVR shows “connected” in the network menu. For remote viewing, enable DDNS (or use the manufacturer’s cloud/P2P service) and configure port forwarding only if required by your system. Test access from a different network (e.g., mobile data) to ensure your CCTV DVR can be viewed securely off-site.
Why is my CCTV DVR not recording, and how can I fix it?
The most common causes are an improperly installed or incompatible hard drive, incorrect recording settings, or insufficient permissions after a firmware update. Check that the DVR detects the HDD and shows it as “Normal” and that recording is enabled for the correct channels and time periods. Verify storage settings such as overwrite/retention behavior and ensure motion detection is turned on if you’re using motion-based recording. If you’re still stuck, check for overheating, loose SATA/power connections (for DVRs with internal drives), and update firmware from the official manufacturer website.
Which CCTV DVR settings should I prioritize for clear night footage?
Prioritize recording resolution, bitrate, and frame rate to balance clarity and storage usage—many users start with 1080p and a moderate bitrate for motion detection recording. For night performance, confirm each camera’s IR cut filter (ICR) settings and that infrared LEDs aren’t blocked by windows or nearby surfaces. Set exposure and day/night sensitivity properly in the camera settings, and create motion zones to reduce false alerts from trees, headlights, or shadows. Regularly clean camera lenses and adjust camera angles so faces and entry points receive consistent lighting.
What is the best way to configure motion detection and notifications on a CCTV DVR?
Enable motion detection per channel, then fine-tune sensitivity and detection area so normal movement (like swaying plants) doesn’t trigger frequent alerts. Use time-based rules to record and notify only during relevant hours, such as nighttime or when you’re away. If your DVR supports smart detection (person/vehicle), turn it on to improve accuracy and reduce nuisance notifications. Finally, configure notification delivery (app push/email) and test it by walking through the camera’s field of view to confirm the correct channel and event type are captured.
📅 Last Updated: October 26, 2026 | Topic: What is the best way to set up a CCTV DVR? | Content verified for accuracy and freshness.
References
- Closed-circuit television
- Network video recorder
- SP 800-213, IoT Device Cybersecurity Guidance for the Federal Government: Establishing IoT Device…
- [Withdrawn] Surveillance camera code of practice – GOV.UK
- ONVIF Profiles – ONVIF
- https://www.ietf.org/rfc/rfc2326.txt
- https://scholar.google.com/scholar?q=best+practices+to+set+up+CCTV+DVR Google Scholar
- https://scholar.google.com/scholar?q=IP+camera+NVR+DVR+network+setup+security Google Scholar
- https://scholar.google.com/scholar?q=CCTV+installation+guidance+for+video+surveillance+DVR Google Scholar