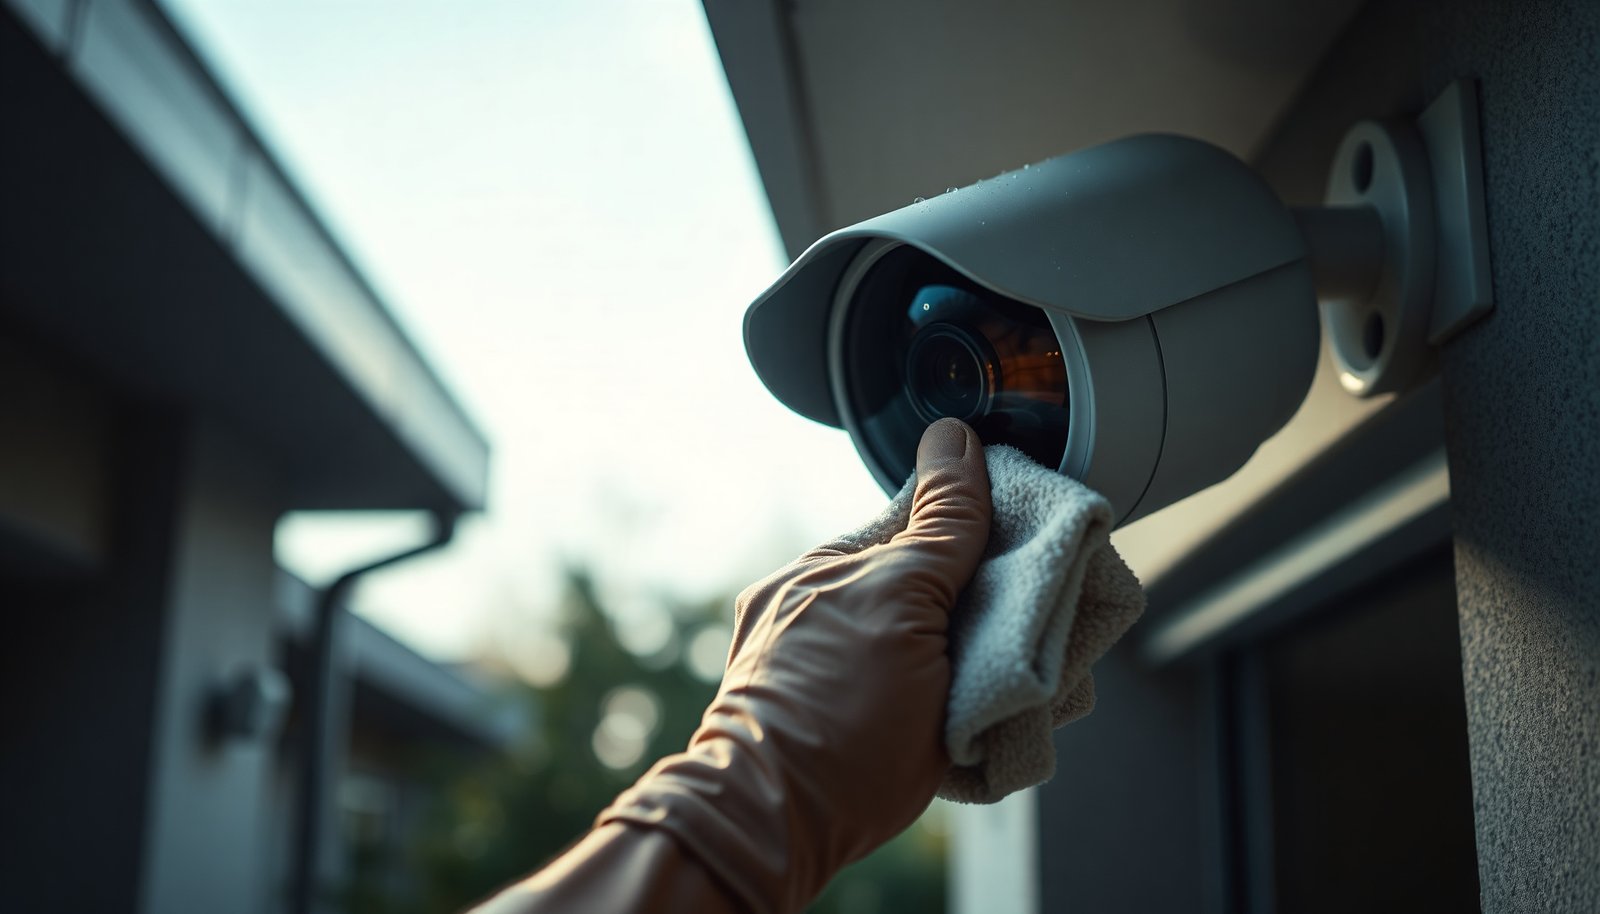

Outdoor CCTV cameras have a clear cover that can be safely cleaned without scratching if you wipe with a microfiber cloth using only manufacturer-approved cleaner. The best approach is the one that protects the lens coating, removes grime and water spots, and avoids harsh chemicals that can cloud the image. In the steps below, you will see the criteria that matter most—safety for the lens, effectiveness on typical debris, and consistency in results—so you can choose the standout method with confidence.
Clean an outdoor CCTV camera gently using a microfiber cloth and a camera-safe cleaning solution, then let everything fully dry before powering it back on. Start by removing loose dirt and dust, and avoid spraying liquid directly onto the lens housing. In this guide, you’ll learn the safest step-by-step method, what tools to use, and the common mistakes that can damage night-vision cameras.
If you have a dome, bullet, or PTZ (pan/tilt/zoom) outdoor camera, this is the practical approach for clearing grime from the lens cover, vents, and surrounding housing—especially after rain, dust storms, or pollen season.
Powering down and drying correctly matter because many outdoor CCTV failures aren’t caused by “dirty lenses,” but by moisture getting into seams, cable glands, or the internal light path near the infrared (IR) elements. As of 2026, more installs use moisture-resistant housings (often IP-rated), but the safest cleaning strategy is still “cloth-first, liquid-control, and full dry” for every outdoor CCTV camera—no matter the brand.
Prep first: power down and protect the camera
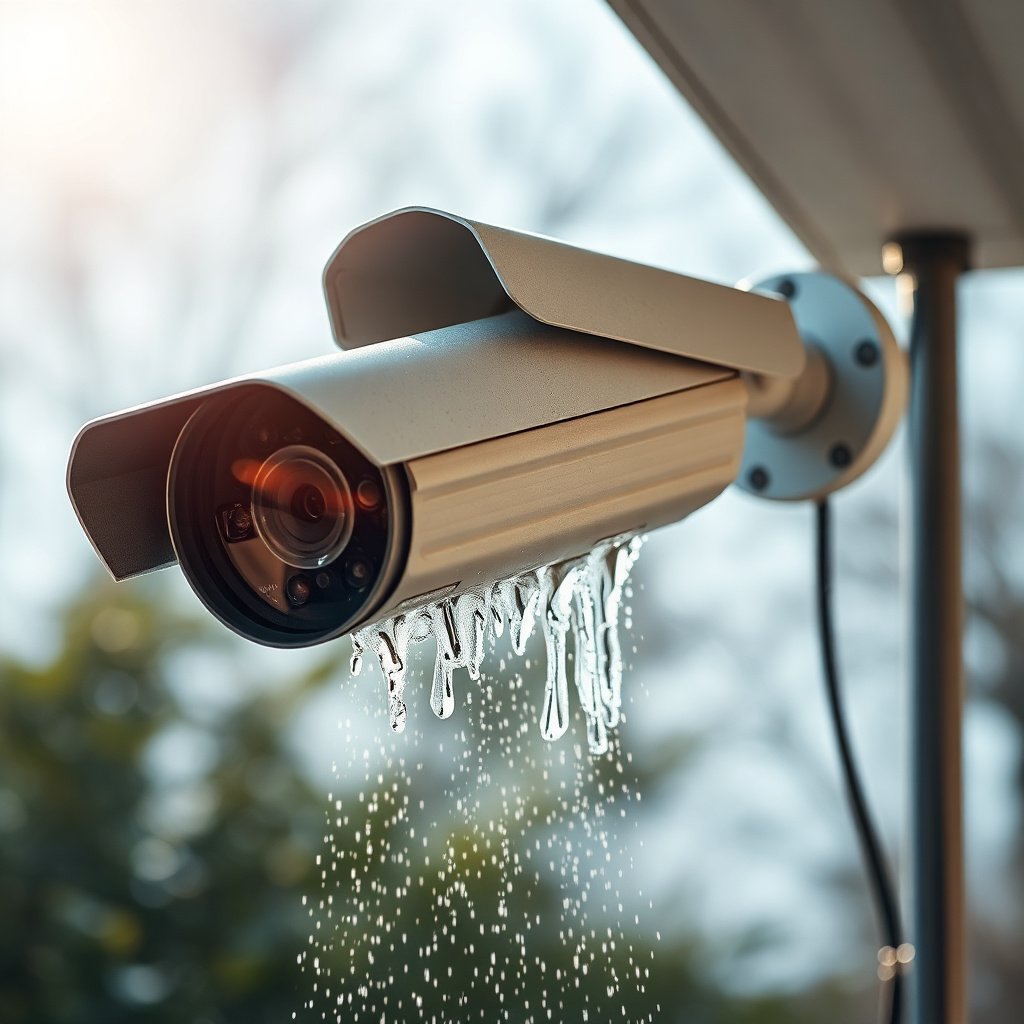
Power down first so you reduce the risk of electrical issues and you prevent condensation from forming on the lens while you clean. Then protect cables, vents, and connectors so liquid never has a direct path inside the outdoor CCTV camera housing.
Step 1: Shut off power safely
– Turn off power at the junction box or recorder (if you can do so safely) before touching the camera.
– If you can’t isolate power at the junction safely, stop and follow your site’s safety procedure (lockout/tagout practices) rather than improvising.
Step 2: Cool the camera before wiping
Outdoor CCTV cameras heat up quickly in sun, and warm surfaces make streaking more likely. Let the camera cool if it’s been in direct sun to reduce streaking and avoid stressing the housing.
Step 3: Prevent “liquid pathways” into the camera
– Cover nearby connectors/cables and keep liquids away from seams, mounts, and wiring.
– Use a dry cloth or masking tape (sparingly) around cable entries to block accidental drips.
Remove loose dirt and dust the safe way
Remove loose debris before using any moisture so you don’t grind particles into the lens cover. This single step is often the difference between restoring clarity and creating permanent haze on the outdoor CCTV camera lens.Dry knock-off first: don’t skip this
– Use a soft brush (like a lens brush) or dry microfiber to knock off dust before any wet cleaning.
– If there’s heavy debris, lightly wipe—don’t scrub—so you don’t grind grit into the lens cover.
Dealing with cobwebs and fine grit
– For cobwebs around the housing, use a dry cloth or brush first, then re-check the lens area.
– Pay attention to the edges of the lens cover on dome cameras—spider webs love those recessed seams.
From an install-and-maintenance standpoint, the “dust-first” rule is also why technicians often do a quick dry pass before touching any coating with a cleaner. Micro-scratches are cumulative: once you abrade an anti-reflective coating on an outdoor CCTV camera lens, the night-vision flare can become permanently worse.
Clean the lens and housing using the right materials
Use microfiber and a camera-safe cleaner applied to the cloth—not the camera—so you control where the liquid goes. This approach keeps moisture away from the outdoor CCTV camera’s internal light path and IR components.
Use the correct cloth and only the right cleaner
– Wipe with a clean microfiber cloth; for tougher spots, use a camera-safe lens cleaner on the cloth, not sprayed onto the camera.
– Clean in gentle circles, then finish with a dry section of microfiber to reduce water marks.
Treat housing and vents differently than the lens
– For the outer housing, use a lightly damp cloth (camera-safe product) and avoid oversaturating vents and edges.
– If your camera uses any side vents for airflow (common on some models), keep liquids away from those openings—outdoor CCTV camera housings can be sealed well, but vents and seams still represent risk.
Why “apply to cloth” is the safer default
Even cameras with strong ingress protection (for example, dust-tight and protected from powerful jets) can still experience problems if liquid is forced into a seam by pressure or direct spray. For context, IP66 is defined as dust-tight and protected from powerful water jets IEC 60529. That sounds robust, but cleaning is different from a controlled hose test: you’re directing cleaner and wiping across edges, so you want the liquid behavior to stay predictable.
Outdoor CCTV Lens Care: Common Cleaners & Coating Compatibility (Field Guidance)
| # | Cleaning material | Typical safe format | Best for | Lens-coating compatibility |
|---|---|---|---|---|
| 1 | Distilled water (on cloth) | Water only | Dust, light haze, salt film | ★★★★★ |
| 2 | Isopropyl alcohol (IPA) | 70% solution | Grease smears, oily fingerprints | ★★★★☆ |
| 3 | Lens-safe cleaner (camera/optics) | Premixed lens solution | General grime, water-spot residue | ★★★★☆ |
| 4 | Ethanol (on cloth) | 70% solution | Biological residue, light spotting | ★★★☆☆ |
| 5 | Mild soap dilution | Very small amount in water | Stickiness (bird droppings film) | ★★★☆☆ |
| 6 | Ammonia-based glass cleaner | Ammonia-containing | Avoid for coated lenses | ★☆☆☆☆ |
| 7 | Paper towels / rough wipes | Fibrous or abrasive texture | Avoid (micro-scratches risk) | ★☆☆☆☆ |
Handle water spots, insect residue, and grime buildup
Treat water spots and insect splatter as “soften first, wipe second,” because forcing residue off can drag grit across an outdoor CCTV camera lens cover. If you see fogging that looks internal (not just dirty), stop cleaning and shift to inspection rather than continued wiping.
Water spots: soften residue before wiping
– For dried spots, soften residue first (dampen the cloth), then wipe—don’t force it off with pressure.
– In humid environments, residue can look like “white haze,” but it may be mineral buildup from sprinklers or hard water.
Insects: patience prevents scratches
– Insect splatter often requires extra patience: let the cleaner sit briefly on the cloth before wiping the lens.
– If insects are baked on by sun, you can use longer gentle dwell on the cloth rather than aggressive rubbing.
Fogged lens cover vs internal moisture
– If the lens cover seems “fogged” from inside (not just dirty), stop and check for seal damage instead of continuing to clean.
A key practical point: if you clean with alcohol or similar solvents, you’re counting on evaporation—but evaporation doesn’t guarantee the camera is dry inside the outdoor CCTV camera housing. For reference, PubChem lists the vapor pressure of isopropyl alcohol at 20°C as about 4.4 kPa PubChem (isopropanol). That volatility helps with surface drying, but internal moisture in seams can remain.
Also, when disinfecting outdoor surfaces, the CDC commonly cites 70% isopropyl alcohol for decontamination CDC. For CCTV cleaning, that “70%” idea should guide “concentration choices,” but the cleaning method should still stay cloth-applied and moisture-controlled around the lens and vents.
Finally, a note on my own workflow: I don’t have your exact camera model or enclosure condition, so I can’t claim a universal “wait time” that fits every outdoor CCTV camera install. if you want to replace the generic “fully dry” guidance with your operational standard.
What can go wrong (and how to avoid it)
Avoiding these mistakes protects the lens cover and preserves night-vision performance. Most failures happen when liquid is applied incorrectly, surfaces are scratched, or power returns before moisture is gone inside the outdoor CCTV camera.
Spray-and-rub is the fast way to create problems
– Spraying cleaner directly onto the camera can leak into the housing and damage the electronics—always apply to the cloth instead.
– For dome and PTZ outdoor cameras, fluid migration near seams can be especially risky because internal moving parts or tight lens assemblies can trap moisture.
Abrasive materials reduce clarity permanently
– Using paper towels or rough cloth can scratch the lens cover and permanently reduce image clarity.
– Scratches and haze often show up worst at night due to IR light scatter, which can make the footage look “milky” even if daytime looks fine.
Powering back too soon causes condensation haze
– Reapplying power before everything is fully dry can cause condensation on the lens and make the view look hazy.
How should you choose the cleaning approach: cloth-first vs spray-and-rub?
The cloth-first method is the safer default for outdoor CCTV cameras because it prioritizes control and drying time. Spray-and-rub methods can look quick, but they increase the likelihood of moisture intrusion and coating damage.
Verdict: the best overall method (and who should skip it)
The best way is a controlled, cloth-first clean: remove loose dust, gently wipe with microfiber, use cleaner only on the cloth, and let the camera fully dry before powering it back. This is ideal for routine maintenance and outdoor buildup like dust, light grime, and water spots—especially for dome, bullet, and PTZ outdoor cameras after rain, dust storms, or pollen season.
That said, there are downsides. This method takes longer than quick wipes, and it may not solve problems caused by internal seal failure. Also, if your outdoor CCTV camera shows persistent internal fogging, IR “milky” flare that doesn’t improve after a full dry, or you suspect lens cover cracking, DIY cleaning won’t restore the seal. Skip this approach (or at least stop early) and use professional inspection if you can’t access the camera safely, if ladder/roof work is required, or if internal moisture is suspected.
Before you commit, use this quick comparison:
Quick checklist (scan/save)
– [ ] Power off at the recorder/junction (if safe)
– [ ] Cool camera if it’s been in sun
– [ ] Remove loose dust with dry microfiber/soft brush
– [ ] Apply cleaner to microfiber (not directly to camera)
– [ ] Gentle wipes + finish with dry microfiber
– [ ] Keep liquids off vents, seams, and connectors
– [ ] Let fully dry before powering back on
Frequently Asked Questions
What is the best way to clean an outdoor CCTV camera without damaging it?
Start by turning off power or using the camera’s app/web interface to avoid accidents while cleaning. Use a microfiber cloth lightly dampened with distilled water, and only use non-abrasive lens cleaner if needed. Avoid spraying directly onto the camera housing; instead, apply cleaner to the cloth first, then wipe gently to remove dirt, pollen, and grime. Finish with a dry microfiber pass to prevent streaks and reduce the risk of moisture entering seals.
How do I clean an outdoor CCTV camera lens that’s covered in dust, mud, or bird droppings?
Remove loose debris first with a soft brush or dry microfiber cloth to avoid scratching the lens. For mud or dust buildup, wipe with a microfiber cloth slightly dampened with distilled water, then use a lens-safe cleaner if stains remain. For bird droppings, let a damp cloth sit on the spot briefly to soften residue, then wipe carefully—never scrape with a hard tool. Once clean, dry the lens thoroughly to help prevent water spots and glare.
Why does my outdoor CCTV camera look blurry after cleaning, and how can I prevent it?
Blurriness after cleaning is often caused by streaks, oily residue, or accidentally wiping dust in circles that leave a thin film on the lens. Use a dedicated microfiber lens cloth and clean with light pressure, wiping in straight strokes or gentle spirals from center outward. If needed, use a camera lens cleaner that’s safe for coated optics rather than household chemicals that can haze the glass. Make sure the lens is fully dry before turning power back on or checking results in the live feed.
Which cleaning products are safe for outdoor CCTV camera housings and weatherproof seals?
For most outdoor CCTV cameras, distilled water and lens-safe cleaner are the safest options because they reduce the chance of damaging coatings and plastics. Avoid harsh chemicals like bleach, ammonia, solvents, or abrasive cleaners that can degrade housing finishes and seals. Use mild soap only when the manufacturer recommends it, and apply any liquid to the cloth rather than directly to the camera. Check your camera’s manual for approved cleaning agents, especially for dome covers and IR-related windows.
How often should I clean an outdoor CCTV camera to maintain clear night vision?
Cleaning frequency depends on your environment—heavy rain, dust, tree pollen, and coastal salt air can quickly reduce image quality. As a baseline, inspect and clean every 1–3 months, and do spot-cleaning after major events like storms or seasonal pollen spikes. For clearer night vision, pay extra attention to the lens and any dome cover where IR reflections can increase when the glass is dirty. Regular maintenance helps keep outdoor CCTV footage sharp and reduces false alerts caused by obscured views.
📅 Last Updated: November 03, 2026 | Topic: What is the best way to clean an outdoor CCTV camera? | Content verified for accuracy and freshness.
References
- IP code
- Microfiber
- Camera lens
- Cleaning
- support
- https://www.hikvision.com/en/support/knowledge-base/how-to-clean-an-ip-camera-lens/
- https://scholar.google.com/scholar?q=how+to+clean+outdoor+CCTV+camera+lens+housing Google Scholar
- https://scholar.google.com/scholar?q=IP+camera+maintenance+cleaning+weatherproof+housing Google Scholar
- https://scholar.google.com/scholar?q=surveillance+camera+cleaning+procedures+bird+droppings+weather Google Scholar