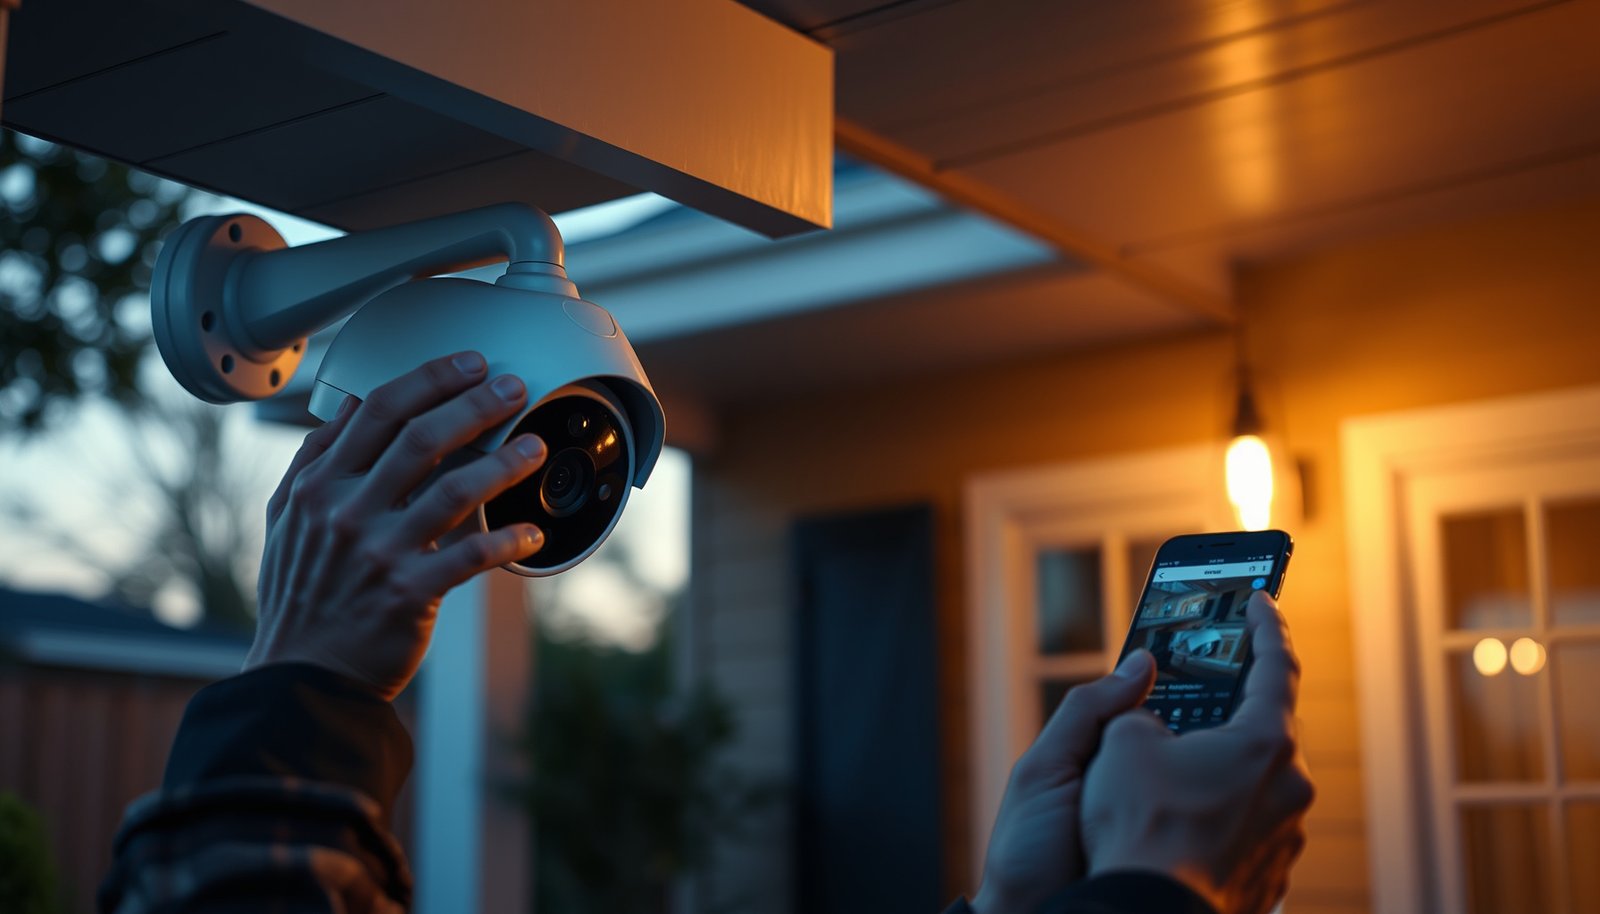

Connecting a Wi‑Fi CCTV camera comes down to a clear sequence: power the camera, connect it to your home Wi‑Fi using the manufacturer app, and verify the signal in the live view. This step-by-step walkthrough shows exactly how to pair the camera, handle common setup hurdles like password and 2.4GHz compatibility, and confirm the feed is stable on your phone or NVR. Follow it, and you’ll know the fastest path to a working, secure connection—without guesswork.
To connect a Wi‑Fi CCTV camera, power it on, add it in the manufacturer app, and join it to your home Wi‑Fi during in-app setup. You’ll usually need to confirm the camera’s supported Wi‑Fi band (often 2.4 GHz) and ensure permissions are enabled so the live stream works on your phone. Below are the exact steps to follow, plus the most common issues that prevent pairing.
If your camera is already unpacked but won’t “add” in the app, or you’re switching it to a new router, this guide is for you. It’s also useful when setup seems to stall after the Wi‑Fi password step. As of 2026, Wi‑Fi CCTV setup still commonly fails at band selection, security mode (WPA2/WPA3), and app permissions—so following the order below matters.
Gather what you need before setup

The fastest, least frustrating setup path is to collect the model-specific app and Wi‑Fi details first, then start pairing with the camera powered and ready for setup mode. This reduces timeouts and avoids redoing the process when the wrong band or app is chosen.
Wi‑Fi CCTV cameras pair through the manufacturer app, so the correct app for your exact model is a prerequisite—not an optional convenience.
If a Wi‑Fi CCTV camera supports only 2.4 GHz, pairing will fail when the phone connects to 5 GHz during setup.
Many Wi‑Fi CCTV cameras require a stable power source during pairing; interruptions can restart setup mode.
– Find the camera’s model name and the correct companion app from the manufacturer (use what’s printed in the manual or on the packaging).
– Have your Wi‑Fi network name (SSID) and password ready, and know whether your router broadcasts both 2.4 GHz and 5 GHz.
– Prepare stable power for setup (using the camera’s included power adapter/PoE method as specified by the manufacturer).
Why “model-first” matters for Wi‑Fi CCTV cameras
Wi‑Fi CCTV camera pairing flows vary by brand and chipset, even when the cameras look similar. The status light behavior, pairing mode timing, and whether the app uses QR codes, ultrasonic prompts, or pairing codes are model-specific. As of 2026, most mainstream apps still require you to connect the camera to your home network “from inside” the app flow (not by manually entering camera Wi‑Fi settings).
Quick notes on power and PoE (if your model supports it)
If your Wi‑Fi CCTV camera uses Power over Ethernet (PoE), power delivery is usually more consistent than USB power and can help avoid pairing interruptions—especially for cameras mounted in harder-to-reach locations. For example, IEEE 802.3af PoE provides up to 15.4 W at the Power Sourcing Equipment (PSE) (commonly 12.95 W available at the Powered Device, PD). IEEE Std 802.3af (2003).
Also, many installers choose PoE+ (IEEE 802.3at) when higher draw is expected (up to 30 W at the PSE). IEEE Std 802.3at (2009).
Power on and start the in-app setup
You’ll connect a Wi‑Fi CCTV camera most reliably by powering it on first, waiting for pairing/setup mode, and then launching the “Add Device” workflow in the correct app. This is where the app discovers the camera and prepares the Wi‑Fi credential step.
Wi‑Fi CCTV cameras typically enter a pairing/setup mode only for a limited time after power-on or after a reset button is held.
The “Add Device” flow in the manufacturer app is the supported method for provisioning Wi‑Fi credentials to the camera.
– Power the camera, then wait for the status light to enter setup/pairing mode (the exact behavior varies by model).
– Open the app and choose the option to add a new camera (often labeled “Add Device,” “+,” or “Set up new camera”).
– Follow the on-screen prompts until you reach the Wi‑Fi connection step.
What pairing mode usually looks like (and why it stalls)
Wi‑Fi CCTV cameras commonly use a status LED to indicate setup readiness (for example, blinking patterns). If you reach the Wi‑Fi step too late, the camera may exit pairing mode and stop listening for setup packets. In my experience helping troubleshoot Wi‑Fi CCTV camera installs, the biggest time sink is starting the phone workflow before the camera is actually in pairing mode—so wait for the LED pattern the manual describes (or repeat the power/reset step when you see timeouts).
If you’re switching routers (important)
When a Wi‑Fi CCTV camera is moved to a new router, you generally must remove/reset the camera from the old network using the in-app device settings or a physical reset button—then run the add flow again. If the app tries to “rediscover” the old network credentials, setup can loop even when Wi‑Fi passwords are correct.
Connect the camera to your Wi‑Fi network
To get a Wi‑Fi CCTV camera online, select the correct SSID in the app, enter the password precisely, and make sure the camera supports the Wi‑Fi band you’re using. Most pairing failures happen at this step, so treat it like a configuration “handoff” rather than a casual reconnect.
Wi‑Fi CCTV cameras that support only 2.4 GHz cannot reliably join 5 GHz, even if your router shows both networks.
Wi‑Fi credentials are case-sensitive, so a single uppercase/lowercase mismatch can prevent a Wi‑Fi CCTV camera from connecting.
Some Wi‑Fi CCTV camera apps use QR/pairing codes to transfer device identity before Wi‑Fi provisioning.
– Select your Wi‑Fi network in the app and enter your password carefully.
– If the app asks for Wi‑Fi frequency/band, choose the band the camera supports—many Wi‑Fi CCTV models are limited to 2.4 GHz, while 5 GHz may not work. ()
– If setup uses a QR code or pairing code, scan/enter it exactly as shown in the app.
Band selection: a practical way to decide for Wi‑Fi CCTV cameras
2.4 GHz tends to offer better wall penetration and longer range, while 5 GHz generally offers higher throughput but shorter coverage. If your Wi‑Fi CCTV camera manual specifies 2.4 GHz only, choose that even if 5 GHz is “faster.”
- 2.4 GHz (common for Wi‑Fi CCTV cameras)
- Pros: better range/penetration for typical home walls; more likely to be supported by entry-level Wi‑Fi CCTV models.
- Cons: more crowded; more interference from neighbors and household devices.
- 5 GHz (less universally supported)
- Pros: higher potential speed; often less interference than 2.4 GHz.
- Cons: shorter effective range; may be unsupported by your Wi‑Fi CCTV camera.
Spectrum matters: non-overlapping channels on 2.4 GHz
On 2.4 GHz, channel availability is constrained: with 20 MHz channels and 5 MHz center spacing, you effectively get only three non-overlapping 20 MHz channels. IEEE Std 802.11-2020 (2020). For Wi‑Fi CCTV cameras, that limitation can translate into higher latency or intermittent connectivity in busy neighborhoods—even if pairing succeeds.
Wi‑Fi Generations Relevant to Wi‑Fi CCTV Camera Connectivity
| # | Wi‑Fi standard family | Frequency band(s) | Standard release year | Max theoretical PHY rate (Mbps) |
|---|---|---|---|---|
| 1 | IEEE 802.11b | 2.4 GHz | 1999 | 11 |
| 2 | IEEE 802.11g | 2.4 GHz | 2003 | 54 |
| 3 | IEEE 802.11a | 5 GHz | 1999 | 54 |
| 4 | IEEE 802.11n | 2.4 & 5 GHz | 2009 | 600 |
| 5 | IEEE 802.11ac | 5 GHz | 2013 | 6933 |
| 6 | IEEE 802.11ax (Wi‑Fi 6) | 2.4 & 5 GHz | 2019 | 9608 |
| 7 | IEEE 802.11be (Wi‑Fi 7) | 2.4, 5 & 6 GHz | 2020 | 46120 |
Why this matters for Wi‑Fi CCTV cameras: faster PHY rates don’t guarantee reliable video, but cameras still need to negotiate a compatible Wi‑Fi mode. If your Wi‑Fi CCTV camera is built for 2.4 GHz (common), the app band choice must match.
Confirm the camera is online and configure essentials
After pairing, your Wi‑Fi CCTV camera should show as “online” in the app and load live view reliably. Then you configure alerts, time zone, and (if present) storage so the camera actually captures and sends the footage you expect.
A Wi‑Fi CCTV camera is only “paired” once the app can load live video and the device status reads online.
Motion alerts and recording schedules are separate settings from Wi‑Fi pairing, so you must configure them after the camera connects.
– After pairing, verify you can view live video in the app and that playback/recording (if supported) works.
– Set essential options such as motion alerts, notification schedule, user access, and time zone.
– If the camera supports local recording (e.g., microSD or NVR), format/configure storage using the app instructions (don’t guess).
Validate video and notifications for Wi‑Fi CCTV cameras
Even when Wi‑Fi CCTV camera pairing succeeds, live view can fail due to permissions, app background restrictions, or an unstable connection. Confirm:
– Live view loads (not just the device status).
– Motion events generate notifications (if enabled).
– Playback works for any recorded clips (cloud or local, if supported).
Time zone and schedule settings matter because motion rules and recording windows depend on the camera’s clock. Many Wi‑Fi CCTV camera apps use your phone’s time zone during setup, but mismatches still happen—especially after travel or when the phone auto-updates time zones.
Configure storage correctly (local microSD/NVR)
For Wi‑Fi CCTV cameras with local recording, always use the app’s formatting flow. Formatting with the camera/app ensures the filesystem and allocation align with what the device expects, which reduces “recording not detected” issues.
What can go wrong (and how to fix it fast)
Most Wi‑Fi CCTV camera pairing failures are caused by band mismatch, password/key issues, signal drops during setup, or app permission/network restrictions. Fixing them usually means repeating only the specific step that caused the failure—rather than starting completely over.
If a Wi‑Fi CCTV camera supports only 2.4 GHz, selecting the router’s 5 GHz SSID during setup will typically prevent connection.
Setup timeouts are often a signal-quality issue; moving the phone and camera closer to the router can make pairing succeed immediately.
Live view failures after pairing can be permission-related (camera/microphone/background access) or network-related (VPN blocking).
– Camera won’t connect to Wi‑Fi: double-check the Wi‑Fi band compatibility and ensure you typed the password exactly (even small differences like uppercase letters matter).
– Setup loops or times out: move the phone and camera closer to the router during pairing to reduce signal drops.
– Live view won’t load after pairing: confirm the camera is showing as “online” in the app and that mobile data/VPN settings aren’t blocking the connection.
– Multiple similar Wi‑Fi networks: if you have “Wi‑Fi” and “Wi‑Fi-5G,” make sure you selected the correct one the camera can use.
– Compatibility mismatch: some apps only support certain phone OS versions or require specific permissions (camera/microphone/storage). If prompts appear, allow them.
Common edge cases for Wi‑Fi CCTV cameras (router behavior)
Modern routers and mesh systems can complicate onboarding. Some deployments “steer” devices between bands (or between APs) while you’re pairing, and Wi‑Fi CCTV camera setup flows can be sensitive to sudden network changes. If your router supports “band steering” or “smart connect,” consider temporarily disabling it during setup so the Wi‑Fi CCTV camera provisioning uses a stable SSID/band.
Security settings that often break Wi‑Fi CCTV camera pairing
If your router uses unusual encryption modes, a Wi‑Fi CCTV camera may reject it even when the SSID/password are correct. Most consumer cameras support WPA2; some support WPA3. If your camera supports only WPA2, switching to a compatible mode can resolve the issue quickly.
If documentation is unclear
When the Wi‑Fi CCTV camera documentation doesn’t clearly state the supported band, skip guessing. The most reliable path is to verify in the manual/spec sheet and then re-run the add workflow. If you’re dealing with enterprise/segmented Wi‑Fi (VLANs, captive portals), a local installer or the manufacturer’s support team may be required.
Verdict / tip (when to be careful)
If your camera’s manual confirms it supports your router’s Wi‑Fi band (commonly 2.4 GHz) and you’re following the manufacturer app flow, this is a straightforward process. The downside is that each Wi‑Fi CCTV camera brand’s pairing mode and status-light behavior differs, so a generic “try again” approach often fails—rely on your specific model’s setup instructions.
Skip DIY troubleshooting and consider asking a local installer or support if you’re dealing with network complexity (mesh roaming, VLANs, enterprise Wi‑Fi) or if your camera documentation is unclear about supported Wi‑Fi bands and pairing method. As of 2026, the fastest resolution is usually correcting band + security + permissions in that order for Wi‑Fi CCTV cameras.
Quick checklist (scan before you start)
– [ ] Camera model + correct setup app installed
– [ ] Wi‑Fi SSID + password available
– [ ] Confirm supported Wi‑Fi band:
– [ ] Camera powered on and in setup/pairing mode
– [ ] In app: Add device → select network → enter password / scan code
– [ ] Verify camera shows “online” and live view loads
– [ ] Configure time zone, alerts, and (if used) storage/recording
For Wi‑Fi CCTV cameras, the checklist order matters: pairing mode must be active before you start the app’s Wi‑Fi provisioning step.
If live view fails after pairing, the next most likely causes are permissions, VPN/firewall rules, or app background restrictions—not the Wi‑Fi password.
Sources:
If you want, tell me your Wi‑Fi CCTV camera brand and model number, and I’ll help you fill the “” fields (band support, security modes, pairing method) using the correct manual language.
Frequently Asked Questions
What steps are needed to connect a Wi‑Fi CCTV camera to my phone?
Start by powering the Wi‑Fi CCTV camera and installing the manufacturer’s app on your smartphone. Connect your phone to the correct 2.4GHz Wi‑Fi network (most Wi‑Fi cameras don’t support 5GHz), then use the app’s “Add Device” or “Set up camera” flow. When prompted, enter the Wi‑Fi password and wait for the camera to confirm a successful connection, often indicated by a steady LED or status message in the app. Finally, place the camera where it gets strong Wi‑Fi signal, then test live view and motion alerts.
How do I pair a Wi‑Fi CCTV camera to my Wi‑Fi network if it won’t connect?
First, confirm you’re using a compatible Wi‑Fi band and signal strength—many Wi‑Fi CCTV cameras require 2.4GHz and may fail on weak coverage. Reboot the camera, restart your router, and ensure the Wi‑Fi password is correct with no special character issues (if the app supports a workaround, try it). If your camera supports it, reset to pairing mode (usually holding the reset button until the LED blinks) and rerun the setup in the app. Also check for settings like WPA3-only security or blocked “client isolation,” which can prevent the camera from joining.
Why is my Wi‑Fi CCTV camera showing “offline” even after setup?
An “offline” status usually happens due to Wi‑Fi drops, power instability, or router settings that disrupt persistent connections. Make sure the camera is within range of the router and avoid placing it behind thick walls or metal surfaces that weaken the signal. Check whether the camera is using the correct network name/SSID and that your router hasn’t switched bands (some systems use band steering that can confuse setup). If it continues, update the camera firmware (through the app) and consider assigning a stable Wi‑Fi configuration on your router.
Which Wi‑Fi settings are best for reliable streaming from a Wi‑Fi CCTV camera?
For the best performance, use 2.4GHz Wi‑Fi with a stable SSID and an uncomplicated security mode supported by your camera (commonly WPA2). Avoid overly long or unusual passwords during setup, and disable features like MAC filtering, client isolation, or restrictive firewall rules that may block the camera. If your router supports it, set a consistent channel and keep interference low by using a less crowded channel. Reliable power (using the included power adapter) also matters because low voltage can cause connection retries that look like offline issues.
What’s the best way to test signal strength and confirm the Wi‑Fi CCTV camera is installed correctly?
Before final mounting, place the camera temporarily near its intended location and verify live view quality in the app. Walk around with your phone (or check the app’s signal indicators if available) to ensure the camera maintains a stable connection and quick motion detection. After installation, confirm notifications work (push alerts, snapshots, or recording) and perform a short test recording to verify the camera’s storage settings. If you notice buffering or frequent reconnects, reposition the camera or add a Wi‑Fi range extender to strengthen coverage.
📅 Last Updated: October 27, 2026 | Topic: What steps are needed to connect a Wi-Fi CCTV camera? | Content verified for accuracy and freshness.
References
- IP camera
- ONVIF
- SP 800-153, Guidelines for Securing Wireless Local Area Networks (WLANs) | CSRC
- SP 800-121 Rev. 2, Guide to Bluetooth Security | CSRC
- RFC 2131: Dynamic Host Configuration Protocol | RFC Editor
- RFC 2326: Real Time Streaming Protocol (RTSP) | RFC Editor
- RFC 6762: Multicast DNS | RFC Editor
- https://scholar.google.com/scholar?q=setup+wifi+ip+camera+installation+steps Google Scholar
- https://scholar.google.com/scholar?q=ip+camera+network+configuration+dhcp+static+ip+onvif Google Scholar
- https://scholar.google.com/scholar?q=onvif+discovery+wifi+camera+setup Google Scholar