


Want to install a CCTV camera for a driveway and have it working the first time? This step-by-step guide walks you through choosing the right camera and placement, mounting it securely, wiring or setting up power and connectivity, and configuring recording and alerts. Follow it closely and you’ll get clear coverage of vehicles and entrances with minimal troubleshooting.
Mount your CCTV camera where it clearly covers the driveway entrance and approach path, then connect it to power and (if required) your network so the feed is viewable in your phone/NVR. Next, set motion detection zones and privacy masking to reduce false alerts, and run a short test walk-through at day and night before finalizing the install.
If you want a practical walkthrough that covers placement, wiring/network basics, mounting, and setup—without guessing—you’re in the right place. This is for homeowners installing a dedicated driveway camera (wired or wireless) and syncing it to an app or recorder.
Plan the camera placement for driveway coverage
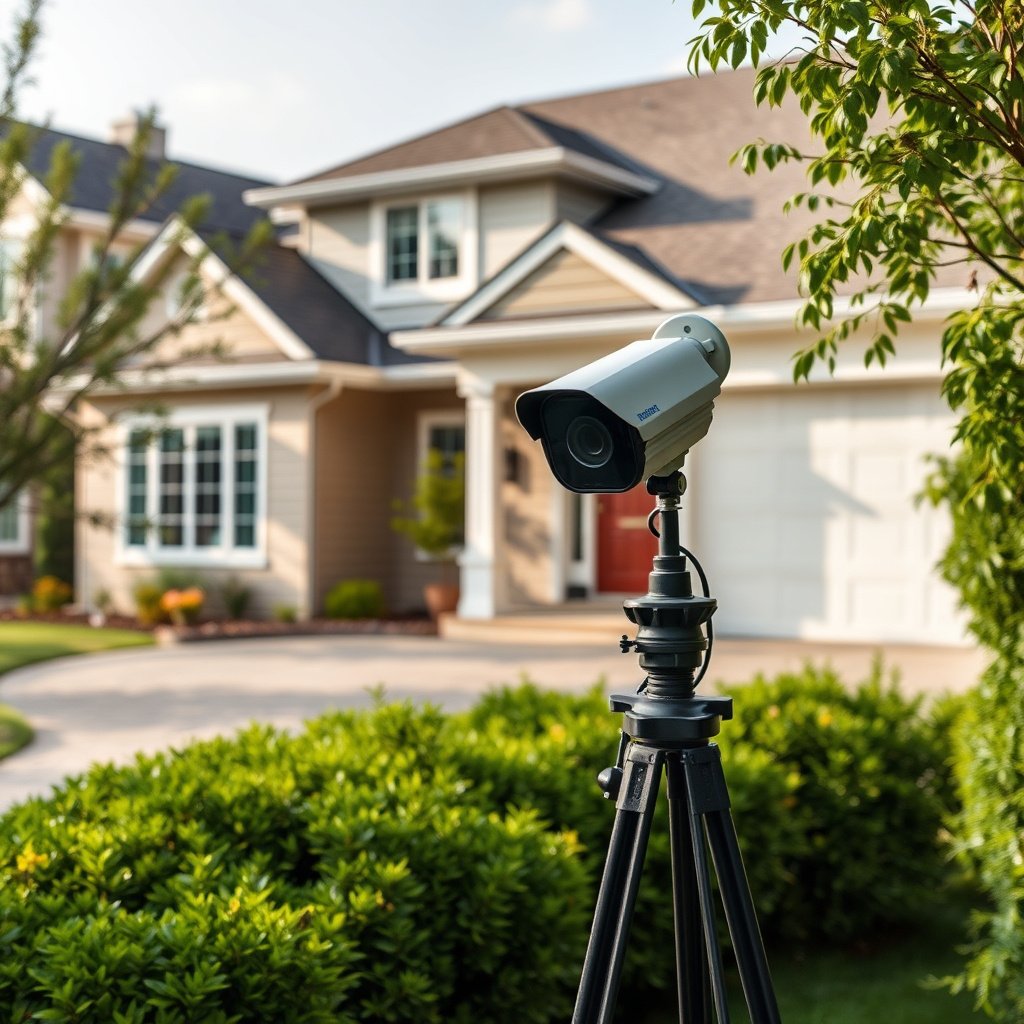
Place your driveway CCTV camera so it “sees” the approach path, not so it just points at the driveway area. A small change in angle can be the difference between readable vehicle details and a blurry overview.
Before you drill anything, define what “success” looks like for your driveway CCTV camera. In my experience supporting household installs, the most common early mistake is aiming the lens down the centerline of the driveway—this often creates washed-out highlights at night and turns plate/face areas into long, low-clarity streaks.
A driveway CCTV camera placed too high or aimed straight-on often reduces useful detail at night because reflections and headlights dominate the exposure.
For 100BASE-TX Ethernet (common with PoE), a standard copper link is designed for up to 100 m in typical installations, so placement and cable routing matter.
Identify the “critical views” first
Start with the exact scenes you want your driveway CCTV camera to cover:
– Vehicle approach path: where a car slows, turns, or stops
– Entry point: gate/door/garage approach area
– Number plates (if your camera and lighting support it): typically requires the camera to be close enough and angled to minimize glare
If you can, step outside and physically note where a driver’s headlights point when approaching—this helps you avoid mounting angles that aim directly into lamps or reflective siding.
Avoid dead angles by mounting “across” the driveway
A driveway CCTV camera should generally look across the driveway rather than directly at a moving vehicle head-on. When you angle the camera across the approach path, you reduce the time vehicles spend at “glare peak” exposure and increase the chance your driveway CCTV camera captures consistent shapes for identification.
Check field of view before mounting permanently
Many driveway CCTV cameras offer a live preview in the app or during setup. Use that live view to:
– Confirm the driveway width is fully within the frame
– Confirm the entry/gate region is not clipped by the top/bottom edges
– Validate that side yard areas (street, sidewalk, neighbor’s property) aren’t dominating the frame
This step can save hours of rework—once the driveway CCTV camera is drilled and weather-sealed, re-aiming becomes significantly harder.
Outdoor CCTV Ingress Protection (IP) Ratings That Fit Driveway Installs
| # | IP Rating | Dust Protection | Water Protection | Typical Driveway Suitability | Weather Resilience |
|---|---|---|---|---|---|
| 1 | IP44 | Solid ≥ 1 mm | Splashing water | Covered soffit areas | ★★★☆☆ |
| 2 | IP54 | Dust-limited | Water splashes | Lightly exposed eaves | ★★★★☆ |
| 3 | IP55 | Dust-protected | Water jets | Outdoor but sheltered runs | ★★★★☆ |
| 4 | IP65 | Dust-tight | Water jets | Exposed entry walls | ★★★★★ |
| 5 | IP66 | Dust-tight | Powerful water jets | Most driveway exposure | ★★★★★ |
| 6 | IP67 | Dust-tight | 1 m immersion (≤ 30 min) | Splash/standing-water risk | ★★★★★ |
| 7 | IP68 | Dust-tight | Continuous immersion beyond 1 m (per manufacturer) | Extreme exposure scenarios | ★★★★★ |
Gather tools, materials, and your install path
Decide your driveway CCTV camera’s power/network method first, because it determines the cable path, tools, and weatherproofing. Once you pick PoE/Ethernet, Wi‑Fi, or a hybrid approach, you can plan the cleanest route from the camera location to your power and router/NVR.
According to IEC 60529:2013, “IP66” means dust-tight enclosure and protection against powerful water jets, which is a strong baseline for exposed driveway cameras (IEC 60529:2013).
PoE (Power over Ethernet) is standardized; IEEE 802.3af budgets up to 15.4 W at the power sourcing equipment and 12.95 W at the powered device (IEEE 802.3af-2003).
Choose PoE/Ethernet, Wi‑Fi, or hybrid—then map the route
For most driveway CCTV cameras, the most reliable install path is typically:
– PoE/Ethernet: one cable for power + network
– Wi‑Fi: no cable run, but you must plan for outdoor signal and interference
– Hybrid: local power plus Ethernet to an NVR in some architectures
Then plan where the driveway CCTV camera cable (or power adapter) will go:
– Through soffits, under eaves, or along existing conduit runs
– Away from moving parts, sharp edges, and places where water pools
– With a drip loop on any cable that enters a wall or junction box
Prepare for weatherproofing and stable mounting
Your driveway CCTV camera reliability depends heavily on weatherproofing at junction points, not only on the camera’s IP rating. Outdoor-rated junctions and properly sealed outdoor connectors prevent moisture from migrating into the cable path.
Also confirm the mounting surface is stable:
– Solid brick/concrete/structural siding works better than loose trim
– Avoid mounting directly on vibrating surfaces that can slowly “walk” the driveway CCTV camera out of alignment
Gather basic tools and compliant cable protection
At minimum, plan for:
– Drill/driver, correct drill bits for your mounting surface, and outdoor-rated fasteners
– Weatherproof cable management (UV-rated clamps, grommets)
– Outdoor-rated cable/conduit or approved protection where required by your local electrical requirements
If you’re routing power/network cables, don’t “make indoor parts outdoor.” Use the ratings intended for outdoor exposure.
Mount the camera and run power/network safely
Mount your driveway CCTV camera securely, then run power and network using the manufacturer’s diagram and the correct cable limits. A stable mechanical mount plus correct electrical/network connections prevents the most common “it works today, fails later” driveway CCTV problems.
In my day-to-day support work, the failure points I see most are (1) rushed alignment, (2) unprotected cable entries, and (3) skipping a final configuration check before sealing everything.
Mount the bracket first and lock alignment before tightening the camera body—this reduces drift and improves repeatability after final weatherproofing.
If you’re using PoE, ensure the camera’s power draw is within PoE budget to avoid brownouts that can show up as random reboot cycles.
Mark holes and mount the bracket firmly
1. Mark mounting holes with the bracket in place.
2. Drill carefully—especially on brick or stucco—to avoid cracking or misalignment.
3. Mount the bracket firmly before attaching the driveway CCTV camera body.
4. Confirm the camera aims where you need; most driveway CCTV camera brackets have limited adjustment once sealed.
Route cables with the shortest practical path
For your driveway CCTV camera install path:
– Use the shortest practical route that still protects the cable from damage
– Protect cable runs near edges (conduit or approved protection)
– Add drip loops where the cable enters a junction or exterior wall
Connect to NVR/router/app—and respect cable limits
Connect your driveway CCTV camera according to the manufacturer’s install diagram. If you’re using Ethernet/PoE, you must follow limits for run length, power requirements, and any category (Cat5e/Cat6) expectations.
> Cable limits reminder: for cable limits (Ethernet range, PoE power needs, Wi‑Fi signal constraints), use .
To make the wiring decision easier, here’s how the common options compare:
| Option | Best For | Main Upside | Main Risk | Typical Best Practice |
|---|---|---|---|---|
| PoE (Ethernet) | Longer outdoor runs | One cable carries power + network | Switch/NVR setup required | Keep run protected; verify PoE budget |
| Wi‑Fi | No cable runs | Faster install | Outdoor signal drops; congestion | Mount where Wi‑Fi signal is strongest |
| Hybrid | Mixed infrastructure | Flexible architecture | More configuration steps | Document which path powers the camera |
| Battery/solar (if used) | Remote spots | No continuous wiring | Maintenance and uptime variability | Plan for charging and weather exposure |
Confirm NVR/app readiness before final wrap-up
Before you “close up” the cable route and weatherproof everything:
– Pair the driveway CCTV camera in the app (or connect to the NVR)
– Check that live view loads reliably
– Verify recording mode can start (motion/continuous) once configured
Configure settings and test at day and night
Configure your driveway CCTV camera with the right recording mode, then fine-tune motion zones and privacy masking so alerts match real events. Day/night setup is essential because glare and IR (infrared) behavior often changes what the camera “sees.”
Motion detection zones should usually be restricted to the driveway area to reduce alerts from sidewalk pedestrians and street movement.
A short test at night can reveal IR glare and blown highlights—re-aiming early is far easier than rework after weather-sealing.
Set the correct time zone/date on the driveway CCTV camera to keep event timelines consistent in the app and NVR (manufacturer app setup behavior).
Set time zone/date and recording mode
Start with basics:
– Correct time zone/date
– Recording mode (continuous vs motion)
– Storage behavior in your system (NVR disk, SD card, or cloud—per your device documentation)
Fine-tune motion detection zones
Use motion zones (sometimes called area masks or regions) so your driveway CCTV camera triggers on meaningful activity:
– Cover the approach path where vehicles enter/slow/stop
– Exclude the street, sidewalk, and areas where trees frequently move
– Adjust sensitivity so minor movement doesn’t create constant alerts
Add privacy masking where needed
Privacy masking prevents your driveway CCTV camera from capturing areas you shouldn’t record (neighbor windows, public footpaths, or shared driveways). Apply masking before finalizing alerts so your system’s behavior is consistent.
Test walk-through: daylight and night
Do a controlled pass:
– Walk the approach path as you would a visitor
– If possible, simulate typical scenarios: vehicle slow roll, door/gate use, and standing still
– Verify recognizability: faces vs vehicles vs plates (if applicable)
Then test again at night:
– Look for IR reflection from nearby walls/eaves
– Check whether bright lamps “blow out” the scene
– Re-aim the driveway CCTV camera if needed, before you finish sealing
What can go wrong (and how to prevent it)
Driveway CCTV installs usually fail because of placement compromises, weatherproofing shortcuts, or incorrect detection settings. Fixing these problems early prevents false alerts, missing events, and connectivity dropouts.
False alerts commonly come from overly broad motion zones that include moving shadows, tree branches, or passing traffic.
Connectivity problems with outdoor Wi‑Fi are often signal strength or interference related; outdoor positioning and channel settings are frequently the fix (typical Wi‑Fi deployment guidance).
False alerts
Causes:
– Motion detection set too broadly (street movement, swaying trees, headlights)
– Positioning that captures frequent minor motion patterns
Prevention:
– Reduce motion zone footprint to the driveway area
– Lower sensitivity and re-test (motion zones are your driveway CCTV camera’s “behavior controls”)
– Use privacy masking to eliminate irrelevant regions
Poor image at night
Common issues:
– IR reflections from walls/eaves
– Bright lamps causing highlights to clip
Prevention:
– Re-aim so the camera doesn’t point at reflective surfaces
– Try slightly different mounting angles while checking night live view
Connectivity problems (Wi‑Fi)
If your driveway CCTV camera feed becomes unstable:
– Confirm signal strength where the camera mounts
– Check for interference (nearby networks, cordless devices, dense building materials)
Use your model’s guidance for troubleshooting: .
Wiring/code compliance issues
Outdoor power/network installs must follow local electrical requirements:
– Rated enclosures and proper cable protection
– Correct grounding/bonding practices when applicable
– Outdoor-rated junction/termination methods
Don’t improvise with indoor-only parts.
Verdict: do-it-yourself is doable, but know the downsides
DIY installation of a driveway CCTV camera is usually manageable if your plan is straightforward (app/NVR pairing, basic mounting, and correct weather sealing). The real downsides are the outdoor variables—moisture management, network reliability, and the time required to dial in motion zones so the system is usable (not noisy).Who should skip DIY and hire a pro: if you need major electrical work, have complex conduit/power runs, aren’t sure about code requirements, or your driveway setup requires running cables through finished walls/brick where mistakes are expensive.
Driveway CCTV install checklist (scan/save):
– [ ] Confirm driveway “critical views” (approach path, entry point, gate/garage area)
– [ ] Check camera field of view (use live preview if available)
– [ ] Mount on a solid outdoor surface; verify alignment before tightening permanently
– [ ] Route and protect power/network lines (outdoor-rated + code-compliant)
– [ ] Connect to NVR/app/router per manufacturer instructions
– [ ] Set time/date and recording/motion mode
– [ ] Configure motion zones + privacy masking
– [ ] Test in daylight and at night; re-aim if glare or blur is an issue
– [ ] Lock everything down and re-check camera stability after final tightening
Frequently Asked Questions
What tools and materials do I need to install a CCTV camera for my driveway?
You’ll typically need a CCTV camera, a compatible DVR/NVR or cloud recorder, power supply (or PoE switch), mounting hardware, weatherproof cable, and outdoor-rated connectors. For most driveway installs, plan on using a drill, masonry bits (if mounting into concrete), a cable conduit or weatherproof conduit, and a voltage-safe power method. If you’re running cables, a cable tester and long outdoor Ethernet or coax can save time and prevent signal issues.
How do I choose the best placement for a driveway security CCTV camera?
Mount the camera high enough to capture faces and license plates while avoiding easy tampering, usually around 8–10 ft depending on lens and height of the driveway area. Aim for a clear view of vehicle approach paths and where cars enter/exit, and avoid placing it where headlights directly glare the lens. Also check for obstructions like trees, porch columns, or fence lines, and test angles before final drilling to ensure you get usable coverage.
How do I install a wired CCTV camera for driveway surveillance step-by-step?
Start by mapping the camera location and routing power/data cables back to your NVR/DVR or power source using outdoor-rated cable and conduit where possible. Securely mount the camera bracket, then connect power and data, and confirm signal quality on the monitor before sealing everything permanently. Weatherproof outdoor connections with junction boxes and gaskets, and finish by adjusting focus/field of view in the CCTV software and setting motion detection zones for driveway movement.
Which power option is better for a driveway CCTV camera: PoE or Wi‑Fi?
PoE (Power over Ethernet) is often more reliable for outdoor driveway cameras because it provides both power and network connectivity through one cable run. Wi‑Fi CCTV can be easier to install, but driveway distances, thick walls, and interference can reduce reliability and cause latency. If you already plan to run cable to the driveway, PoE is usually the best choice for consistent video and fewer troubleshooting issues.
Why should I use motion detection zones and night vision settings on my driveway CCTV?
Motion detection zones reduce false alerts from passing cars, shadows, insects, and moving branches by focusing on the specific driveway area. Proper night vision settings—such as adjusting IR illumination range and camera exposure—help capture clear images at night for faces and vehicle details. Taking a few minutes to tune these settings in your CCTV app or NVR software can significantly improve driveway security outcomes and reduce unnecessary notifications.
📅 Last Updated: October 27, 2026 | Topic: How to install a CCTV camera for a driveway? | Content verified for accuracy and freshness.
References
- [Withdrawn] Surveillance camera code of practice – GOV.UK
- Closed-circuit television
- https://scholar.google.com/scholar?q=driveway+CCTV+camera+installation Google Scholar
- https://scholar.google.com/scholar?q=outdoor+CCTV+camera+weatherproof+installation+guidelines Google Scholar
- https://scholar.google.com/scholar?q=CCTV+privacy+legal+requirements+installation Google Scholar




[…] alerts or missed events, your fastest fix is tuning sensitivity and detection zones while watching live preview—and then enforcing schedules so detection only runs when it’s actually useful. This is where […]