To delete your Ezviz camera from a previous account, first log into the Ezviz app using your credentials. Once logged in, locate the camera on your dashboard and access its settings. From there, find the “Device Management” or “Device Options” section to initiate the unlinking process. Confirm your choice to guarantee you’re removing the correct camera. After unlinking, check your device list to verify it no longer appears. This keeps your account secure and ready for new setups. You’ll discover even more helpful tips for managing your devices by exploring further.
Understanding Ezviz Account Management
When it comes to managing your Ezviz account, understanding its features is vital for effective control over your devices. Your Ezviz account serves as the hub for all your cameras, allowing you to monitor your home or business seamlessly. Familiarizing yourself with this platform gives you the freedom to customize settings, receive alerts, and access recordings whenever you need.
Navigating the app or website is straightforward. You can easily manage camera settings, including resolution, motion detection, and notification preferences. These features empower you to tailor your security setup to fit your lifestyle. Want to guarantee you’re alerted only when something unusual occurs? You can adjust the sensitivity of motion detection to avoid unnecessary notifications.
The account also provides cloud storage options, giving you the flexibility to save footage without worrying about device limitations. This means you can review past incidents at your leisure, guaranteeing you’re always in control of your security data.
Another significant aspect is device sharing. If you wish to allow family or friends access to your camera feeds, you can invite them through the app. This collaborative approach enhances your security and provides peace of mind, knowing your loved ones can help monitor your space.
Ultimately, mastering your Ezviz account management not only enhances your security experience but also grants you the freedom to manage your devices effectively, guaranteeing your home stays safe and secure.
Preparing to Remove Your Camera
If you’re looking to remove an Ezviz camera, it’s important to prepare properly to guarantee a smooth process. Start by confirming that you have all the necessary information at hand. This includes the login credentials for the Ezviz account linked to your camera. If you’ve forgotten your password, take a moment to reset it before proceeding. You don’t want to hit a roadblock when you’re ready to remove the camera.
Next, make sure your camera is connected to a stable internet connection while you’re preparing for the removal. This helps avoid interruptions during the process. It’s also wise to gather any documentation related to your camera, such as the user manual or receipts. Having these handy can provide clarity if any issues arise.
Check if there are any firmware updates available for your camera. Keeping the software up-to-date can enhance performance and guarantee that the removal process goes off without a hitch.
Accessing the Ezviz App
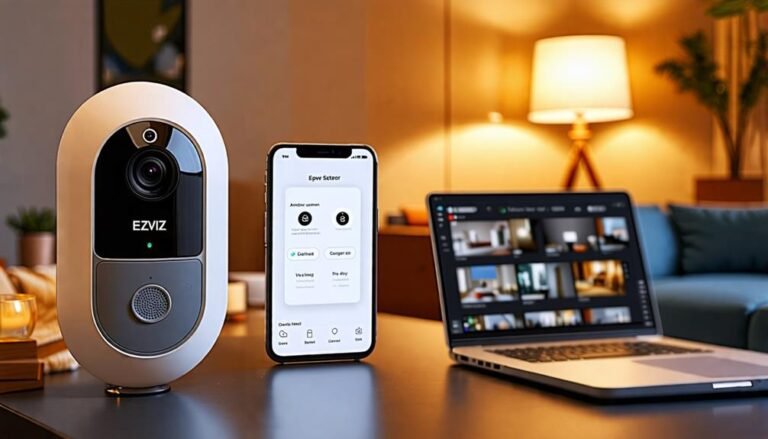
Accessing the Ezviz app is a straightforward process that enables you to manage your camera settings efficiently. First, make certain you’ve downloaded the app from the App Store or Google Play. Once it’s installed, just tap the icon to open it. You’ll be greeted with a user-friendly interface designed to make your camera management experience as seamless as possible.
Next, you’ll need to log in using your existing account credentials. If you’re new to Ezviz, you can create an account right from the app by following the prompts. Just enter your email address and a secure password, and you’re good to go. This step is essential, as it not only grants you access to the app but also guarantees your camera settings are tailored to your preferences.
Once you’re logged in, you’ll find yourself on the main dashboard, where all your connected devices will be listed. From here, you can quickly view live feeds, adjust settings, and manage notifications. The app’s intuitive navigation allows you to explore various features without feeling overwhelmed.
Navigating to Device Settings
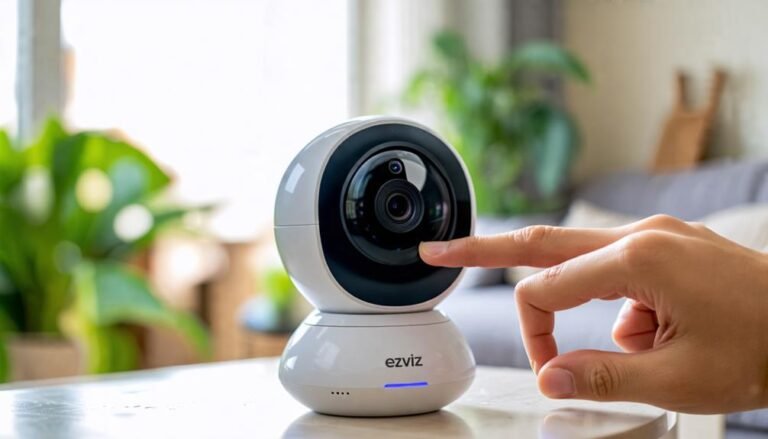
Once you’ve accessed the Ezviz app, you’ll want to head to the camera menu to manage your settings. Look for the device options that will allow you to adjust various features related to your camera. This is where you’ll find what you need to proceed with deleting your Ezviz camera.
Accessing Camera Menu
To navigate to the device settings of your Ezviz camera, start by launching the Ezviz app on your smartphone or tablet. Once you’re in, look for the camera you want to manage. Tapping on it will take you to the camera menu, where you can access several options that will help you customize your experience.
Here’s a quick reference table to help you understand some of the key features you might find in the menu:
| Feature | Description |
|---|---|
| Live View | Access real-time footage |
| Playback | Review recorded videos |
| Motion Detection | Set alerts for movement |
| Device Info | View camera status and details |
These options empower you to tailor the camera settings to your liking. Whether you want to adjust the motion detection or review past footage, you’ve got the tools right at your fingertips. Embrace the freedom of managing your security setup with ease, making sure you feel protected in your space. Now that you’re familiar with accessing the camera menu, you’re one step closer to deleting the camera from the previous account.
Locating Device Options
Finding the device options in your Ezviz camera is straightforward and essential for managing your settings. To navigate to the device settings, you’ll want to follow these simple steps:
- Open the Ezviz App: Launch the app on your smartphone or tablet. Make sure you’re logged into your account.
- Select Your Camera: On the main screen, find the camera you want to adjust. Tap on it to enter the camera’s live view.
- Access Device Settings: Look for the gear icon, usually located at the top right corner of the screen. Tap it to access your device options.
Once you’re in the device settings, you can customize various features and configurations. You’ve got the freedom to adjust your camera’s resolution, modify alerts, or even change network settings. It’s all about tailoring the experience to fit your needs. Just remember, if you’re planning to delete the camera from your previous account, you’ll need to follow additional steps after you locate these settings. You’re in control, so make the most of it!
Unlinking the Camera
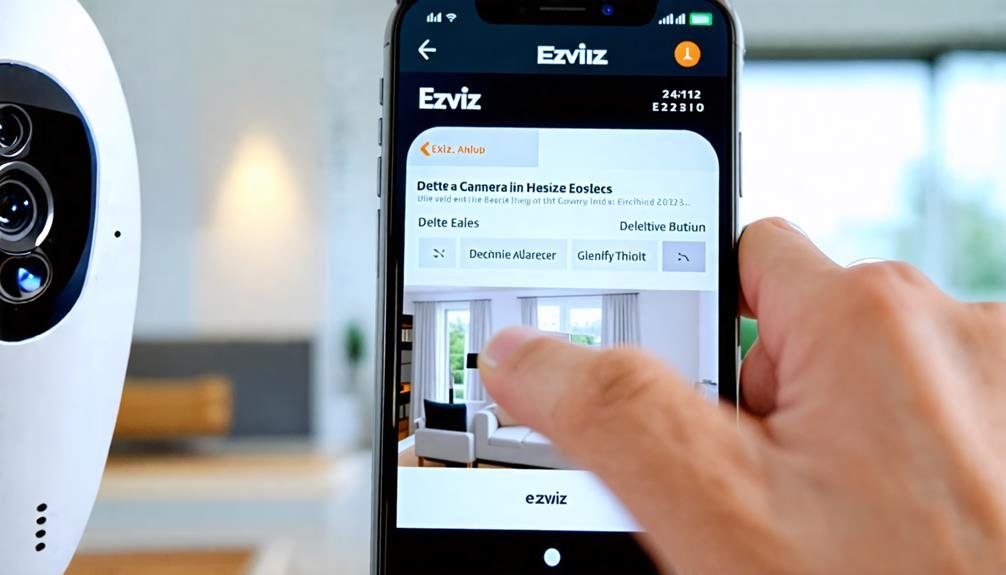
How can you unlink your Ezviz camera from the app? It’s a straightforward process that empowers you to take control of your devices and guarantee your privacy. First, open the Ezviz app on your smartphone. Make sure you’re logged into the account that currently has the camera linked. Once you’re in, look for the camera you want to unlink in your device list. Tap on it to access the settings.
In the settings menu, you’ll find several options. Look for “Device Management” or “Device Options”—the terminology might vary slightly. Here, you should see an option labeled “Unlink” or “Remove Device.” Selecting this option will prompt a confirmation message. This is your chance to guarantee you’re unlinking the correct camera.
After confirming, the app will process your request and unlink the camera from your account. You’ll get a notification confirming that the unlinking is successful. This step is essential if you’re switching accounts or selling the device. Now that the camera is unlinked, it’s no longer tied to your account, giving you the freedom to manage your devices as you see fit.
Confirming Device Deletion
After unlinking your Ezviz camera, it’s important to confirm the deletion. You’ll want to verify your account access to guarantee everything’s in order and check the device status to make certain it’s no longer listed. This step is essential for maintaining your security and managing your devices effectively.
Verify Account Access
To guarantee a smooth deletion of your Ezviz camera, it’s crucial to verify that you have proper access to your account. Without the right permissions, you might run into frustrating roadblocks when trying to remove the device. Here’s how to make sure you’re all set:
- Log In: Start by logging into your Ezviz account. Make sure you’re using the correct credentials. If you can’t access your account, you’ll need to reset your password or recover your account first.
- Check Account Settings: Once logged in, navigate to your account settings. Confirm that the camera you want to delete is indeed listed under your devices. If it’s not there, you might be attempting to delete a camera that’s not currently linked to your account.
- Verify Ownership: If you’re using a shared account, double-check that you have permission to manage devices. If another user has added the camera, you may need their assistance to proceed with the deletion.
Check Device Status
Once you’ve initiated the deletion process, it’s important to check the device status to confirm that your Ezviz camera has been successfully removed from your account. To do this, open the Ezviz app and navigate to the device list. If your camera is still visible, it hasn’t been fully deleted yet. If it’s gone, you can celebrate your newfound freedom from the previous setup!
Next, you might want to double-check by trying to access the camera’s live feed. If you can’t connect, that’s another good sign your device is no longer linked. If you still see your camera or can access its features, you may need to repeat the deletion process or contact customer support for help.
Setting Up a New Account
Setting up a new account for your Ezviz camera is a straightforward process that gets you one step closer to enhancing your home security. With just a few simple steps, you can gain access to your camera’s features and enjoy the peace of mind that comes with monitoring your home. Here’s how to get started:
- Download the Ezviz App: Begin by downloading the Ezviz app on your smartphone or tablet from the App Store or Google Play. The app’s user-friendly interface will guide you through the setup.
- Create Your Account: Open the app and select the option to create a new account. You’ll need to provide your email address and create a password. Make sure to choose a strong password that’s easy for you to remember but hard for others to guess.
- Verify Your Email: Once you’ve submitted your registration, check your email for a verification link. Click on it to confirm your account. This step is essential as it guarantees your account’s security.
After completing these steps, you’ll be ready to add your Ezviz camera to your new account. This process not only empowers you to take charge of your home security but also opens the door to a range of features designed to keep you connected. With your new account set up, you’re one step closer to enjoying the freedom and control that comes with smart home technology.
Troubleshooting Common Issues
After you’ve set up your new Ezviz account, you might encounter some common issues that can affect your camera’s performance. First off, if your camera isn’t connecting to Wi-Fi, double-check your network settings. Make sure you’re entering the correct password and that your router’s signal is strong enough. Sometimes, moving the camera closer to the router can resolve connectivity issues.
If your camera’s video feed is lagging or pixelated, it could be due to low bandwidth. Try closing other applications or devices using your network to free up some speed. You can also consider upgrading your internet plan if these issues persist.
Another common issue is the app not recognizing your camera. If this happens, verify that you’ve removed the camera from your previous account completely. Sometimes, this process isn’t straightforward, and you might need to reset the camera to factory settings. Consult the manual for instructions on how to perform a reset.
Lastly, if you’re facing difficulties with notifications, check your phone’s settings. Verify that notifications are enabled for the Ezviz app, and check if battery optimization settings are affecting it.
Frequently Asked Questions
Can I Delete My Ezviz Account Without Removing the Camera?
Yes, you can delete your Ezviz account without removing the camera. When you unlink your account, the camera will still function independently, allowing you to access it through the app or other means. However, keep in mind that you might lose certain features tied to the account, like cloud storage or notifications. If you value those features, consider keeping your account active while you explore other options for freedom and control.
What Happens to Recordings After Deleting the Camera?
When you delete the camera, any recordings stored on the device might be lost, depending on how your system’s set up. If the recordings are saved to a cloud service, they may remain accessible for a while, but you’ll likely lose access to them once the camera’s removed. It’s best to download or back up any important footage before making any decisions, ensuring you keep the freedom to revisit those memories later.
Will Unlinking the Camera Affect Other Devices?
Unlinking your camera won’t affect other devices on your network. Each device operates independently, so you’ll still have access to your other cameras or smart devices. Just keep in mind that any settings or configurations specific to the unlinked camera will be lost. If you’re looking to maintain control and privacy, unlinking allows you to free up your account without impacting the rest of your setup. Enjoy your freedom!
Can I Recover My Camera Settings After Deletion?
Once you delete your camera settings, recovering them isn’t possible. Deletion usually wipes all configurations, so you’ll need to set everything up from scratch. If you value your settings, consider backing them up before making any changes. It’s a great way to maintain your freedom in managing your devices without starting over each time. Embrace the opportunity to customize your experience anew, even if it feels like a hassle initially.
Is There a Limit to How Many Cameras I Can Add?
When it comes to adding cameras, there isn’t a strict limit imposed by Ezviz. You can typically add multiple cameras to your account, allowing you to monitor various areas freely. However, keep in mind that depending on your subscription plan or device capabilities, you might encounter performance issues with too many cameras connected simultaneously. It’s always a good idea to check the app or device specifications for any specific limitations that might apply.