To reset your Ezviz camera to factory settings, locate the reset button on the camera body. Use a pin to press and hold this button for 10 to 15 seconds until the LED indicator blinks, signaling the reset process. Once you release the button, wait for the camera to fully reboot. You'll know it's successful when the LED changes to a solid blue light. Remember, this will erase all your settings, so make sure to back up any important data beforehand. Curious about what to do next to set up your camera again? There's more to explore!
Understanding Factory Reset
Understanding factory reset is essential for anyone looking to troubleshoot or reconfigure their Ezviz camera. This process wipes all settings and personal data, returning your device to its original state, just like it was when you first unboxed it. If you're seeking freedom from persistent issues or want to set it up anew, knowing how to perform a factory reset can empower you to take control of your device.
When you reset your camera, you're clearing any configurations that might be causing problems, whether it's connectivity issues, incorrect settings, or unfamiliar configurations. This step not only allows you to start afresh but also gives you the chance to eliminate any unnecessary clutter that may have accumulated over time. It's like a refreshing change, liberating your device from the confines of previous setups.
In a world where technology can sometimes feel restrictive, mastering the factory reset is a way to reclaim your autonomy. It's your chance to define how your camera operates, ensuring it aligns with your needs and preferences. Whether you're preparing to sell the camera, passing it to someone else, or simply looking to enhance its performance, a factory reset is often the most straightforward solution.
Ultimately, understanding how factory reset works and when to use it can bring you peace of mind, knowing you have the tools to manage your Ezviz camera effectively. Embrace the freedom that comes with having a clean slate and the ability to customize your camera experience.
Preparing for the Reset
Before you initiate the factory reset on your Ezviz camera, it's important to prepare your device and yourself for the process. A factory reset can help resolve issues, but it also wipes all your custom settings, so you'll want to make certain you're ready for that. Here's how to get prepped:
- Backup Important Data: If your camera has recordings or settings you'd like to keep, make certain to back them up before proceeding. You don't want to lose anything valuable.
- Gather Necessary Credentials: If you're using a connected app or service, have your login information at hand. You'll need these to set up your camera again after the reset.
- Check Power Supply: Confirm your camera is plugged in or fully charged if it's wireless. You don't want it to power down during the reset process, which could lead to complications.
- Understand the Implications: Familiarize yourself with what a factory reset means for your device. All settings will revert to default, so be prepared to reconfigure everything from Wi-Fi connections to motion detection.
Steps to Reset Ezviz Camera
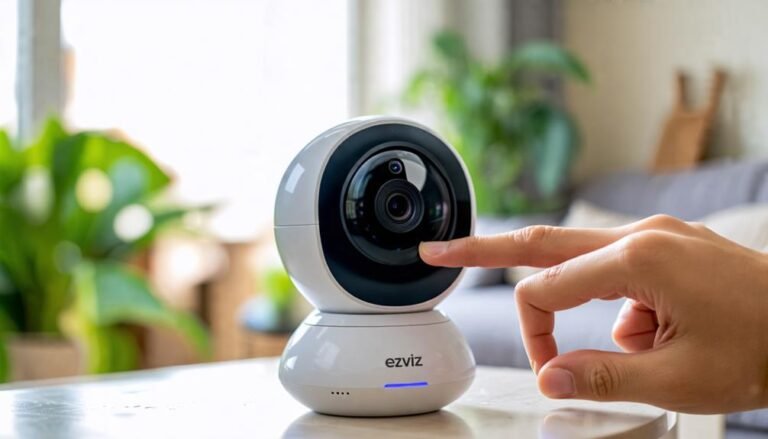
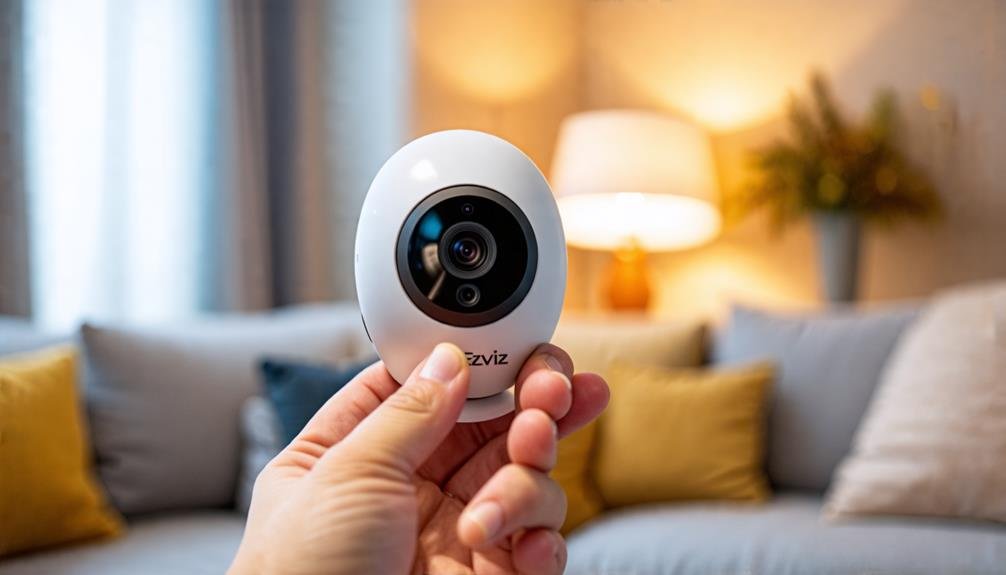
To reset your Ezviz camera, start by locating the reset button, usually found on the device's body. This button may be small, so you might need to look closely. Once you've found it, grab a pin or a similar object to press the button. It's vital to guarantee the camera is powered on before you proceed.
Next, hold the reset button down for about 10 to 15 seconds. You should see the camera's LED indicator light blink. This blinking is a sign that the reset process is underway. Don't release the button until you see this change. It's important to give it a moment to complete the reset, so be patient.
After you've held the button long enough, release it and wait for the camera to reboot. You'll notice the LED indicator light may change its behavior, indicating that the camera is returning to factory settings. This is your cue that the reset was successful.
Once the camera has fully rebooted, you can set it up once again according to your preferences. Remember, resetting the camera will erase all previous configurations, so you'll need to reconnect it to your Wi-Fi network and adjust any settings as needed. Embrace this fresh start as an opportunity to customize your Ezviz camera to fit your needs perfectly.
Confirming the Reset
After a few moments, you can verify the reset of your Ezviz camera by checking the LED indicator light. This small yet significant light serves as your guide, letting you know whether the factory reset was successful. When the camera resets, the LED should show a specific pattern that indicates it's reverted to its original settings.
Here's what to look for:
- Flashing Blue Light: This often means the camera is in the process of rebooting.
- Solid Blue Light: A solid blue light indicates that the camera is ready for use, confirming the reset.
- Flashing Red Light: If you see a flashing red light, it may indicate an issue during the reset. You might need to repeat the process.
- No Light: If there's no light at all, verify the camera is powered on and check your connections.
Once you've checked the LED status, take a moment to breathe easy. You've successfully reset your camera, reclaiming the control and freedom to personalize your settings once more. Don't rush the next steps; enjoy the pause. Take this opportunity to reflect on how your camera can better serve your unique needs. Freedom in technology comes from understanding it, and you're on the right path. By verifying the reset, you're one step closer to tailoring your Ezviz camera experience to fit your lifestyle.
Setting Up Your Camera Again
Now that you've reset your Ezviz camera, it's time to set it up again. First, you'll need to connect it to your Wi-Fi network, and then you can start configuring the camera settings to suit your needs. Let's go through the steps to get everything back up and running smoothly.
Connecting to Wi-Fi
Once you've reset your Ezviz camera, reconnecting it to Wi-Fi is crucial for restoring its functionality. You'll want to make certain your camera is not only powered on but also within range of your Wi-Fi network. Follow these simple steps to get your camera back online:
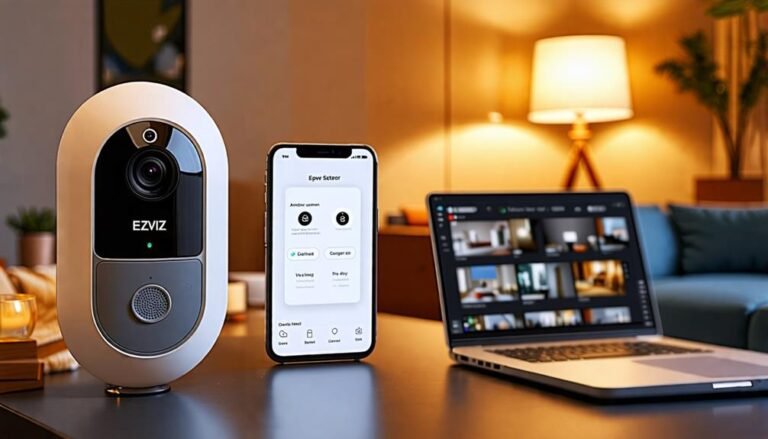
- Open the Ezviz app: Verify you have the latest version for the best experience.
- Select your camera: Tap on the camera icon you want to connect.
- Choose Wi-Fi settings: Navigate to the Wi-Fi setup option in the app.
- Enter your Wi-Fi credentials: Input your network name and password carefully.
Once you've entered the details, the camera should attempt to connect. This process can take a minute or two. If successful, you'll receive a confirmation notification. Don't worry if it doesn't connect right away; double-check your Wi-Fi settings and try again. Enjoy the freedom of watching over your space with your camera back online!
Configuring Camera Settings
With your Ezviz camera connected to Wi-Fi, it's time to configure the camera settings to suit your preferences. This process allows you to personalize your surveillance experience, ensuring you're capturing just what you need. Here's a quick overview of settings you might want to adjust:
| Setting | Description |
|---|---|
| Resolution | Choose between 1080p and 720p for clarity. |
| Motion Detection | Enable or disable alerts based on your needs. |
| Night Vision | Adjust settings for ideal viewing in low light. |
| Recording Schedule | Set times for when recording starts and stops. |
| Audio Settings | Configure two-way audio or mute as desired. |
To access these settings, simply open the Ezviz app, navigate to your camera's settings, and start tweaking. Don't hesitate to experiment; you've got the freedom to make it work for you. Once you're satisfied with your configurations, save the changes, and your camera will be set to monitor your space just the way you want it. Enjoy your enhanced surveillance experience!
Troubleshooting Post-Reset Issues
After resetting your Ezviz camera, you might encounter a few common issues that can affect its performance. These problems can be frustrating, but don't worry; they're usually easy to resolve. Here are some troubleshooting tips to help you get back on track:
- Wi-Fi Connection Problems: Make sure your camera is connected to your Wi-Fi network. Sometimes, it may not reconnect automatically after a reset. Double-check your network settings in the app.
- Camera Not Responding: If your camera seems unresponsive, try power cycling it. Unplug it for about 10 seconds and then plug it back in. This can help refresh the system.
- App Issues: If the Ezviz app isn't displaying your camera feed, confirm you've re-added the camera to your device list. Sometimes, the app may require a refresh after a reset.
- Firmware Updates: After a reset, your camera might need a firmware update. Check the app for any available updates and install them to guarantee peak performance.
Frequently Asked Questions
Will Resetting My Ezviz Camera Delete All Recorded Footage?
When you reset your Ezviz camera, it'll erase all the settings, including Wi-Fi connections, but it won't delete the recorded footage stored on the camera's SD card. If you've got cloud storage, that footage should remain intact as well. However, it's always wise to back up important recordings before making any changes. That way, you can guarantee you won't lose anything valuable in pursuit of a fresh start!
Can I Reset the Camera Remotely Using the App?
You can't reset the camera remotely using the app. Most cameras require a physical reset, usually by pressing a button on the device itself. This guarantees that you have control over the reset process, keeping your security intact. If you're looking for freedom from technical issues, it's best to familiarize yourself with the camera's manual. That way, you'll know exactly what to do when it's time to reset your device.
How Often Should I Perform a Factory Reset?
You don't need to perform a factory reset on your camera too often. Generally, it's best to do it only when you're facing persistent issues or if you've made changes that require a fresh start. If everything's running smoothly, there's no need to reset it regularly. Trust your instincts—if it feels off, a reset could help. Just be aware that you'll lose your custom settings, so back them up if needed!
Does a Factory Reset Affect My Camera's Warranty?
A factory reset usually doesn't affect your camera's warranty, but it's always smart to check the specific warranty terms for your device. Most manufacturers understand that resets are a part of troubleshooting. However, if you've caused physical damage or tampered with the hardware, that could void your warranty. Remember, keeping your camera in good condition is key to maintaining your warranty and ensuring it works properly.
Is the Reset Process the Same for All Ezviz Models?
Did you know that nearly 40% of smart camera users encounter issues that require a reset? It's essential to know that the reset process can vary between Ezviz models. While some might have a straightforward button press, others may need a specific sequence or app interaction. So, before diving in, check your model's guidelines. Understanding this can give you the freedom to resolve issues quickly and keep your camera running smoothly.