To install your Ezviz doorbell, start by gathering tools like a drill, screwdriver, and a level. Choose a spot about 4 to 5 feet high for best visibility. Before connecting wires, verify your existing system operates on 16-24V AC and that it's compatible with your chime. After securing the doorbell in place, download the Ezviz app and create an account. Power on the doorbell, connect it to Wi-Fi, and explore app settings for alerts. Finally, test the installation to confirm everything works perfectly. There's more useful information to help you optimize your new doorbell setup.
Gather Necessary Tools
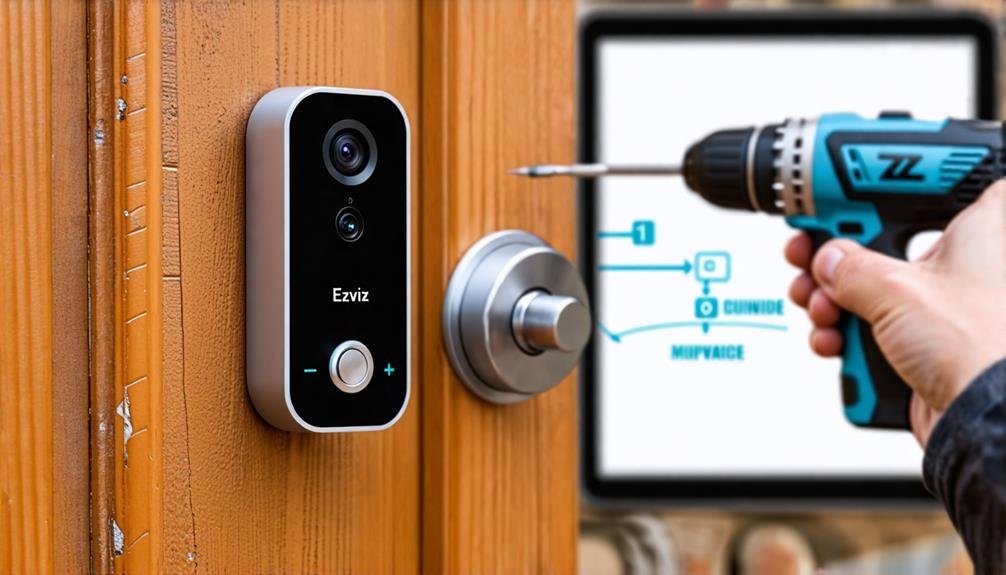
Before diving into the installation process, it's essential to gather the necessary tools to guarantee everything goes smoothly. Having the right equipment at your fingertips not only saves time but also empowers you to tackle your project with confidence. You'll want to start with a drill and drill bits, as they'll help you create the perfect holes for mounting your Ezviz doorbell. A screwdriver is fundamental, too, especially if you're working with screws that require a bit of finesse.
Don't forget to grab a stud finder. This tool helps verify your doorbell is securely fastened to a sturdy surface, providing peace of mind that it'll withstand the test of time—and the elements. A level is also a must-have; you want your doorbell to be straight and aligned, giving it that professional finish that reflects your freedom to DIY.
You might also want to keep a measuring tape handy. Accurate measurements are important when it comes to positioning your new doorbell in the best spot for both functionality and aesthetics. Finally, consider some wire strippers if you're dealing with electrical connections, along with safety goggles and gloves to protect yourself during the installation process.
With these tools in hand, you're not just preparing for an installation; you're embracing the freedom to create a space that's secure and connected. So, let's get ready to bring your Ezviz doorbell to life!
Prepare Your Doorbell Location
Now that you've gathered all the necessary tools, it's time to prepare your doorbell location. First, find a spot that's easily accessible for visitors and has a clear view of the area outside your door. You want to confirm that your doorbell serves its purpose effectively, capturing the moment someone approaches. Ideally, it should be mounted at a height of about 4 to 5 feet from the ground, which is standard for doorbells.
Next, check the area for any obstacles that might block the camera's view. Remove any plants, decorations, or furniture that could obstruct the doorbell's line of sight. You want your doorbell to have a clear, unobstructed view, guaranteeing it can record anyone who approaches.
Also, consider the angle of the doorbell. It should be positioned in a way that captures both the door area and the walkway leading up to it. This way, you won't miss anyone approaching your home. Take a moment to step back and visualize how everything will look once it's installed.
Lastly, if you have an existing doorbell, turn off the power at the circuit breaker to guarantee safety during installation. Once you've prepared the location, you'll be one step closer to enhancing your home security with the Ezviz Doorbell. Enjoy the freedom that comes with knowing who's at your door, all while embracing the convenience of modern technology.
Connect the Wiring
Now that you've prepared your doorbell location, it's time to connect the wiring. First, you'll need to identify the wiring requirements for your specific model. Once you've got that sorted, you can connect the power supply to get your Ezviz doorbell up and running.
Identify Wiring Requirements
To successfully connect the wiring for your Ezviz doorbell, you'll first need to identify the specific requirements for your setup. Knowing what you need will empower you to make the installation process smooth and hassle-free. Here are three key items to check off your list:
- Voltage Compatibility: Verify your existing doorbell system operates on 16-24V AC. This will guarantee that your Ezviz doorbell receives the right power to function.
- Wiring Condition: Inspect the current wiring for any damage or fraying. If the wires are worn out, you'll want to replace them for safety and reliability.
- Chime Compatibility: If you plan to use an existing chime, confirm that it's compatible with the Ezviz doorbell. You don't want to miss out on that satisfying chime sound when someone rings your doorbell!
Connect Power Supply
Connecting the power supply for your Ezviz doorbell is an essential step that guarantees it functions properly. To get started, make sure you've identified the right wires based on your previous research. You'll typically deal with two wires: one for power and another for the chime.
Begin by turning off the power at the circuit breaker to confirm your safety. Once that's done, strip the ends of the wires to expose about half an inch of copper. Next, connect the power wire to the doorbell's designated terminal, usually marked "V" or "Power." Then, take the chime wire and connect it to the appropriate terminal as well.
Make sure the connections are tight and secure; loose connections can lead to malfunctions. After you've made the connections, gently tuck the wires back into the wall to prevent any strain. Finally, turn the power back on at the breaker and test your doorbell to confirm it's working. By connecting the power supply correctly, you're one step closer to enjoying the freedom of a smart, reliable doorbell!
Mount the Ezviz Doorbell
How can you guarantee your Ezviz Doorbell is mounted securely and at the right height? Getting this part right is vital for both functionality and convenience. You want to make certain it captures everyone approaching your door while being easy for you to access. Here's how to do it:
- Choose the Right Location: Pick a spot about 4 to 5 feet off the ground. This height's perfect for capturing faces clearly and allows your visitors to easily reach the doorbell.
- Use the Mounting Template: Most Ezviz Doorbells come with a mounting template. Place it against your chosen surface to mark where the screws will go. This template not only guarantees accuracy but also saves you from unnecessary drilling.
- Secure the Doorbell: Once you've drilled the holes and installed the anchors, align your Ezviz Doorbell with the screws. Tighten them, but don't overdo it; you don't want to crack the device.
After you've mounted it, give it a gentle tug to confirm it's secure. You're now ready to enjoy the freedom that comes with knowing who's at your door before you answer. A well-mounted doorbell can enhance your sense of safety and convenience, giving you peace of mind while you go about your day. So take your time in this step—your Ezviz Doorbell will thank you for it!
Configure the Mobile App
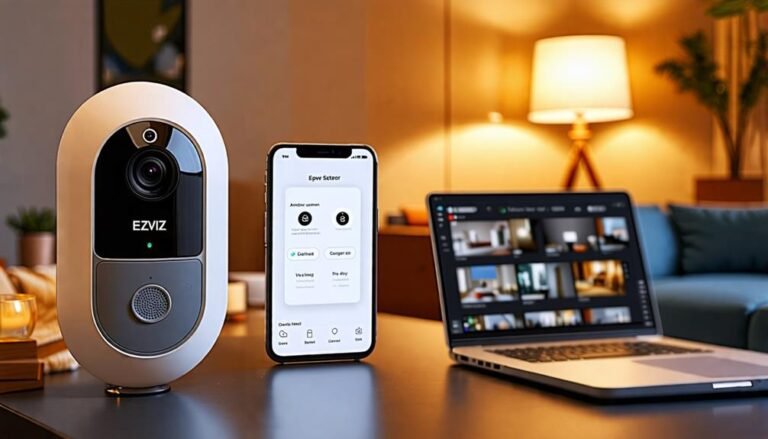
With your Ezviz Doorbell securely mounted, it's time to configure the mobile app to get everything working smoothly. First, download the Ezviz app from your device's app store. Once installed, open the app and create an account if you haven't already. You'll need to enter your email and set a password. Don't worry; it's quick and easy.
Next, power on your doorbell. You should hear a prompt indicating it's ready for setup. In the app, tap the "Add Device" button. The app will ask you to scan the QR code displayed on your doorbell. Hold your phone up to the doorbell's camera until you hear a confirmation tone. This pairs your doorbell with the app.
Now, connect your doorbell to your Wi-Fi network. Choose your network from the list and enter the password. Confirm you select a stable connection; this is crucial for live streaming and notifications. Once connected, you'll see a confirmation message in the app.
Take a moment to explore the app's settings. Here, you can customize alerts, view your live feed, and adjust motion detection sensitivity. Setting up alerts is essential; you don't want to miss anyone at your door, right?
Lastly, save all your settings and confirm everything's running smoothly. With the app configured, you've taken another step toward enhancing your home security. Enjoy the freedom that comes with having your doorbell connected and at your fingertips!
Test the Installation
Now that you've set everything up, it's time to test the installation. First, power on your doorbell and check the video feed to verify it's working properly. After that, don't forget to test the motion detection feature to confirm it's capturing movement as it should.
Power On Doorbell
After completing the installation, it's time to power on your Ezviz doorbell and test its functionality. This step is essential to guarantee everything's working smoothly and ready for action. Here's how to do it:
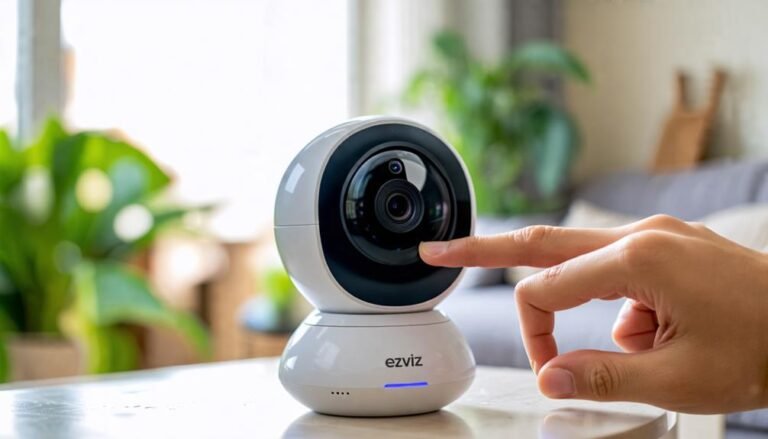
- Locate the Power Button: Find the small power button on the back of your doorbell. It's usually near the mounting plate.
- Press the Button: Gently press and hold the power button for a few seconds. You'll notice a light indicator that will let you know it's activated.
- Listen for Sounds: Once powered on, pay attention to any sounds or notifications. Your doorbell may chime or give a beep, signaling it's alive and ready to go.
Taking these steps not only confirms that your doorbell is powered, but it also gives you a sense of freedom. You can now monitor your front door without worry. Embrace the convenience as you step into a world where you control your home security with ease. Freedom isn't just a feeling; it's also about having the right tools at your fingertips. Enjoy your new Ezviz doorbell!
Check Video Feed
How can you be certain your Ezviz doorbell is functioning correctly? The best way to confirm its installation is to check the video feed. This step guarantees you're connected and that the doorbell is capturing what it should. Grab your smartphone or tablet, open the Ezviz app, and follow these steps:
| Action | Result | Notes |
|---|---|---|
| Open the app | Live video displays | Confirm you have a good signal |
| Press the doorbell | Notification received | Check if it alerts you |
| View recorded footage | Access past clips | Verify recording quality |
As you interact with the app, see if the live feed is clear and fluid. If everything looks good, you've successfully installed your doorbell! If you encounter any issues, double-check your Wi-Fi connection and wiring. Remember, this doorbell gives you the freedom to monitor your home, so take a moment to enjoy the peace of mind it brings. Embrace the technology, and make certain your Ezviz doorbell is capturing your world just as you want it to.
Test Motion Detection
Testing your Ezviz doorbell's motion detection is essential to verify it's alerting you when someone approaches. You want to ascertain it's working perfectly so you can enjoy your freedom without worrying about security. Here's how to do it:
- Walk in Front of the Doorbell: Start by walking within the camera's range. Make sure to vary your speed and direction to see how the doorbell responds.
- Check Notifications: After you've walked past, check your smartphone for notifications. You should receive an alert if the motion detection is functioning correctly.
- Review the Footage: Finally, access the live feed or recorded footage to confirm the doorbell captured your movement clearly. This will give you peace of mind knowing you won't miss any visitors or packages.
Once you've completed these steps, adjust the sensitivity settings if needed. You want your doorbell to alert you of real activity while avoiding false alarms. Now you can embrace the freedom of knowing you're informed about every approach to your home.
Frequently Asked Questions
Can the Ezviz Doorbell Work Without Existing Doorbell Wiring?
Yes, the Ezviz doorbell can work without existing doorbell wiring. It's designed with battery power, giving you the freedom to place it wherever you want. You won't need to fuss with complicated installations or electrical work. Just charge it up, connect to your Wi-Fi, and you're good to go! This flexibility allows you to enhance your home security without being tied down by traditional wiring constraints. Enjoy that independence!
Is the Ezviz Doorbell Weatherproof for Outdoor Use?
You might wonder if the Ezviz doorbell can brave the elements. Well, it's designed to be weatherproof, so you can confidently install it outdoors. With an IP65 rating, it can handle rain, snow, and varying temperatures, giving you the freedom to monitor your home without worry. Just keep in mind that extreme conditions could still affect its performance, but generally, it's built to withstand the outdoor challenges you might face.
What Is the Warranty Period for the Ezviz Doorbell?
The warranty period for the Ezviz doorbell is typically one year from the date of purchase. This covers defects in materials and workmanship, giving you peace of mind. It's always a good idea to check the specific warranty details provided with your product, as terms may vary. If you have any issues, reach out to customer support; they're usually helpful and can guide you through the process! Enjoy your new doorbell!
How Do I Reset the Ezviz Doorbell if Needed?
Imagine the feeling of a fresh start, like a crisp morning breeze. If you ever need to reset your Ezviz doorbell, it's simple. Just locate the reset button, usually found on the back or side. Press and hold it for about 10 seconds until the light indicator flashes. It'll feel like releasing a burden, giving you the freedom to set it up anew. Embrace that fresh beginning!
Can Multiple Users Access the Ezviz Doorbell App Simultaneously?
Yes, multiple users can access the Ezviz doorbell app simultaneously. You can invite friends or family to share access, allowing them to view the doorbell feed and receive notifications. It's a great way to keep everyone in the loop, especially if you're not home. Just make sure you manage permissions properly so everyone has the access they need while keeping your privacy secure. Enjoy the freedom of shared monitoring!


