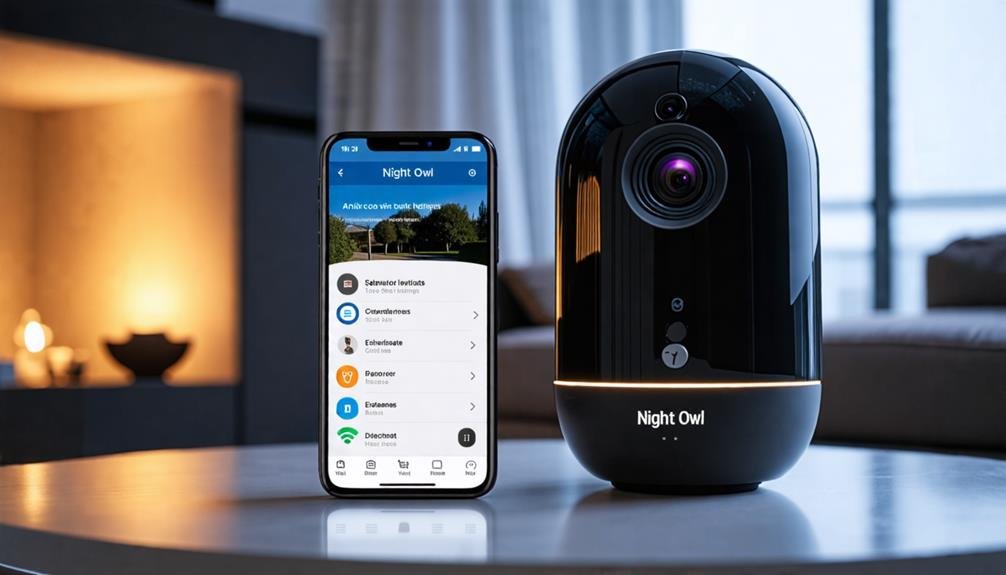
To connect your Night Owl cameras to Wi-Fi, start by downloading the Night Owl Protect App on your device. Open the app and verify your BTWN8 Series recorder is added. Make sure your cameras are in pairing mode. For Android, tap the "+" sign to add cameras; on iOS, do the same after selecting your recorder. Wait for the app to confirm the pairing. If you run into issues, check your Wi-Fi signal and verify there's no interference. With this setup, you're well on your way to accessing your camera feeds. Learn more about troubleshooting and features beyond this setup process.
Preparation Steps
Before diving into the setup process, it's important to prepare everything you'll need to connect your Night Owl cameras to Wi-Fi. The first step? Download the Night Owl Protect App on your smart device. This app is your gateway to managing your cameras, so make certain it's installed and ready to go.
Next, verify that your BTWN8 Series Wi-Fi NVR is added to the app. Without this essential step, you won't be able to connect your cameras effectively. It's also important to check that the batteries and cartridges for your wire-free cameras are properly inserted. If they're not, you could run into some frustrating hiccups during the setup.
Now, before you start the connection process, confirm that each camera is in pairing mode. This is critical for successful pairing with the NVR. If your cameras aren't in the right mode, they simply won't connect, which could leave you feeling stuck.
Lastly, don't forget to have the Quick Setup Guide (QSG) handy. This guide is filled with detailed instructions and troubleshooting tips that can save you time and hassle if you encounter any issues along the way. By preparing these steps, you're setting yourself up for a seamless connection experience. With everything in place, you're one step closer to enjoying the freedom and security that your Night Owl cameras can provide.
Connecting via Android
To connect your Night Owl cameras using an Android device, you'll first need to install the Night Owl Protect App. Once that's done, you can start the camera pairing process by selecting your recorder and adding cameras. It's crucial to make sure everything's set up correctly to avoid any hiccups during the connection.
App Installation Steps
Installing the Night Owl Protect App on your Android device is the first step to connecting your Night Owl cameras to WiFi. Head over to the Google Play Store and download the app; it's quick and straightforward. Once you've got it installed, open the app and select your BTWN8 Series recorder from the list of devices. This action brings you to the Device Details page, where you can manage your cameras effortlessly.
Scroll down to the bottom of the Device Details page to see your existing cameras. To add a new wire-free camera, just tap the "+" sign. Make sure your camera is in pairing mode, then let the recorder search for available cameras. It won't take long before you see a list of options.
When the camera is successfully paired, you'll get a delightful notification saying, "Woo Hoo! Setup is now complete!" You've now gained the freedom to access the live view of your new camera, allowing you to keep an eye on your surroundings whenever you want. Enjoy the peace of mind that comes with your Night Owl Protect system!
Camera Pairing Process
Once you've installed the Night Owl Protect App and selected your BTWN8 Series recorder, you're ready to begin the camera pairing process. This is where you take control of your security setup and guarantee your cameras are connected to Wi-Fi.
First, make sure your camera is in pairing mode. Then, open the app, scroll to the bottom of the Device Details page, and tap the + sign. This initiates the Owl Connect feature, allowing your recorder to search for available cameras.
Here's a quick outline to guide you through the process:
| Step | Action | Outcome |
|---|---|---|
| 1. Pairing Mode | Guarantee camera is in pairing mode. | Camera ready to connect. |
| 2. Open App | Launch the Night Owl Protect App. | Access to device settings. |
| 3. Add Camera | Tap the + sign and wait for pairing. | Notification: "Woo Hoo! Setup is now complete!" |
Once you see the success message, access the live view of your newly added camera in the app. You're now free to monitor your space with ease!
Connecting via Ios
To connect your Night Owl cameras using iOS, you'll first need to install the Night Owl Protect App on your device. Once that's done, you can start the camera pairing process by selecting your recorder and following the prompts. If you run into any issues, checking your camera's pairing mode and Wi-Fi connection can help troubleshoot the problem.
App Installation Process
Getting started with your Night Owl cameras on an iOS device is simple and straightforward. First, you'll want to head over to the App Store and download the Night Owl Protect app. Once it's installed, open the app to begin your setup.
Next, select your BTWN8 Series recorder from the app's main interface. This will take you to the Device Settings page where you can manage your devices. To add a new wire-free camera, just tap the "+" sign at the bottom of the Device Settings page.
Now, make sure your camera is in pairing mode—this is essential for a successful connection. Then, tap "Continue" to let the Night Owl Protect app search for any available cameras. Be patient as the app scans for your device.
Once your camera pairs successfully, you'll gain instant live view access, confirming that you've completed the connection process. Enjoy the freedom and peace of mind that comes with monitoring your space using your new Night Owl cameras!
Camera Pairing Steps
Connecting your Night Owl cameras to Wi-Fi is a straightforward process that can be accomplished in just a few steps. First, open the Night Owl Protect App on your iOS device and select the BTWN8 Series recorder from your device list. Next, scroll to the bottom of the Device Settings page to view existing cameras, then tap the + sign to start the camera addition process.
Ensure your camera is in pairing mode, then tap Continue to move forward with the camera pairing steps. This is where the magic happens! Wait patiently as the app confirms successful pairing. Once it does, you'll gain access to the live view of your newly added camera, giving you the freedom to monitor your space anytime, anywhere.
If your camera doesn't connect, don't worry. Just check that it's still in pairing mode and verify your Wi-Fi network settings. With these simple steps, you're well on your way to enhancing your security setup. Enjoy the peace of mind that comes with having your cameras connected and ready to go!
Troubleshooting Connection Issues
Occasionally, you might run into connection issues while trying to link your Night Owl cameras via the iOS app. If you're having trouble connecting, don't worry—there are a few common fixes you can try to get things back on track.
- Verify your camera is in pairing mode before starting the app.
- Open the Night Owl Protect App, select your BTWN8 Series recorder, and tap the "+" sign to add your wire-free camera.
- Double-check that you're using the correct Wi-Fi network name (SSID) and password.
- If connections still fail, restart both the Night Owl Protect App and your iOS device.
- Look for interference from other devices and confirm that your Wi-Fi signal is strong where the camera is set up.
Troubleshooting Issues
While setting up your Night Owl cameras, you might encounter some troubleshooting issues that can hinder your connection to Wi-Fi. Don't worry; there are straightforward steps you can take to protect your camera setup and guarantee a smooth experience. First, make sure your camera is in pairing mode before you try to connect it to the Wi-Fi. This step is vital for successful pairing with the Night Owl Protect app.
Next, double-check that you're entering the correct Wi-Fi network name (SSID) and password. Any slight error here can prevent your camera from connecting. If you've verified everything and it still doesn't work, try restarting both your router and the camera system. Sometimes, a simple reboot can refresh the connection and resolve temporary glitches.
Also, consider potential interference from other devices like microwaves or cordless phones. These can disrupt your camera's connection to the Wi-Fi network, so keep them away if possible.
If your camera remains offline after trying these steps, don't hesitate to consult the Night Owl Connect Troubleshooting resources. They offer detailed guidance for resolving common connectivity problems and can help protect your investment by guaranteeing your system is operational. Remember, staying connected is essential for keeping an eye on what matters most, so take the time to troubleshoot effectively!
Additional Resources
What resources are available to help you with your Night Owl camera setup? You've got a wealth of options at your fingertips to make the process smooth and hassle-free. From official documentation to engaging video tutorials, these resources enable you to take control of your security system.
Here are some valuable resources you should consider:
- Night Owl Protect App: Essential for connecting your cameras to Wi-Fi. It allows you to manage and view your feeds remotely.
- Wi-Fi NVR Compatible Devices List: Check this list on the Night Owl website to confirm your cameras are compatible with the system.
- Initial Setup: Hardware Documentation: This detailed guide gives you step-by-step instructions on connecting your cameras effectively.
- How-To Videos: Find visual instructions on the official Night Owl website and their YouTube channel, making the setup process easier to follow.
- Night Owl Connect Troubleshooting Resources: If you run into any issues, these resources provide additional support and solutions to keep you on track.
With these tools, you can confidently set up your Night Owl cameras and enjoy the freedom of remote monitoring. Whether you prefer reading detailed instructions or watching videos, there's something to suit your style. Take advantage of these resources, and you'll have your Night Owl system up and running in no time!
Remote Access Setup
Setting up remote access for your Night Owl cameras is a straightforward process that enhances your ability to monitor your property from anywhere. First, confirm your DVR or NVR is connected to the internet using an Ethernet cable for a stable connection. Once that's done, download the Night Owl Protect app on your smart device.
Next, open the app and select the appropriate recorder to link it to your Night Owl system. Before proceeding, verify that your cameras are powered on and in pairing mode. This step is essential for the app to recognize and establish a connection with your cameras.
Once everything's connected, you'll have the freedom to access live camera feeds, receive notifications, and monitor your security system at any time, day or night. To guarantee your system runs smoothly, don't forget to perform regular firmware updates, which will enhance remote access functionality and improve overall security features.
Here's a quick overview of the remote access setup steps:
| Step | Description |
|---|---|
| Connect DVR/NVR | Use an Ethernet cable for a stable internet connection |
| Download the App | Install Night Owl Protect on your smart device |
| Pair Cameras | Confirm cameras are powered on and in pairing mode |
With these simple steps, you can enjoy the peace of mind that comes with knowing your property is always under watchful eyes, no matter where you are.
Frequently Asked Questions
How to Connect Night Owl Security Camera to Wifi?
To connect your Night Owl security camera to Wi-Fi, you'll need to get it into pairing mode and have the Night Owl Protect App ready on your smart device. Open the app, select your recorder, and tap the + sign to start adding your camera. Once it's detected, confirm the pairing. If it doesn't connect, double-check your Wi-Fi details and the camera's distance from the router. You've got this!
Why Won't My Night Owl Camera Connect to the Internet?
It's like trying to catch smoke with your bare hands—frustrating when your Night Owl camera won't connect to the internet! First, make sure it's in pairing mode and that you're using the right Wi-Fi credentials. Check the signal strength, too; it might need to be closer to your router. Restart both the camera and router to clear any hiccups, and don't forget to consult the Night Owl app for extra support.
How Do I Connect My Owl Cam to WIFI?
To connect your Owl cam to Wi-Fi, you'll want to start by making certain it's powered on and in pairing mode. Open the relevant app on your device, select your camera, and tap the plus sign to add it. Confirm you're within range of your Wi-Fi and have the correct SSID and password. Once everything's set, your app will notify you when the setup's complete. If there are issues, check your internet connection.
How Do I Connect My Night Owl DVR to My Router?
To connect your Night Owl DVR to your router, start by powering it on. Use an Ethernet cable to link it to your router or modem. Access the main menu using the remote, navigate to Network, and select Network Settings. Choose the Wired option, then opt for "Obtain IP Address" and "Obtain DNS." Finally, run a test to confirm the connection. If you see a success message, you're all set! Enjoy your freedom!


