To connect your Ezviz camera without a QR code, first make sure your camera is powered on and in range of your Wi-Fi. Download the Ezviz app from the App Store or Google Play, then log in or create an account. In the app, select the option to add a device and input your Wi-Fi SSID and password. Alternatively, if your router supports WPS, you can press the WPS button on your router while selecting the WPS option in your camera's settings. This allows for an easy connection without typing anything. Stick around, and you'll find even more helpful tips!
Check Your Camera's Power Status
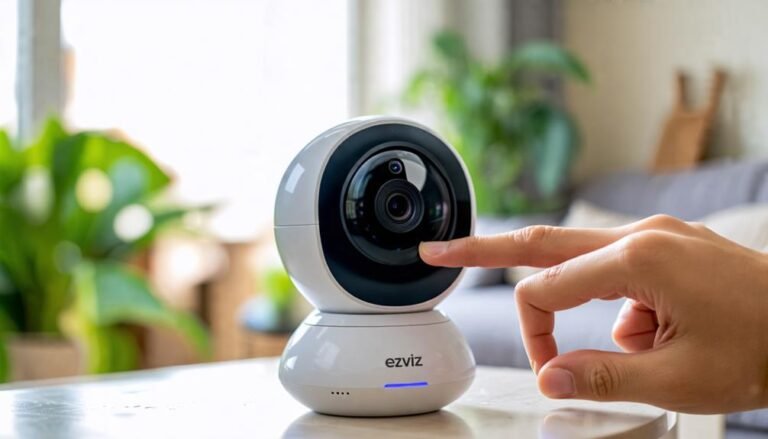
Before diving into the setup process, it's crucial to confirm your camera is powered on. You don't want to waste time troubleshooting later on. Start by locating the power button, which is usually found on the back or bottom of the camera. If your model operates on batteries, verify they're properly inserted and charged. If you're using a wired connection, check that the power adapter is securely plugged into both the camera and the wall outlet.
Once you've confirmed that your camera's powered, look for any indicator lights. Most models have LED lights that signal whether the device is on and functioning. A steady light typically means your camera is ready to go, while a blinking light might indicate it's in setup mode or needs attention. If you see no lights at all, double-check the power source and connections.
Don't forget to take into account the freedom that comes from knowing your camera is operational. Once you've verified everything's in order, you'll be ready to explore the vast capabilities of your Ezviz camera. You're embracing security and convenience, which allows you to focus on what matters most in your life without the worry of missing important moments.
Take a moment to soak in the satisfaction of having your camera up and running. You're one step closer to setting up a reliable surveillance system that works for you, offering peace of mind and a sense of control over your environment.
Download the Ezviz App
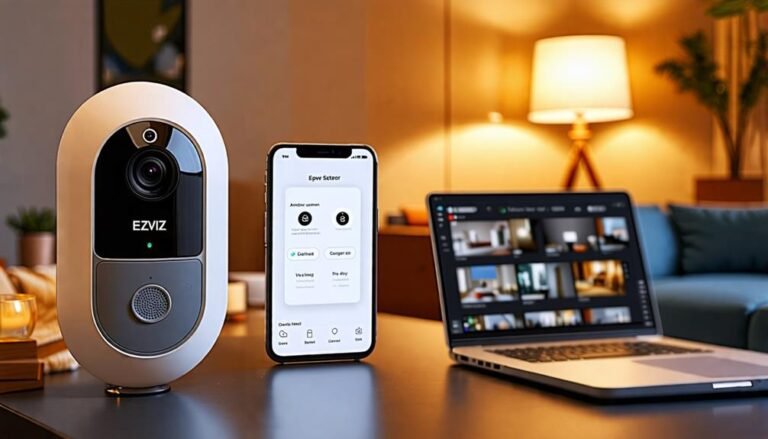
To get started with your Ezviz camera, you'll need to download the Ezviz app on your smartphone or tablet. This app is your essential tool for managing your camera and accessing its features. Whether you're looking for security, peace of mind, or just the freedom to monitor your surroundings from anywhere, the Ezviz app makes it easy.
You can find the app in the Apple App Store or Google Play Store. Just type "Ezviz" into the search bar, and it should pop right up. Once you locate the app, tap on it to begin the download. Depending on your internet connection, this process should only take a minute or two. After the app finishes downloading, you'll want to open it up and go through the initial setup.
Don't worry if you're not tech-savvy; the app's interface is user-friendly, guiding you through each step. You'll be prompted to create an account if you don't already have one. This account will allow you to access all your camera settings and footage securely.
Once you've set up your account, you'll be ready to connect your camera and explore all the features the app offers. Remember, having the app installed is vital for a seamless experience. With the Ezviz app in hand, you're on your way to enjoying the freedom and flexibility of modern home security. So, go ahead, download it, and let's move on to the next steps!
Connect to Wi-Fi Manually
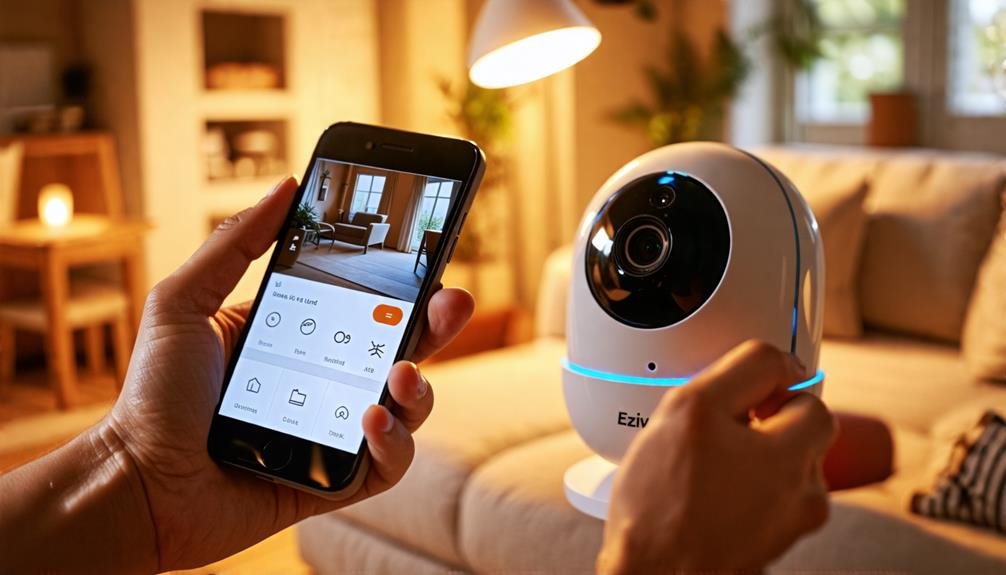
Connecting your Ezviz camera to Wi-Fi manually is a straightforward process that guarantees you have a stable connection. To get started, make sure your camera is powered on and within range of your Wi-Fi network. Open the Ezviz app on your smartphone and log into your account. When you're ready, follow these steps:
- Select the option to add a device.
- Choose your camera model from the list.
- Enter your Wi-Fi credentials when prompted.
It's vital to input the correct SSID and password to secure a successful connection. After entering the information, your camera will attempt to connect to the network. Once connected, you should receive a confirmation message in the app.
Here's a helpful table to keep track of your Wi-Fi details:
| Setting | Description | Example |
|---|---|---|
| SSID | Network Name | MyHomeWiFi |
| Password | Network Password | mysecurepassword123 |
| Camera Model | Type of Ezviz Camera | C3N |
| Connection Status | Current Connection | Connected |
If the connection fails, double-check your details and try again. Remember, it's important to maintain a reliable connection for peak camera performance. Once you've successfully connected, you'll enjoy the freedom of monitoring your space from anywhere. Take your time, follow these steps carefully, and you'll have your Ezviz camera up and running in no time!
Use WPS for Connection
If you'd like a quicker method to connect your Ezviz camera to Wi-Fi, using WPS (Wi-Fi Protected Setup) can be a great option. It simplifies the process, letting you connect without needing to input your Wi-Fi password. Here's how to do it.
First, make sure your Wi-Fi router supports WPS. Most modern routers do, but it's always good to check. Look for a button labeled "WPS" on the router itself. Next, power on your Ezviz camera and navigate to the settings menu. You'll want to find the option to connect via WPS. This is usually found in the Wi-Fi or network settings section.
Once you've selected the WPS option on your camera, head over to your router and press the WPS button. You usually have a limited time window to do this—typically around two minutes—so be prompt. After pressing the button, your camera should begin the connection process. You'll see a light indicator on the camera that shows it's attempting to connect.
If all goes well, your camera will be connected to your Wi-Fi without the hassle of entering any passwords. This method not only saves time but also gives you the freedom to set up your camera quickly and easily, letting you focus on what matters most—keeping your space secure. Enjoy the convenience of WPS and start monitoring in no time!
Troubleshooting Connection Issues
When you encounter connection issues with your Ezviz camera, it can be frustrating, but don't worry; there are several steps you can take to troubleshoot the problem. First, make sure your camera is within range of your Wi-Fi network. Signal strength is essential for a stable connection, so try moving the camera closer to your router if possible.
Next, check that your Wi-Fi network is working properly. You can do this by connecting another device to the same network. If that device connects without issue, your network is likely fine. If not, you may need to reset your router.
Finally, confirm that your Ezviz camera's firmware is up to date. An outdated firmware can cause compatibility issues, preventing a successful connection. You can do this through the Ezviz app by steering to the settings section and checking for updates.
Here's a quick checklist to help you troubleshoot:
- Check Wi-Fi Signal: Confirm the camera's within range of your router.
- Test Your Network: Connect another device to verify your Wi-Fi is functioning.
- Update Firmware: Go to the app settings to check for and install any updates.
Frequently Asked Questions
Can I Connect Multiple Ezviz Cameras Without QR Codes?
Yes, you can connect multiple Ezviz cameras without using QR codes. You'll just need to access the camera's settings through the Ezviz app. Once you've logged in, select the option to add a device manually. Enter the required details, like the camera's serial number and Wi-Fi credentials. This way, you maintain control over your setup while ensuring all your cameras are connected and ready for action. Enjoy your freedom to customize!
What Do I Do if the App Crashes During Setup?
If the app crashes during setup, don't panic! First, try restarting your phone and relaunching the app. If that doesn't work, check for any updates to the app and install them. It's also a good idea to verify your internet connection is stable. If you're still having trouble, you might want to uninstall and reinstall the app. This often resolves issues and gives you a fresh start for setup.
Is a Specific Smartphone Model Required for the Ezviz App?
You don't need a specific smartphone model to use the Ezviz app; it's designed to dance gracefully across various devices. Like a bird soaring through the sky, your freedom's in choosing any compatible Android or iOS phone. Just verify your device's software is up to date, and you'll be ready to explore the camera's features. Embrace this flexibility, and let your creativity flow without being tethered to a single model!
Can Ezviz Cameras Be Connected to a 5GHZ Wi-Fi Network?
Yes, you can connect Ezviz cameras to a 5GHz Wi-Fi network. However, make sure your camera model supports it, as some may only work with 2.4GHz networks. You'll enjoy faster speeds and less interference with 5GHz, but the range might be shorter. Just check your camera's specifications, and if it's compatible, go ahead and set it up. You'll appreciate the improved performance and flexibility it offers for your surveillance needs!
How Can I Reset My Ezviz Camera if Needed?
If your Ezviz camera's gone astray, resetting it is like turning back the clock. To reset your camera, locate the reset button—usually a small pinhole. Press and hold it for about 10 seconds until the indicator light blinks. This'll restore factory settings, giving you a fresh start. After that, you can set it up again as you like, enjoying the freedom to customize your security experience!