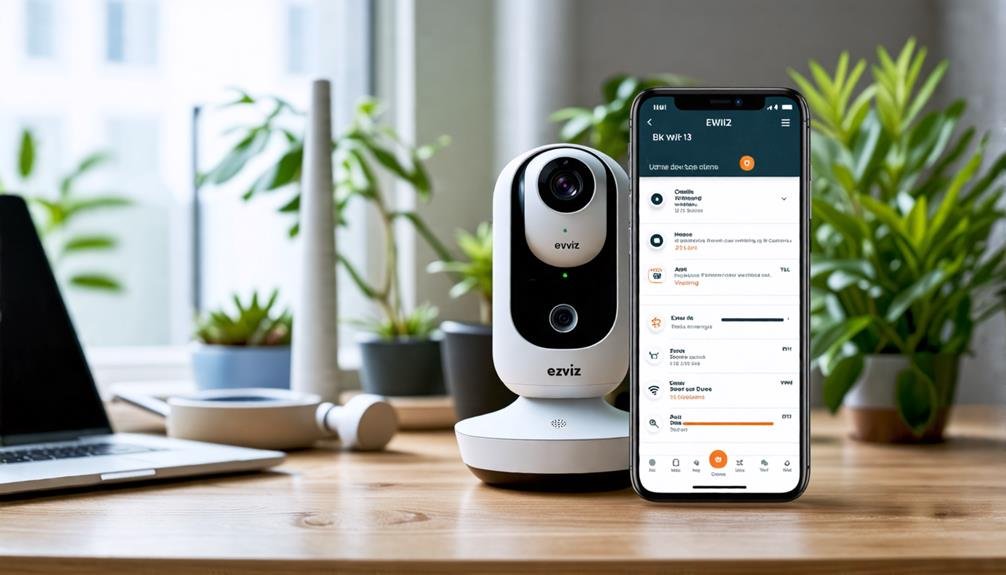
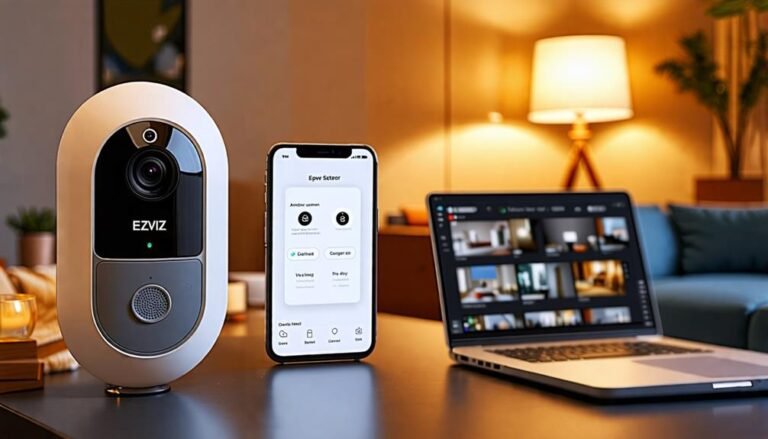
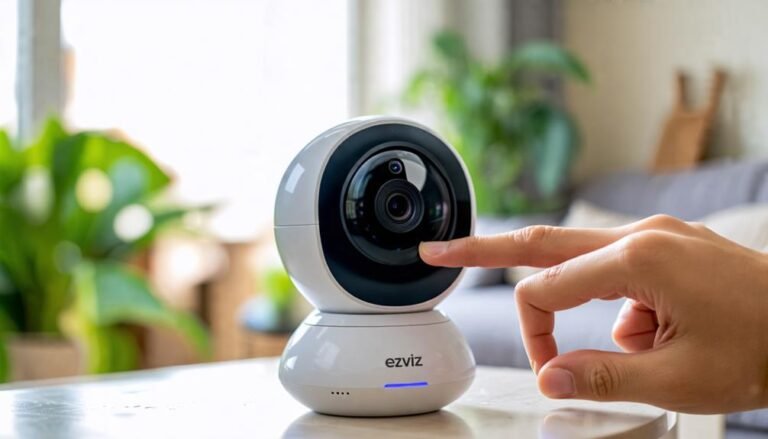
To connect your Ezviz camera to WiFi, first unbox it and download the Ezviz app from your device's app store. Create an account and power on the camera. Confirm it's within range of your WiFi network. Open the Ezviz app, log in, and tap the '+' icon to add your camera. Follow the prompts to scan the QR code displayed on the camera, select your WiFi network, and enter the password. Once connected, check the camera's status in the app for a live feed. This process will set you up for enhanced security and connectivity, and there's more to explore about optimizing your setup.
Unbox Your Ezviz Camera
Unboxing your Ezviz camera is the first step to enhancing your home security. As you peel away the cardboard and lift the lid, you'll find your camera nestled inside, ready to become a essential part of your home defense. Take a moment to appreciate the sleek design and compact size. This little device packs a punch when it comes to keeping your space safe.
Carefully remove the camera from its packaging and set it aside. You'll also find a power adapter, mounting hardware, and a quick-start guide. Make sure to check for all these components; they're necessary for the setup process. The first thing you'll want to do is familiarize yourself with the camera's features. Notice the lens, the microphone, and any buttons that might be present. Each element plays a role in providing you with freedom from worry about your home's safety.
Next, inspect the mounting options. Depending on where you plan to install your camera, you may need to use the included hardware. It's important to choose a location that offers a clear view of your surroundings while being out of reach of potential tampering. Think about spots that provide best coverage but also allow you to maintain your privacy.
Once you've unboxed everything and considered your installation options, you're ready to take the next steps toward connecting your Ezviz camera to Wi-Fi. With everything set, you'll soon find peace of mind knowing your space is secure, allowing you to enjoy your freedom.
Download the Ezviz App
To get your Ezviz camera up and running, the next step is to download the Ezviz app on your smartphone. This app is your gateway to accessing the full potential of your camera, allowing you to view live feeds, recordings, and various settings right from your device. No more being tied down to a desktop; you'll have the freedom to monitor your space from anywhere.
Head to your device's app store—whether you're using Android or iOS—and search for "Ezviz." Once you find the app, tap the download button and let it install. It won't take long! After it's installed, open the app, and you'll notice its user-friendly interface designed for easy navigation.
Take a moment to familiarize yourself with its layout. You'll find options for setting your camera preferences, viewing footage, and managing alerts. The app often receives updates, so keep an eye out for those to enhance your experience further.
Downloading the Ezviz app is an essential step toward ensuring your camera operates smoothly and efficiently. With it, you gain the flexibility to check in on your home or office wherever you are, providing peace of mind. So, go ahead and get the app installed—your freedom to monitor and manage your security is just a few taps away!
Create an Ezviz Account
You'll be prompted to enter some basic information. Typically, this includes your email address and a password. Make sure to choose a password that's both secure and memorable; you don't want to wrestle with it later! After filling in the required fields, you'll receive a verification email. Check your inbox and follow the link to verify your account. If you can't find the email, it might be in your spam or junk folder, so don't forget to look there.
Once your account is verified, you can log in to the Ezviz app. This is where your freedom begins. With your account, you can manage multiple cameras, customize settings, and access live feeds from anywhere. You're no longer tied down to a single location; you can keep an eye on your home while you're out and about.
Creating your Ezviz account is a simple yet essential step in enhancing your security and enjoying the flexibility that comes with remote monitoring. So, take a moment to set it up, and get ready to embrace the freedom of staying connected.
Power On the Camera
Now that your Ezviz account is set up and ready to go, it's time to power on your camera. This step is vital in bringing your surveillance system to life. Let's walk through the process to get your camera up and running so you can enjoy the peace of mind that comes with knowing your space is secure.
Here's what you need to do:
- Unbox your camera: Take it out of the packaging and make sure you have all the components.
- Locate the power adapter: You'll need the power adapter that came with your camera.
- Connect the power cable: Plug one end of the power adapter into the camera and the other end into a wall outlet. Confirm it's a convenient location that allows for a strong Wi-Fi connection later on.
- Check for lights: Once connected, look for indicator lights. A blinking light usually means it's powering up and getting ready for setup.
- Wait for initialization: Give it a moment to fully power on. You might hear some sounds or see lights change, indicating it's ready for the next steps.
Once you've completed these steps, your camera will be powered on and prepped for connection. This means you're one step closer to enjoying the freedom of monitoring your space from anywhere. Keep your camera's location in mind as you move to the next phase: connecting it to your Wi-Fi network.
Connect to WiFi Network
Now that your camera's powered on, it's time to connect it to your WiFi network. You'll need to prepare your device and follow the WiFi configuration process to get everything set up. Let's walk through these essential steps to guarantee a smooth connection.
Device Preparation Steps
Before diving into the connection process, make certain your Ezviz camera is properly prepared for WiFi setup. Getting everything ready will make the whole experience smoother and more enjoyable. Here's a quick checklist to help you gear up:
- Unbox your Ezviz camera: Take it out of the box and ensure all components are included.
- Charge the battery: If it's battery-operated, make sure it's fully charged before starting.
- Find a suitable location: Choose a spot with a strong WiFi signal and a clear view of the area you want to monitor.
- Download the Ezviz app: Get the app from the App Store or Google Play Store to manage your camera easily.
- Check your WiFi credentials: Make sure you have your WiFi network name and password handy for the setup process.
WiFi Configuration Process
Connecting your Ezviz camera to your WiFi network is an essential step for accessing its full potential. To start, verify your camera is powered on and within range of your WiFi signal. Open the Ezviz app on your smartphone and sign in or create an account if you haven't already. Once you're in, tap on the '+' icon to add a new device.
Follow the on-screen prompts to select your camera model. The app will guide you through the setup process, including scanning the QR code displayed on your camera. Next, you'll be prompted to select your WiFi network. Make sure you choose the correct one and enter the password carefully.
Once you've entered the credentials, tap 'Connect.' Your camera will attempt to link with your network. Wait a moment as it establishes the connection. If successful, you'll see a confirmation message. Now your Ezviz camera is ready! You can access live feeds and notifications from anywhere, giving you the freedom to monitor your space whenever you like. Don't forget to check the camera settings for any additional features you might want to customize!
Complete Camera Setup
Once you've gathered all the necessary equipment, completing the camera setup is straightforward. You'll want to verify you've got everything you need for a smooth installation. Here's a quick checklist to help you stay organized:
- Ezviz camera
- Power adapter
- Ethernet cable (if needed)
- Smartphone or tablet with the Ezviz app installed
- Wi-Fi credentials (network name and password)
Start by placing your Ezviz camera in a location that offers a clear view of the area you want to monitor. It's crucial to choose a spot that's within range of your Wi-Fi signal. Once you've found the perfect spot, plug in the power adapter to give your camera the juice it needs.
Next, if your model supports Ethernet, you can connect it directly to your router for a more stable connection, but most people prefer the freedom of a wireless setup. Open the Ezviz app on your smartphone or tablet and follow the prompts to add your camera. The app will guide you through the process, including scanning a QR code displayed on the camera.
After you've linked your camera to your Wi-Fi, adjust the settings according to your preferences. You can customize notifications, motion detection zones, and other features that enhance your security experience. With everything set up, you're ready to enjoy the freedom of monitoring your space from anywhere!
Test Your Camera Connection
Now that you've completed the setup, it's essential to test your camera connection. Start by verifying your network settings and checking the camera status to guarantee everything's working as it should. Don't forget to confirm the Wi-Fi signal strength so you can get the best performance from your Ezviz camera.
Verify Network Settings
To guarantee your Ezviz camera is properly connected to Wi-Fi, it's essential to verify the network settings. This guarantees that your camera can stream video and send alerts without any hiccups. Here's what you need to check:
- Wi-Fi Network: Make sure your camera is connected to the correct Wi-Fi network. Double-check the SSID.
- Password: Verify that you've entered the right password. A simple typo can prevent a connection.
- Signal Strength: Verify the camera is within a good range of your router. Weak signals can disrupt connectivity.
- IP Address: Check that your camera has a valid IP address. You can find this in your router settings.
- Firmware Update: Sometimes, outdated firmware can lead to connectivity issues. Confirm your camera's firmware is up to date.
After you've gone through these points, try reconnecting your camera to see if it solves any issues. You deserve a hassle-free experience with your security setup, so take the time to confirm these settings. It'll give you peace of mind knowing your Ezviz camera is ready to protect your space effectively!
Check Camera Status
After verifying your network settings, it's time to check the camera status to confirm everything is functioning correctly. First, open the Ezviz app on your smartphone. You'll see a list of your connected devices. Locate your camera in this list and tap on it. This should bring up the camera feed. If you can see the live video, congratulations! Your camera's connected and working as it should.
If you don't see the feed, don't panic. Check for any error messages displayed in the app. These can give you clues about what might be wrong—like a poor connection or a need for a firmware update. You should also verify that your camera's LED indicator lights are functioning properly. A solid green light usually means it's connected, while a blinking light could indicate a problem.
Next, try accessing the camera from different locations within your home. Sometimes, moving just a few feet can help you determine if there's an issue with the signal strength. By checking these details, you can confirm your Ezviz camera is ready to provide you with the freedom and peace of mind you deserve.
Confirm Wi-Fi Signal
Ensuring a strong Wi-Fi signal is essential for your Ezviz camera's performance. A weak connection can lead to dropped feeds or poor video quality, which defeats the purpose of having a reliable security camera. To confirm your Wi-Fi signal strength, follow these simple steps:
- Check the camera placement: Make sure your camera isn't too far from the router. Walls and furniture can weaken the signal.
- Use a Wi-Fi analyzer app: These apps can help you see the strength of the signal in your camera's location.
- Test the connection: Access the camera's live feed through the app. If it streams smoothly, you're in good shape.
- Look for indicator lights: Most cameras will have LED lights indicating their connection status. A solid green light usually means all's well.
- Reposition or upgrade your router: If you're consistently struggling with signal strength, consider moving your router or investing in a Wi-Fi extender.
Frequently Asked Questions
What Should I Do if the Camera Won't Power On?
If your camera won't power on, first check if it's plugged in properly or if the batteries are charged. Try using a different outlet or replacing the batteries if needed. If it still doesn't respond, look for any visible damage or loose connections. Sometimes a reset can help, so consult the manual for instructions. Don't hesitate to reach out to customer support if you can't figure it out yourself. Freedom in your tech is important!
Can I Connect Multiple Cameras to One App Account?
Imagine having a single app that brings all your cameras to life—sounds liberating, right? Yes, you can connect multiple cameras to one app account. This way, you'll have a unified view of your space, making it easier to monitor everything from one place. Just make sure each camera is compatible with your app and follow the setup instructions. You'll enjoy the convenience of managing multiple feeds seamlessly, ensuring your peace of mind.
How Do I Reset My Ezviz Camera to Factory Settings?
To reset your Ezviz camera to factory settings, locate the reset button, usually found on the camera body. Press and hold this button for about 10-15 seconds until you see the indicator light flash. This action will erase all settings, giving you a fresh start. Remember, you'll need to set everything up again afterward, but it's a great way to regain control over your device if things aren't working as they should.
Is the Ezviz Camera Compatible With Smart Home Devices?
Yes, your Ezviz camera's compatible with various smart home devices. It easily integrates with systems like Amazon Alexa and Google Assistant, allowing you to control it through voice commands. You can enjoy greater freedom in managing your home security without being tied to a specific app. Just check the specific model's compatibility to guarantee seamless integration. With this setup, you'll enhance your smart home experience effortlessly!
What Are the Troubleshooting Steps for Wifi Connection Issues?
When you face Wi-Fi connection issues, it's like a locked door versus an open pathway. First, check if your router's working properly—restart it if needed. Next, verify your camera's within range, and that you've entered the correct password. Look for any interference from other devices that might be blocking the signal. Finally, don't forget to update the camera's firmware; it could just be the key to open that connection.


