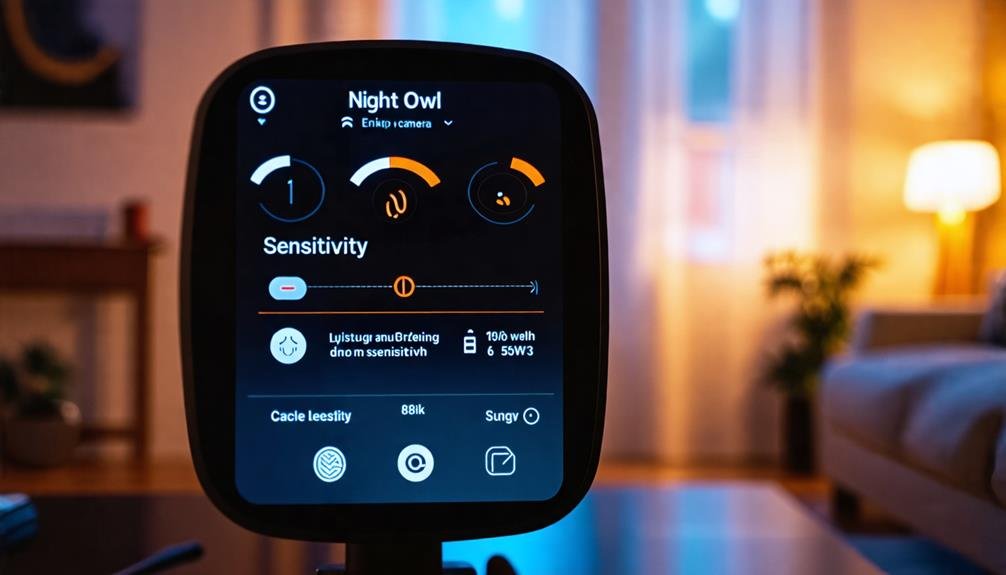
To adjust the sensitivity on your Night Owl camera, start by launching the Night Owl Protect app on your device. Select the camera you want to modify and enter the settings menu. Look for the motion detection settings and choose a sensitivity level between 1 and 10. Levels around 3 to 5 are ideal to avoid false alerts, but you can experiment with higher settings if needed. Don’t forget to save your changes! After adjusting, test the sensitivity by moving in front of the camera and observe its responsiveness. There’s more to uncover about optimizing your camera’s performance.
Accessing the Night Owl App
To get started with adjusting your camera sensitivity, you’ll first need to access the Night Owl Protect App on your mobile device. This app is your gateway to taking control of your surveillance setup. Once you’ve launched the app, you’ll see a list of your connected cameras. Select the camera you want to adjust, and you’ll soon be diving into the camera settings that match your preferences.
Within the camera settings menu, look for the options labeled “Motion Detection” or “Sensitivity.” These are essential for tailoring how your camera responds to movement. Using the slider or the input fields, you can easily adjust the sensitivity level, choosing from low to high settings based on your needs. If you live in a bustling area or have pets, you might want to set the sensitivity lower to avoid unwanted motion alerts. On the other hand, if you’re in a quieter environment, a higher sensitivity could be beneficial for capturing every movement.
After you’ve made your adjustments, don’t forget to save changes! This guarantees your new settings will take effect. It’s also a good idea to test the camera after adjusting to confirm that it’s filtering out unwanted motion alerts effectively. With these simple steps in the Night Owl Protect App, you’re well on your way to customizing your camera experience and achieving the peace of mind you desire.
Navigating Camera Settings
While maneuvering the camera settings in the Night Owl Protect App, you’ll find a user-friendly interface designed to make adjustments straightforward. To adjust sensitivity, head to the “Motion Detection” or “Sensitivity Settings” section within the camera’s settings menu. Here, you can easily tweak the sensitivity settings to your liking.
You’ll notice a sensitivity slider or numerical settings, usually ranging from 1 to 10. This allows you to increase or decrease the camera’s responsiveness to motion. The higher the number, the more sensitive your camera will be.
Here’s a quick overview of what to keep in mind while traversing these settings:
| Setting Type | Adjustment Tips | Outcome |
|---|---|---|
| Sensitivity Settings | Use the slider to adjust from 1-10 | Determines responsiveness to motion |
| Detection Area | Set areas to monitor or ignore | Filters out unwanted triggers |
| Camera Positioning | Adjust the camera angle for better coverage | Enhances overall performance |
After making these adjustments, don’t forget to save settings and test the camera. This guarantees that the new sensitivity level effectively filters out unwanted motion triggers. For ideal results, fine-tuning the detection area or repositioning the camera can further enhance motion detection performance, giving you the freedom to feel secure in your space.
Understanding Sensitivity Options
Adjusting sensitivity settings is key to enhancing your Night Owl camera’s performance. By customizing these settings, you can improve motion detection capabilities to suit your needs. Night Owl cameras typically offer a range from 1 to 8, with higher levels picking up even the slightest movements. However, this can also lead to an increase in false alerts, which can be frustrating.
To access sensitivity options, simply navigate to the motion detection settings within the Night Owl Protect App or the CMS software. It’s essential to test different sensitivity settings in your specific environment. Doing so allows you to find the ideal balance between capturing relevant motion and minimizing unnecessary alerts. You don’t want to be bombarded with notifications for every passing car or swaying branch.
Additionally, consider adjusting your detection area settings. By focusing on specific zones of interest, you can ignore less significant movements while ensuring that your camera effectively detects what truly matters. This targeted approach not only enhances your camera’s efficiency but also gives you the freedom to monitor your property without distractions.
Adjusting Motion Detection Levels
When you want to fine-tune your Night Owl camera’s motion detection levels, accessing the main menu is your first step. Here, you’ll find the camera settings that allow you to adjust the sensitivity levels of motion detection. This control empowers you to create a customized surveillance experience that suits your needs.
- Fine-tune sensitivity to minimize false alerts.
- Configure specific motion detection zones for targeted monitoring.
- Test and adjust settings based on real movement scenarios.
- Monitor performance to guarantee peak functionality.
To get started, navigate to the “Camera” settings. You’ll see options that let you adjust the sensitivity levels using a slider or numerical input. Remember, lower numbers mean less sensitivity, while higher numbers enhance it. After each adjustment, it’s essential to trigger movements in front of the camera. This hands-on approach helps you find the ideal sensitivity that captures relevant activity without being overwhelmed by false alerts.
Additionally, consider configuring motion detection zones. By focusing on specific areas, you can greatly reduce unwanted triggers from pets or passing cars. Once you’ve made these adjustments, keep an eye on the performance over the next few days. This monitoring will guide you in deciding if further adjustments are necessary. With a bit of tweaking, your Night Owl camera can become a reliable guardian of your space, giving you the freedom to feel secure.
Saving Your Settings
After tweaking your sensitivity settings on the Night Owl camera, it’s essential to confirm those changes are saved properly. To do this, navigate back to the main menu and select the save option. This step guarantees that your newly adjusted sensitivity settings are applied and ready for action.
Some Night Owl models require you to confirm your settings after saving, so stay alert for any prompts that could pop up. It’s important to complete this final step to lock in your adjustments. Once you’ve saved, make sure to check settings again by exiting and re-entering the menu. This verification will help you confirm that everything’s in order and functioning as expected.
If you face issues while trying to save, it might be due to insufficient storage space or possible firmware glitches. Double-check your device’s storage to verify it’s adequate for the changes you’ve made. If you’re unsure about the process, always consult your user manual for model-specific instructions. Different models may have unique features or requirements when it comes to saving settings.
Testing New Sensitivity Levels
Once you’ve saved your sensitivity settings, it’s time to test how well they work. Observe the camera’s response to different movements over the next 24 hours to gauge its accuracy. If you’re still getting too many false alerts, you may need to fine-tune the sensitivity further or adjust the motion detection zones.
Ideal Sensitivity Settings
Regularly testing new sensitivity levels is crucial for optimizing your Night Owl camera’s performance. Striking the right balance between effective motion detection and minimizing false alerts can free you from unnecessary notifications. Here’s what to take into account when adjusting your sensitivity settings:
- The ideal sensitivity level typically ranges from 3 to 5 for most environments.
- High sensitivity can trigger alerts from minor movements like shadows or insects.
- Monitor false alerts over a 24-hour period to gauge your adjustments.
- Camera placement matters—position it at least 7 feet high and angled slightly down.
Environmental changes, such as landscaping or seasonal variations, can impact detection performance, so make adjustments as needed. Using the Night Owl Protect app or CMS software, access the settings menu to fine-tune your motion detection parameters. Regular reviews of your sensitivity settings will help guarantee your camera effectively monitors your space without overwhelming you with unnecessary alerts. By staying proactive and adaptable, you can enhance your surveillance experience and maintain peace of mind while enjoying the freedom of knowing your property is protected.
Testing Motion Detection Accuracy
Testing the motion detection accuracy of your Night Owl camera is essential to confirm it’s functioning at its best. After you adjust the sensitivity settings through the Night Owl Protect app or CMS software, it’s time to put those changes to the test. Walk in front of the camera and observe how many alerts it generates. You want to find that sweet spot where it effectively detects human movement while minimizing false alerts caused by minor disturbances.
Keep an eye on your camera’s performance over the next few days, as environmental factors can notably affect detection accuracy. If you notice an uptick in false alerts, consider lowering the sensitivity. This adjustment can help reduce the camera’s response to non-human movements, like shadows or small animals.
Additionally, regularly review and adjust your detection zones. By focusing on specific areas of interest, you can optimize the camera’s sensitivity and ignore less relevant zones. This will not only enhance performance but also confirm you’re alerted only when it truly matters. With these steps, you’ll have a more reliable system that suits your needs and provides peace of mind.
Troubleshooting Common Issues
When adjusting motion sensitivity on your Night Owl camera, you might run into some common issues. It’s important to know what triggers recordings, like pets or passing cars, so you can fine-tune your settings effectively. Let’s go over some tips to help you optimize your camera’s performance and reduce unnecessary alerts.
Motion Sensitivity Adjustment Tips
To effectively adjust the motion sensitivity on your Night Owl camera, start by accessing the settings through the Night Owl Protect App or CMS software. Here, you can tweak the sensitivity levels, which usually range from 1 (low) to 8 (high). Finding the ideal setting is key to minimizing false alerts while still detecting motion that matters.
- Utilize the motion detection zone feature to limit monitored areas.
- Regularly perform firmware updates to enhance motion detection capabilities.
- Experiment with camera positioning to avoid reflective surfaces.
- Be mindful of nearby moving objects that could trigger unnecessary alerts.
When adjusting motion sensitivity, consider the environment. If your camera’s detecting motion too frequently, reduce the sensitivity or redefine your motion detection zone. By doing so, you can effectively tailor your Night Owl system to your needs, ensuring it captures essential movements without overwhelming you with notifications. Remember, the goal is to strike a balance between responsiveness and tranquility in your security setup. With some thoughtful adjustments, you’ll enjoy peace of mind knowing your space is safeguarded without constant distractions.
Common Recording Triggers
Adjusting motion sensitivity can greatly reduce unnecessary alerts, but even with the right settings, you might still encounter common recording triggers. These triggers often involve minor movements, like insects buzzing by, shifting shadows, or even reflections from lights. When your sensitivity settings are too high, say at levels 7 or 8, your Night Owl camera can misinterpret these non-human movements as significant motion events, resulting in an avalanche of false alerts—sometimes up to 20-25 a day without any actual human presence.
To combat this, you can adjust sensitivity within the camera configuration menu, selecting a lower level to minimize these distractions. Additionally, positioning cameras strategically is essential. Avoid placing them near areas with heavy vegetation or intense light sources, as these spots are hotbeds for unnecessary recordings. Regularly reviewing and fine-tuning your motion detection zones enhances your camera’s ability to differentiate between what’s relevant and what’s not. By taking these steps, you’ll enjoy a more efficient monitoring experience, focusing on the real events that matter without the clutter of false alerts.
Tips for Optimal Motion Detection
Achieving ideal motion detection on your Night Owl camera can considerably enhance your surveillance experience. To get the most out of your camera’s capabilities, consider these tips for optimal motion detection:
- Start with lower sensitivity settings to reduce false alerts.
- Define specific motion detection zones for essential areas.
- Regularly check for obstructions in the camera’s field of view.
- Update your camera’s firmware periodically for the latest features.
Begin by accessing the camera settings through the Night Owl Protect App or CMS software. You’ll find options for sensitivity adjustment. Experiment with levels between 1 and 8, starting low to filter out non-human movements like insects or shadows that can trigger false alerts.
Next, defining motion detection zones is vital. Focus your camera on specific areas where activity is expected, minimizing irrelevant movements outside those zones. This way, you can be alerted only when it matters.
Don’t forget to regularly check for obstructions in your camera’s field of view. Items like plants or furniture can mistakenly trigger alerts, so adjust your camera positioning as needed to guarantee a clear line of sight.
Lastly, keep your camera’s firmware updated. This guarantees optimal performance and grants you access to the latest features for motion detection adjustments. By following these tips, you can create a tailored surveillance system that enhances your sense of freedom and security.
Frequently Asked Questions
Why Is My Night Owl Camera Glitching?
If your Night Owl camera’s glitching, it could be due to a few factors. First, check the power supply—low power or a faulty adapter might be behind it. Also, interference from other devices or poor signal quality can disrupt the feed. Don’t forget to update the firmware regularly to fix bugs. Finally, physical obstructions or bright lights near the camera can cause distortion. A reset might help clear any temporary issues too.
Do Night Owl Cameras Record Continuously?
Did you know that nearly 70% of home security camera users prefer motion-triggered recording? Night Owl cameras primarily operate this way, only recording when they detect movement, which saves storage space. However, you can set them to record continuously during specific times if you want. Just keep in mind that this option requires enough storage capacity. Always check your model’s user manual for the best setup to suit your needs and preferences.
Why Is My Night Owl Protect Not Recording?
If your Night Owl Protect isn’t recording, don’t panic. First, check that motion detection settings are set correctly. You might want to verify your DVR has enough storage space, as a full hard drive can stop new recordings. Also, verify your recording schedule to make sure it’s active during the times you need. Finally, inspect camera connections and power supply; interruptions can lead to recording issues. Keep your system in check!
Does Night Owl Have Motion Detection?
Yes, Night Owl cameras do have motion detection capabilities. This feature lets you customize when recordings and alerts trigger, giving you control over your security. You can set it to focus on specific zones, so you won’t get bothered by passing cars or wildlife. By adjusting the sensitivity, you can strike a balance between capturing important events and minimizing false alerts, ensuring your peace of mind while maintaining your freedom.


