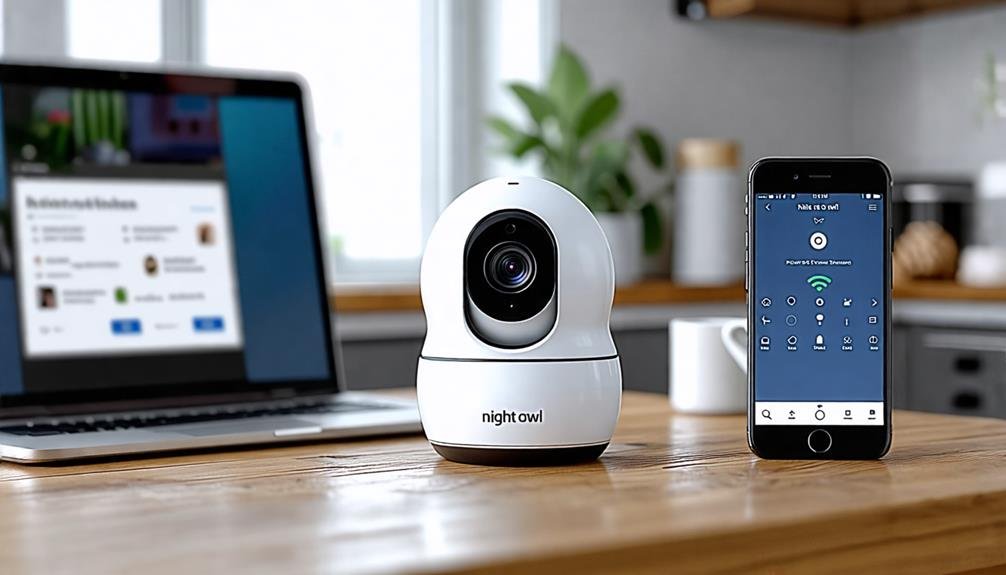
To connect your Night Owl camera to Wi-Fi, first make sure it's powered on and that the status light is flashing. Download the Night Owl Protect App on your smart device and turn off mobile data if you're using Android. Tap the Devices icon, then the + icon to find your camera on the same Local Area Network. Connect to the temporary NOIP network for setup, and listen for the "WooHoo! Setup is complete!" notification. If you hit snags, various resources can help you troubleshoot and optimize your setup for better performance.
Device Compatibility Requirements
When setting up your Night Owl camera, it's essential to check the device compatibility requirements to guarantee everything works seamlessly. You'll want to verify that your Wi-Fi device, whether it's an IP camera or a Smart Video Doorbell, is compatible with your chosen security system. This means confirming that both your Wi-Fi device and the Bluetooth wired recorder are connected to the same Local Area Network. If they aren't, you won't be able to establish that important connection.
For ideal performance, make sure your Night Owl devices are in pairing mode. You can easily identify this by looking for a flashing status light on the device. This little detail is significant for initiating the connection process. Additionally, if you're planning on connecting multiple devices, keep in mind that the Bluetooth wired recorder can support up to four devices simultaneously, which gives you flexibility in expanding your surveillance capabilities.
It's also a smart move to consult the support page for a complete list of compatible devices. This way, you can avoid any potential hiccups and verify that everything operates together as intended. By taking these steps, you're not just installing a camera; you're creating a thorough security system that aligns with your desire for peace of mind and freedom. With the right setup, you can enjoy the confidence that comes from knowing your property is being monitored effectively.
Setup Process Steps
After confirming your Night Owl camera is compatible with your security system, it's time to set it up. First, plug in your camera using the provided adapter and check if the status light is flashing. This flashing light indicates that your camera is in pairing mode, ready for action.
Next, download and open the Night Owl Protect App on your smart device. If you're using an Android, make sure to disable mobile data during the connection process; this guarantees a smoother setup. Once you're in the app, tap on the Devices icon. From there, hit the + icon to search for your Wi-Fi camera within the same Local Area Network. This step is vital, as it allows the app to locate your camera.
Wait a moment as the app searches for your device. Upon successful pairing, listen for a cheerful "WooHoo! Setup is complete!" notification. That's your cue that the camera is connected to your Wi-Fi. If you want, you can give your new Wi-Fi device a name for easy identification later.
Lastly, explore the app's Live View feature to see everything your Night Owl camera is capturing. With these steps, you're not just setting up a camera; you're enhancing your freedom to monitor your space anytime, anywhere. Enjoy your newfound security!
Pairing Your Camera
Pairing your Night Owl camera is a straightforward process that sets the stage for your enhanced security. To start, verify your camera is powered on and the status light is flashing. This indicates it's in pairing mode and ready to connect. Grab your smartphone and open the Night Owl Protect App. You'll want to select your Night Owl recorder and tap the + icon to search for available Wi-Fi devices.
Next, connect the camera to the temporary NOIP network. This step is essential, as it allows the camera to communicate with the app. After that, make sure it connects to the same Local Area Network as your recorder. Once the connection is established, you'll hear a cheerful confirmation message saying, "WooHoo! Setup is complete!" This means the pairing process has been successful.
After pairing, take a moment to name your new Wi-Fi device. This makes it easier for you to identify and access it later. With your camera now paired, you can fully utilize the Live View feature through the app, giving you the freedom to monitor your surroundings anytime, anywhere.
Troubleshooting Connection Issues
Connection issues can be frustrating, but troubleshooting them doesn't have to be. First, make sure your Night Owl camera is in pairing mode. Check if the status light is flashing; this is essential for the device to connect to your Wi-Fi network. If that light isn't flashing, you won't be able to connect.
Next, verify that you're connecting to the correct Wi-Fi network and that the password you've entered is accurate. It's easy to make a mistake here, and incorrect credentials are a common cause of connection issues.
If you're still having trouble, try restarting both your camera and router. This simple step can refresh the connection and resolve temporary issues. Also, consider any potential interference from other devices or obstacles that could weaken the Wi-Fi signal, especially if you're using a 2.4GHz band.
If you've gone through these steps and your Night Owl camera still won't connect, you might want to consult the troubleshooting guides specific to your camera model. These resources can provide additional insights and steps tailored to your situation.
Additional Resources and Support
For anyone looking to connect their Night Owl camera to Wi-Fi, having the right resources at your fingertips can make all the difference. Start by downloading the Night Owl Protect App, which provides detailed guides on setting up and troubleshooting your camera's Wi-Fi connection. This app is your gateway to achieving seamless connectivity, allowing you to manage your security system with ease.
Before diving into the setup, check the compatibility list on the Night Owl support page. Ensuring your camera is compatible with your Wi-Fi network is vital for a smooth connection. If you run into issues, don't hesitate to explore related articles on the Night Owl website. These resources offer step-by-step instructions that can clarify the process and help you troubleshoot any hiccups.
For quick fixes, the FAQ section is a goldmine. It's packed with solutions to common connectivity issues and troubleshooting tips that can save you time and frustration. However, if you're still struggling after using these resources, remember you're not alone. Night Owl customer support is available to provide personalized assistance with any persistent problems. They're just a call or message away, ready to help you regain control over your security setup.
Frequently Asked Questions
How to Connect Night Owl Wireless Camera to Wifi?
To connect your Night Owl wireless camera to Wi-Fi, start by verifying it's powered on and in pairing mode. Open the Night Owl Protect App, select your recorder, and tap the + sign to find your camera. First, connect to the temporary NOIP network, then verify it's on the same Local Area Network as your recorder. Listen for the "Woo Hoo!" notification to confirm success, and name your device for easy access later.
Why Is My Night Owl Not Connecting to Wifi?
If your Night Owl's not connecting to Wi-Fi, don't stress! First, make sure it's in pairing mode. Check you're on the right network and that you've entered the correct password. It's also essential to confirm your camera's compatible with the Wi-Fi bands. Sometimes, simply restarting your router and camera can clear up issues. Finally, check the Night Owl Protect App for alerts that might help you troubleshoot further. You've got this!
How Do I Connect My Owl Cam to WIFI?
You might think connecting your Owl cam to Wi-Fi is complicated, but it's actually pretty straightforward. First, make sure your camera's powered on and in pairing mode. Open the app on your device, select your recorder, and tap the "+" icon to find available Wi-Fi networks. Follow the prompts, and soon you'll gain the freedom to monitor your space effortlessly. Once it's connected, you'll see the "Woo Hoo!" confirmation message.
How Do I Connect Night Owl DVR to Internet?
To connect your Night Owl DVR to the internet, first verify it's powered on and linked to your router with an Ethernet cable. Press the Menu button on your remote, navigate to Network, then select Network Settings. Choose the Wired option, enable automatic IP and DNS assignment by selecting Obtain IP Address and Obtain DNS. After testing the connection, you'll be set to access the web for remote monitoring, giving you the freedom to keep an eye on things.


