If your Hikvision camera isn’t recording, start by checking common causes. Verify your camera matches the NVR’s compatibility and that firmware is up-to-date. Inspect the power supply for any issues, and confirm your hard drive has enough space and is functioning properly. Review camera settings, including the recording schedule and storage path, to make sure they’re correctly configured. Don’t forget to check network connectivity and IP settings. If problems persist, consider resetting the device or seeking professional help. There are plenty of effective solutions to keep your surveillance system running smoothly, and more tips await you.
Common Causes of Non-Recording
When it comes to Hikvision not recording, there are several common causes you should consider. First, check your system compatibility. Not all camera types work seamlessly with every NVR or software version. Refer to your user manual for guidance on compatible devices.
Next, consider firmware updates. Outdated firmware can lead to glitches that affect recording functionality. Regularly updating your system guarantees peak performance and enhances your user experience.
Installation issues might also be at play; a poor setup can prevent proper recording. Make sure your cameras are securely mounted and positioned correctly.
If none of these troubleshooting tips resolve the issue, it’s wise to review your security practices and maintenance routines. Regularly inspect your equipment and settings to guarantee everything is in working order.
Lastly, don’t hesitate to utilize support resources available from Hikvision. They can provide tailored advice and solutions based on your specific setup. Remember, maintaining a proactive approach to these common causes can help you avoid future recording problems and guarantee your security system performs at its best.
Checking Power Supply Issues
Before diving into other troubleshooting steps, it is vital to check the power supply to your Hikvision system. A reliable power source is key for peak performance, and any interruptions can lead to recording issues. Begin by examining the power cable for any visible damage or loose connections. Verify it’s firmly plugged into both the camera and the wall outlet.
Next, consider the possibility of power fluctuations. These can disrupt the functionality of your system, causing it to stop recording unexpectedly. If you suspect this, it might be worth investing in a surge protector or an uninterruptible power supply (UPS) to stabilize the power flow. A battery backup can be particularly beneficial during outages, guaranteeing your system remains operational even when the mains power goes down.
Lastly, if you’re using a power adapter, check its specifications. It should match your camera’s requirements. If it’s underpowered, it could lead to performance issues. By confirming a stable and adequate power supply, you’ll set the foundation for your Hikvision system to function effectively, minimizing recording problems moving forward.
Inspecting Hard Drive Status

A thorough inspection of your hard drive status is essential for ensuring your Hikvision system records properly. Start by running hard drive diagnostics to assess its health. Many issues can stem from a failing hard drive, which can prevent recordings from being saved. If you’re not sure how to run these diagnostics, consult your device’s manual or software tools that come with your system.
Next, check for available storage space. If your hard drive is full, recordings will definitely stop. You might need to delete old footage or transfer it to another device if you’re looking to free up space.
If you suspect the hard drive is malfunctioning, consider data recovery options. There are specialized software tools available that can help retrieve lost or inaccessible recordings. However, if the drive shows signs of serious failure, it may be best to replace it entirely to avoid further issues.
Reviewing Camera Settings
Now that you’ve checked the hard drive status, it’s important to review your camera settings to guarantee everything’s configured correctly. Start by checking the recording schedule, verifying the storage setup, and inspecting the motion detection settings. These adjustments can often resolve recording issues and enhance your system’s performance.
Check Recording Schedule
To resolve the recording issue with your Hikvision camera, start by checking the recording schedule in the camera settings. Often, a misconfigured schedule can lead to missed recordings. Navigate to the “Record Schedule” section in your camera’s menu. Here, you can view and adjust the days and times your camera is set to record. Make sure it’s enabled for the periods you want.
Additionally, inspect the recording quality settings. Higher quality recordings can consume more storage, so consider if your current settings align with your storage capacity. If you’re facing storage optimization challenges, you might want to lower the recording quality or switch to motion detection recording, which saves space and records only when activity is detected.
Verify Storage Configuration
Before diving deeper, it’s essential to verify your storage configuration, as inadequate storage can prevent your Hikvision camera from recording. Confirming your storage setup is correct can save you from future headaches. Here’s what you need to check:
- Storage Capacity: Make sure the storage device has enough space. A lack of capacity can halt recordings.
- Video Format: Verify that the video format settings are compatible with your storage device. Unsupported formats can lead to recording issues.
- Storage Path: Check that the correct storage path is set in the camera settings. An incorrect path can result in lost recordings.
- Formatting: Sometimes, formatting the storage device can resolve problems. Remember to back up any important footage before doing this.
Inspect Motion Detection Settings
Have you checked your motion detection settings? If your Hikvision camera isn’t recording, it might be that the settings just aren’t right. Start by examining the motion sensitivity levels and detection zones. These settings determine what triggers your camera to start recording, so if they’re too low or set incorrectly, you could miss critical events.
| Motion Sensitivity | Detection Zones |
|---|---|
| Too Low | Missed Events |
| Just Right | Ideal Coverage |
| Too High | False Alarms |
Ensure your motion sensitivity is adjusted to a level that captures movement effectively without overwhelming you with alerts. Also, take a close look at the detection zones; they should be configured to focus on areas where you want monitoring. If these zones are too broad, you may end up with irrelevant recordings, while a narrow focus could miss important activity.
Verifying Recording Schedule
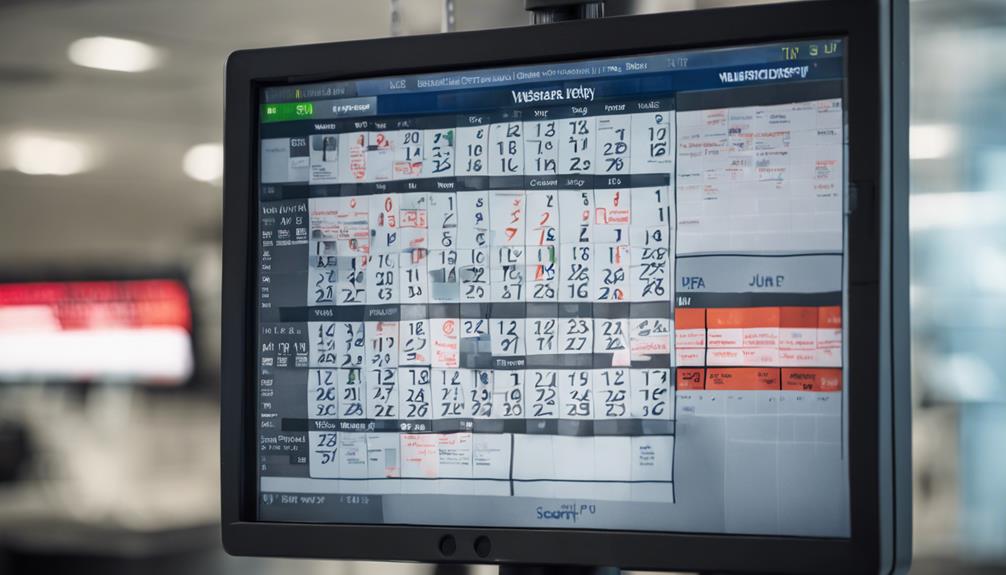
When troubleshooting Hikvision not recording issues, one of the first steps is verifying the recording schedule. You’ll want to confirm the settings align with your needs. Use the user interface to access your recording schedule. If you’re unsure how to do this, refer to the user manual for guidance.
Here’s a quick checklist to help you verify the recording schedule:
- Access Recording Settings: Open the user interface and navigate to the recording settings page.
- Check Time Configuration: Confirm the time settings reflect your local time zone.
- Review Schedule Types: Verify that the recording type (continuous, motion, or scheduled) suits your preferences.
- Validate Dates and Times: Make sure the selected dates and times are correct and that the schedule is active.
Updating Firmware and Software
Regularly updating the firmware and software of your Hikvision device is crucial for ideal performance and security. These updates often come with significant improvements that enhance functionality and fix existing bugs, which could be the reason your device isn’t recording properly.
To start, check if your firmware is compatible with the current software version. Incompatible firmware can lead to various issues, including recording failures. You can find compatibility information on the Hikvision website or in the user manual.
Next, download the latest software updates. Navigate to the Hikvision support page, locate your device model, and verify you’re getting the right files. Follow the manufacturer’s instructions for installation carefully, as improper updates can exacerbate problems.
After updating, restart your device to verify all changes take effect. Regular maintenance, including these updates, not only boosts your device’s performance but also enhances security, safeguarding your footage from potential vulnerabilities. If you’re still experiencing issues after this, it might be time to explore other troubleshooting steps. Keeping your firmware and software current is a straightforward way to maintain the reliability and effectiveness of your Hikvision system.
Testing Network Connectivity
To resolve the recording issue, you’ll want to start by checking your cable connections to guarantee everything is securely plugged in. Next, verify your IP settings to confirm that your device is properly configured on the network. These steps can help you identify any connectivity problems that might be causing the recording failure.
Check Cable Connections
Before diving into more complex troubleshooting, it’s important to check your cable connections, as improper or loose connections can often be the root cause of a Hikvision not recording issue. Start by evaluating the quality of your connections; even the best cable types can fail if not properly connected.
Here’s a quick checklist to verify everything’s in order:
- Inspect the Cable Ends: Look for any frayed or damaged connectors that may impact the signal.
- Tighten Connections: Confirm that all cables are securely plugged in, as loose connections can lead to intermittent issues.
- Check Cable Types: Make sure you’re using the appropriate cables for your setup, like CAT5e or CAT6 for network connections.
- Test Different Ports: If possible, try switching to another port on your switch or NVR to rule out port-specific problems.
Verify IP Settings
Once you’ve confirmed all cable connections are secure, it’s important to verify the IP settings of your Hikvision device. This step guarantees your camera communicates effectively with your network, which is vital for recording functionality. Start by accessing the device’s web interface through a browser. Enter the current IP address to see if it connects successfully.
Check your network configuration settings to confirm the IP address assigned to your Hikvision device. Make sure it’s within the same subnet as your router. If there’s a mismatch, it might be why recordings aren’t happening. You can also verify device compatibility with your network. Sometimes, older cameras may not support newer network protocols, so verify your Hikvision device is compatible with your existing setup.
If you find that the IP settings are incorrect, update them accordingly and reboot the device. After doing this, test the connectivity again. A simple ping test can also help determine if the device is reachable. Following these steps can solve any issues related to IP settings, ultimately restoring your security system’s recording capabilities and giving you peace of mind.
Resetting the Device
Resetting the device can often resolve the recording issues you’re experiencing with your Hikvision system. A factory reset can clear any glitches and restore settings to their default state, making it a crucial step in your device troubleshooting process. Here’s how to do it:
- Locate the reset button: Usually found on the back or bottom of the device.
- Power off the device: Disconnect it from the power source to guarantee safety during the reset.
- Press and hold the reset button: While holding it, power the device back on. Keep it pressed for about 10-15 seconds.
- Release the button: After the indicator lights change, your device will reboot and return to factory settings.
Keep in mind that a factory reset will erase all your custom settings, so be prepared to reconfigure everything afterward. This simple step can often fix those frustrating recording problems and restore your peace of mind. If you’re still having issues after resetting, you might need to explore other troubleshooting options.
Seeking Professional Help
If you’ve already tried resetting your Hikvision device and the recording issues persist, it might be time to seek professional help. While you can attempt various troubleshooting techniques on your own, some problems are best addressed by experts who understand the intricacies of surveillance technology.
Professional services can save you time and frustration. They have the tools and knowledge to diagnose the issue quickly, ensuring that your Hikvision system gets back to recording as it should. Whether it’s a software glitch, a hardware malfunction, or a configuration error, trained technicians can identify the root cause and implement effective solutions.
When you reach out for professional assistance, make sure to explain the steps you’ve already taken. This information will help them understand your situation better and expedite the process. In addition, investing in professional help is often more cost-effective than prolonging the issue, which could lead to further complications or security gaps.
Don’t hesitate to seek out these services. Regaining control over your security system can provide you the peace of mind you deserve, freeing you to focus on what matters most in your life.
Frequently Asked Questions
What Should I Do if My Hikvision Camera Won’t Turn On?
If your camera’s gone dark, it’s time to spark a revival! Check the power source, inspect cables, and follow troubleshooting steps to breathe life back into your device. Keep your watchful eye on things!
Can External Factors Affect My Hikvision Camera’s Recording Capabilities?
Yes, external factors can impact your camera’s recording capabilities. Check your camera settings and verify your power supply is stable. Environmental issues like extreme temperatures or obstructions can also hinder performance, so monitor those conditions closely.
How Can I Tell if My Recordings Are Being Overwritten?
To tell if your recordings are being overwritten, check your recording settings and storage limits. If your storage is full, older recordings might be deleted. Regularly review settings to make certain you have enough space.
Is It Possible to Recover Deleted Footage From Hikvision Devices?
You might think deleted footage is gone for good, but there are recovery methods that could help. Try specialized software or professional services to retrieve important recordings, giving you a chance to regain lost evidence.
What Are the Warranty Options for Hikvision Devices With Recording Issues?
When considering warranty options for your Hikvision devices, check the warranty coverage details. If recording issues persist, you might be eligible for device replacement, ensuring you maintain effective security without added stress.
