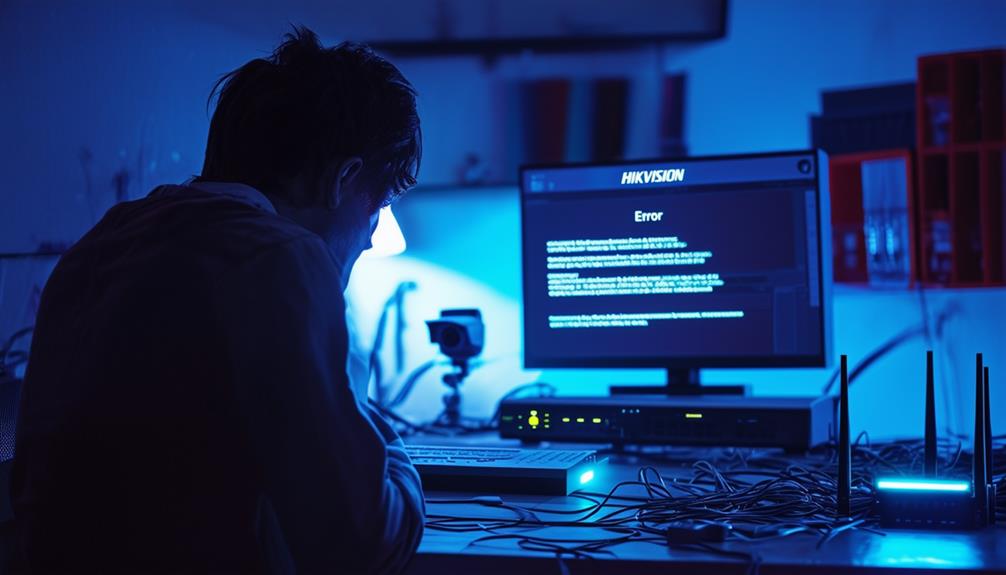
If you can't find your Hikvision camera on the network, start by checking physical connections. Make sure it's powered and the Ethernet cables are secured. If it's a wireless camera, confirm it's within range. Next, verify its IP address settings; use your router's admin interface to check connected devices. You can also download the Hikvision SADP tool for scanning devices. Ascertain your camera and router are on the same subnet. If all else fails, a reset might help. Each step can provide insights into what's wrong, and there's more information that can help resolve your issue.
Check Physical Connections
Before diving into troubleshooting, it's vital to check your physical connections. You might be feeling the frustration of not finding your Hikvision camera on the network, but the solution could be as simple as confirming everything's properly connected. Start by inspecting the power supply. Is the camera plugged in and receiving power? If it's not lit up, it's time to check the outlet or replace the power adapter.
Next, look at the Ethernet cable if you're using a wired connection. Verify it's securely connected to both the camera and your router or switch. A loose cable can easily disrupt communication. If you've got a spare Ethernet cable, it might be worth swapping it out to rule out any issues with the cable itself.
If you're using Wi-Fi, make sure the camera is within range of the wireless signal. Sometimes, physical barriers or distance can interfere with the connection. You might want to try moving the camera closer to the router to see if that helps.
Also, check the router's port. If you're connecting multiple devices, it's important to verify that the port isn't overloaded or malfunctioning.
Lastly, take a moment to verify that any indicators on the camera, like LED lights, are showing the expected status—this can provide significant clues about any connection issues. Addressing these physical connections can often save you from more complicated troubleshooting down the line.
Verify IP Address Settings
Once you've confirmed that all physical connections are secure, the next step is to verify the IP address settings of your Hikvision camera. This is vital because if the camera's IP address doesn't align with your network's settings, you won't be able to access it. First, check the IP address assigned to the camera. You can usually find this information in the camera's manual or on a sticker located on the device itself.
Next, log into your network router's admin interface. Here, you can see a list of devices connected to your network and their corresponding IP addresses. Make sure your camera's IP address isn't conflicting with any other device. If you spot a conflict or if the camera's address is outside your network's range, you'll need to adjust the settings.
You should also confirm that the camera is set to a static IP address to avoid future connectivity issues. A static IP keeps the camera's address consistent, giving you reliable access. If you're using DHCP, make sure the DHCP server is enabled on your router.
Use Hikvision Tools
One effective way to troubleshoot your Hikvision camera's connectivity issues is by using Hikvision's dedicated tools. These tools are designed to help you identify and resolve problems quickly, freeing you from the frustration of connectivity woes. Start by downloading the Hikvision SADP (Search Active Device Protocol) tool. This software scans your network for Hikvision devices, providing you with essential details like IP addresses and device status.
Once you've got SADP running, it'll show you a list of all connected Hikvision devices. If your camera isn't showing up, it's time to check the settings. You can also use the Hikvision iVMS-4200 software, which not only detects devices but also manages them efficiently.
Here's a helpful comparison of the two tools:
| Tool Name | Purpose |
|---|---|
| SADP | Scans network for devices |
| iVMS-4200 | Device management and monitoring |
| Device Status | Displays connection status |
| IP Address | Lists current IP configurations |
| User-Friendly | Easy to navigate and use |
Using these tools can empower you to take control of your security setup. You'll be able to make adjustments and fix any issues that arise, ensuring your camera stays connected and operational. Don't hesitate to explore these options; they're designed to enhance your experience and give you the freedom to manage your security effortlessly.
Ensure Network Compatibility
To guarantee your Hikvision camera connects smoothly to your network, it's crucial to verify that your network settings are compatible with the device. Start by checking your router's configuration. Make sure it's set up to support the camera's IP address range. Hikvision cameras typically use static or DHCP-assigned IP addresses, so confirm your router can accommodate this.
Next, confirm that your camera and router are on the same subnet. If your camera's IP address is, say, 192.168.1.10, the router should also be in the 192.168.1.x range. This ensures they can communicate without issues. If you're using VLANs, make sure the camera is on an allowed VLAN and that it's properly configured.
Also, check the network's bandwidth and stability. A slow or unstable connection can cause your camera to drop off the network. If you're using Wi-Fi, consider switching to a wired connection for more reliability. It's worth noting that some Wi-Fi networks have restrictions that can block devices from connecting, so double-check your network settings to avoid any potential pitfalls.
Lastly, don't forget to look at firewall settings. Sometimes, firewalls might block the camera's connection. If you encounter issues, temporarily disable the firewall to see if that resolves the problem, then adjust the settings accordingly. By confirming all these factors align, you'll pave the way for a hassle-free connection, allowing you the freedom to monitor your space effectively.
Reset Camera to Factory Settings
If you're still having trouble locating your Hikvision camera on the network after ensuring compatibility, resetting the camera to factory settings might be the next step. This process can often resolve lingering connectivity issues by wiping any misconfigurations that may have occurred.
To reset your camera, find the reset button, which is usually a tiny pinhole located on the device. You'll need a paperclip or a similar object to press it. Once you locate the button, power on the camera and press and hold the reset button for about 10-15 seconds. You'll typically see the LED indicators blink, signaling that the reset process is underway. After releasing the button, give the camera a moment to reboot.
Once it's back on, it should revert to its original factory settings. Keep in mind that this means you'll lose any custom configurations, including network settings, so be prepared to set it up from scratch.
After the reset, try connecting to the camera again using the default IP address, which you can find in the user manual. You may need to use the Hikvision SADP tool to discover the camera on your network.
Resetting can be a liberating step towards regaining access to your camera, freeing you from the frustration of connectivity issues. Remember, once you set everything back up, you'll be in control of your security system again.
Frequently Asked Questions
What Should I Do if the Camera Is Not Powering On?
If your camera's not lighting up, it might be taking a little nap. First, check the power source; verify it's plugged in and the outlet's working. If it's still snoozing, try a different power cable or adapter. Sometimes, a gentle reset can wake it from its slumber. Just remember, every device deserves a little TLC, so don't hesitate to give it the care it needs to come back to life!
Can I Use Hikvision Cameras With Third-Party Software?
Yes, you can use Hikvision cameras with third-party software, but it depends on the software's compatibility. Many users have successfully integrated Hikvision cameras with software like Blue Iris or iSpy. Just make sure to check if the software supports the specific model you have. You might need to configure settings or use the RTSP stream for peak performance. Enjoy the flexibility that third-party software can offer in managing your camera system!
How Can I Change the Camera's Default Password?
Did you know that nearly 80% of security camera breaches happen due to weak passwords? To change your Hikvision camera's default password, log in to the camera's web interface using its IP address. Go to the "Configuration" section, then "User Management." Here, you can modify the default password. Make sure you choose something strong and memorable, ensuring your freedom from potential intrusions. Stay secure and enjoy peace of mind with your camera system!
What Type of Network Cable Is Recommended for Hikvision Cameras?
When setting up Hikvision cameras, it's best to use Cat5e or Cat6 Ethernet cables. These cables provide the bandwidth and speed needed for high-definition video transmission, ensuring your camera operates smoothly. You can also use outdoor-rated cables if your installation is exposed to the elements. Just remember to keep the cable runs as short as possible to minimize signal loss. Investing in quality cables will enhance your camera's performance considerably.
Are There Any Firmware Updates for My Hikvision Camera Model?
If your Hikvision camera's feeling a bit outdated, check for firmware updates to enhance its performance. You can usually find updates on Hikvision's official website or the camera's management software. Just log in, navigate to the firmware section, and see if there's a newer version available. Keeping your camera updated guarantees it runs smoothly and securely, giving you the freedom to monitor your space without worries. Don't miss out on those improvements!


