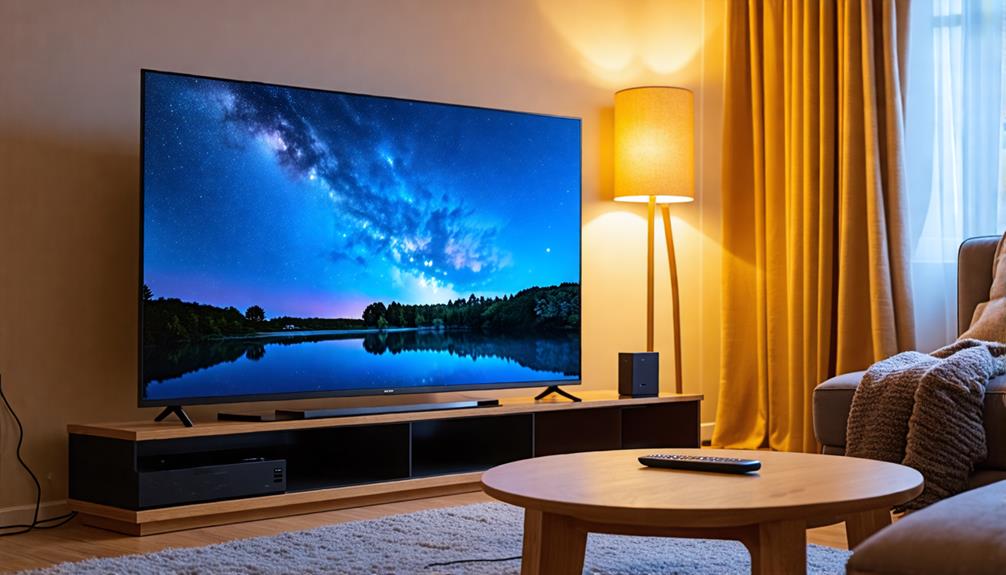
To hook up your Night Owl camera to your TV, start by connecting the NVR to your TV using an HDMI or VGA cable. Make sure both your NVR and TV are powered on, then select the correct input source on your TV. If everything is set up right, you should see live camera feeds. You might also want to run the Startup Wizard on the NVR for any necessary configurations. If you're having trouble, check your connections and input selections. For additional tips and setup options, you might find some valuable insights ahead.
Initial Setup Requirements
To set up your Night Owl camera system, you'll need a few key components. First, if you're working with older systems, you'll require a TV or monitor for the initial setup. Make sure your DVR is powered on and properly connected to the TV or monitor using HDMI or VGA cables. This connection is vital as it allows you to interact with the system.
Once everything's connected and powered up, you'll be guided by the Startup Wizard on your screen. This helpful feature will walk you through the process of configuring system settings and camera placements. It's pretty straightforward, so just follow the prompts as they come up.
If you've opted for a newer Night Owl system, you can skip the TV or monitor altogether. Instead, you can easily set things up using the Night Owl Protect App on your mobile device. This means you have the freedom to manage your camera system right from your phone, eliminating the need for extra hardware.
Regardless of the system you're using, the initial setup is essential for ensuring everything functions smoothly. Once you've completed the setup process, you can disconnect your TV or monitor if you're using a newer system. With all that said, just remember that having everything properly connected is key to enjoying your Night Owl camera system to the fullest!
Connecting NVR to TV
Once you've completed the initial setup of your Night Owl camera system, connecting the NVR to your TV is the next step for viewing live feeds and configuring additional settings. You'll want to grab an HDMI or VGA cable, depending on your setup. If you're after high-definition video, HDMI is the way to go.
First, connect one end of the HDMI cable to the NVR's HDMI output and the other end to the correct port on your TV. If you're using a VGA cable, the process is similar, just make certain both ends are securely plugged in. Now, verify your TV is powered on, and don't forget to set it to the appropriate input source. This is essential for seeing the NVR output clearly.
For older Night Owl systems, you might need to do a bit of initial setup on your TV or monitor before you can switch to mobile management. After you've configured everything, you can disconnect the TV, letting you control your system fully through the Night Owl Protect App on your mobile devices.
Configuring NVR Settings
Configuring your NVR settings is vital for optimizing your Night Owl camera system's performance. Once you've got your NVR connected to a TV or monitor via HDMI, it's time to engage in the setup. Follow these steps to guarantee your surveillance system runs smoothly:
- Access the Configuration Menu: Navigate to the appropriate input source on your TV or monitor to view the NVR interface.
- Adjust Camera Settings: Tailor your camera resolution, frame rate, and recording schedule to meet your specific needs.
- Complete the Startup Wizard: This step is significant as it guides you through key configurations, including adding cameras and defining motion detection areas.
- Finalize Your Setup: After you've made all necessary adjustments, you can disconnect the TV or monitor if your NVR supports setup via the Night Owl Protect App on your mobile device.
Viewing Live Camera Feeds
Viewing live camera feeds from your Night Owl system is straightforward and vital for effective surveillance. To get started, you'll need to connect your NVR to a TV using an HDMI cable or VGA cable. It's important to confirm both devices are powered on before moving forward. Once connected, grab your TV remote and select the correct input source—this might be HDMI 1, HDMI 2, or whichever port you've used for the connection.
If you've properly set up your DVR during the initial startup, you should see the live feeds displayed on your screen. This setup not only allows you to monitor your property easily but also guarantees you stay in control of your security environment. For even more flexibility, consider using the Night Owl Protect App on your mobile device, which gives you remote access to viewing live camera feeds without needing to be tied to your TV.
Regularly checking for firmware updates on your DVR is necessary for maintaining peak performance and compatibility with live feed viewing. These updates can help you avoid any potential hiccups in your surveillance system, confirming you never miss a moment. So, take the time to keep everything updated, and enjoy the freedom of viewing your security feeds whenever and wherever you want, whether on your TV or through your mobile device.
Troubleshooting Common Issues
Even with everything set up for viewing live camera feeds, you might encounter some common issues that can disrupt your experience. Don't worry; troubleshooting is part of the journey! Here are a few steps to get you back on track:
- Check Connections: Verify that all wires are connected properly to the DVR and that it's powered on. If the TV does not display anything, loose connections might be the culprit.
- Input Verification: Double-check that the correct input/source is selected on your TV. Sometimes, it's as simple as flipping a switch on your remote.
- Firmware Updates: Make certain to check for any firmware updates on your Night Owl system. Compatibility issues can arise if your system is outdated, especially if you're using an older system.
- Restarting Your System: If problems persist, try restarting your system. It often helps clear up minor glitches that could be causing display issues.
If these steps don't resolve your issues, don't hesitate to consult the user manual or Night Owl's support resources. They can provide specific troubleshooting tips tailored to your camera model and system. Remember, with a little patience and persistence, you'll have your camera feeds up and running on your TV in no time!
Frequently Asked Questions
Can You View Night Owl Cameras on a TV?
You might think it's complicated to view your Night Owl cameras on a TV, but it's actually pretty straightforward! Yes, you can easily connect your Night Owl system to a TV. Just use an HDMI or VGA cable to link your DVR or NVR to the TV. Once that's done, you'll be able to monitor everything right from your couch. Just remember to set your TV to the right input source for the best view!
How Do I Connect My Owl Camera to My TV?
To connect your Night Owl camera to your TV, you'll need an HDMI or VGA cable, depending on what ports your devices have. Plug one end into the DVR and the other into your TV. Then, switch your TV to the correct input source. If you've got a newer model, you can set everything up using the Night Owl Protect App on your mobile device, so you won't even need the TV after that!
How Do I Connect My Security Camera to My TV?
To connect your security camera to your TV, start by using an HDMI cable if your system supports it. Plug one end into your DVR and the other into an HDMI port on your TV. Make sure you switch your TV to the right input source. If you've got an older system, consider VGA or composite cables instead. Just double-check all connections are secure before powering everything on, and you're good to go!
How Do I Connect My Security Camera to My TV Without DVR?
To connect your security camera to your TV without a DVR, you'll need to use the camera's HDMI or RCA output. Just plug it into the corresponding input on your TV. Make certain your camera's powered on and your TV's set to the right input. If you're using RCA, an adapter might be necessary for newer TVs. Check your camera's manual for any specific instructions to guarantee everything works smoothly.


