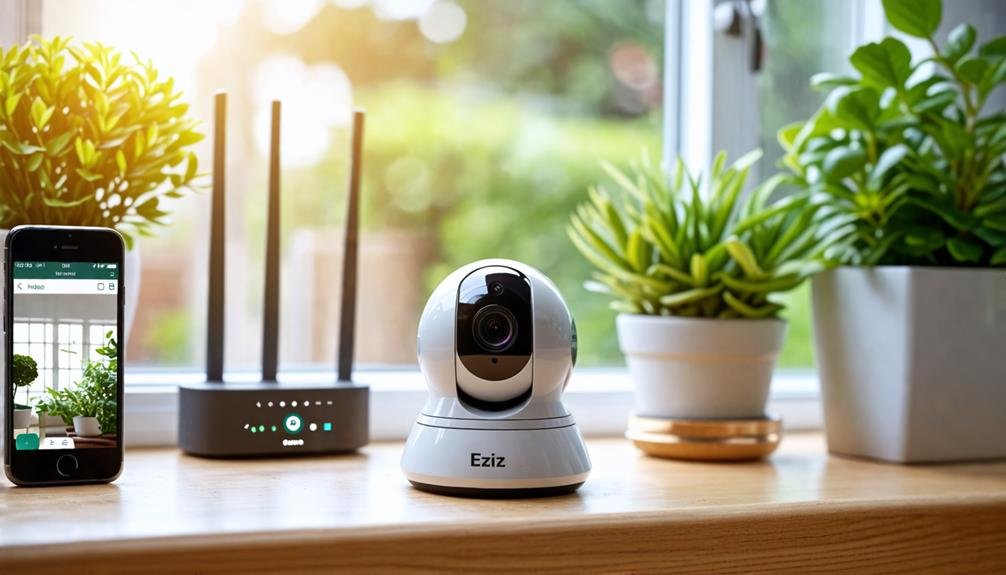
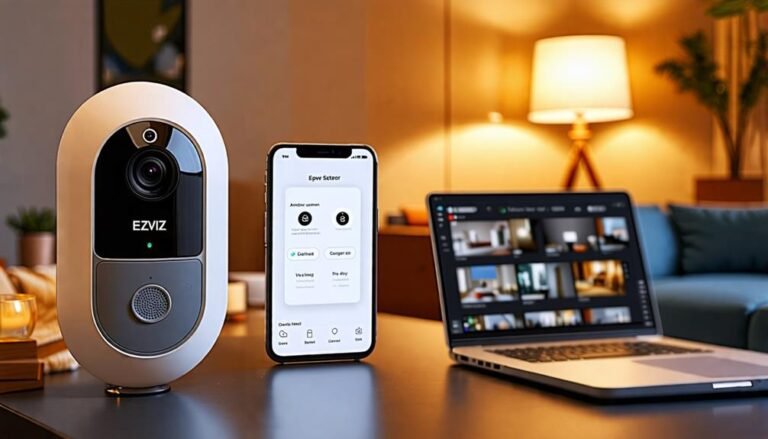
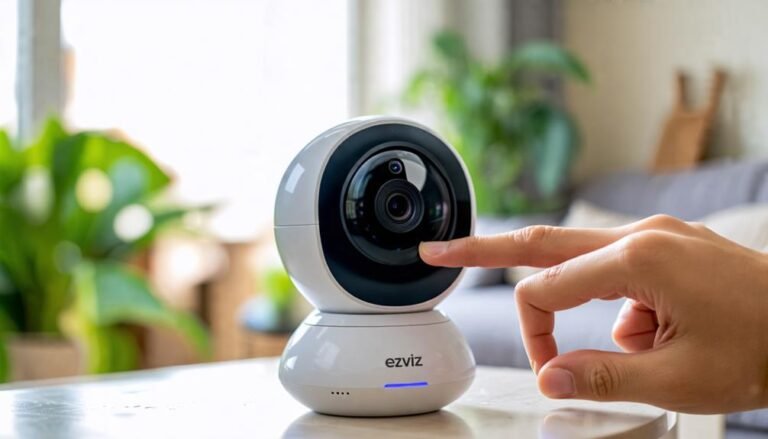
To get your Ezviz camera back online, start by checking the power source. Make sure the cable's secure and the outlet works. Next, inspect your network connection; reconnect Wi-Fi settings if needed. Restart your camera by unplugging it for 10-15 seconds before plugging it back in. If it's still offline, check for firmware updates through the Ezviz app. Verify your Wi-Fi password is correct and there's no interference from other devices. Finally, if things still aren't working, consider factory resetting the camera for a fresh start. Stick around to discover more troubleshooting tips!
Check Power Source
Before diving into troubleshooting your Ezviz camera, it's essential to verify that it's receiving power. A camera that isn't powered on won't connect to your network, and without that connection, you can't access it remotely. So, let's make sure that your camera's power source is solid.
First, check the power cable. Make sure it's securely connected to both the camera and the power outlet. If it's loose, your camera could be getting intermittent power, which leads to frustrating disconnections. Also, inspect the cable for any visible damage. A frayed or broken cable won't provide the freedom you seek in monitoring your space.
Next, consider the power outlet itself. Plug another device into the same outlet to confirm it's working. If that device doesn't power on either, you might need to reset the breaker or find another outlet. You don't want to be tethered to faulty wiring when you're trying to keep an eye on things.
If your camera uses batteries, make sure they're fresh and installed correctly. Sometimes, a simple battery replacement can be the liberating fix you need.
Lastly, if you're using a PoE (Power over Ethernet) setup, check that the Ethernet cable is connected to a power-enabled switch. A loose connection here can also keep your camera offline.
Inspect Network Connection
Once you've confirmed your Ezviz camera is powered on, the next step is to check its network connection. A stable internet connection is vital for your camera to function properly. Start by ensuring that your Wi-Fi network is active. Check if other devices connected to the same network are online. If they're not, it's likely an issue with your internet service.
Next, look at the camera's Wi-Fi settings. If you're using a mobile app, navigate to the camera settings and verify that it's connected to the correct Wi-Fi network. Sometimes, cameras might try to connect to a nearby network instead of yours. If that's the case, reconnect it to your home network by entering the correct password.
If your camera is still offline, consider the distance between the camera and the router. Walls and other obstacles can weaken the signal. If possible, move the camera closer to the router temporarily to test the connection.
You might also want to check for any firmware updates for your camera or router. Manufacturers often release updates to improve connectivity and performance.
Lastly, if you've recently changed your Wi-Fi password, make sure to update it in the camera's settings. Keeping your network secure is important, but it won't help if your camera can't access it! By systematically inspecting these elements, you'll get one step closer to restoring your Ezviz camera's online status.
Restart Your Camera
Sometimes, simply restarting your Ezviz camera can resolve connectivity issues. It's a straightforward process, but it can make a world of difference. If you've checked your network connection and still find your camera offline, this step is worth a shot.
To restart your camera, start by unplugging the power adapter from the wall socket. Wait for about 10 to 15 seconds—this gives the camera enough time to fully reset its internal systems. While you're waiting, take a moment to breathe and relax. You're one step closer to regaining control over your security setup.
After the pause, plug the power adapter back in and watch for the camera to power up. You should see the indicator lights come back on, signaling that it's trying to reconnect. Give it a minute to establish a connection with your network. In some cases, you might even see it reconnect on the Ezviz app.
If your camera still isn't online after the restart, don't worry just yet. Sometimes, it takes a bit longer, or you might need to try a different approach. But restarting is often the simplest solution and can save you a lot of hassle. It's a quick reset that puts you back in the driver's seat, allowing your camera to regain its rightful place in your security ecosystem. Enjoy the peace of mind that comes from knowing you've taken action!
Update Camera Firmware
To get your Ezviz camera back online, it's essential to check the current firmware version first. If it's outdated, you'll need to follow the firmware update steps to guarantee your camera runs smoothly. Keeping your firmware up to date can help fix bugs and improve performance.
Check Current Firmware Version
Keeping your Ezviz camera functioning properly often hinges on having the latest firmware installed. You can verify your camera is performing at its best by checking the current firmware version. This step is essential for maintaining security and functionality, giving you the freedom to monitor your space without worries.
Here's a simple table to help you understand firmware versions better:
| Firmware Version | Release Date | Key Features |
|---|---|---|
| 1.0.0 | Jan 2022 | Initial Release |
| 1.1.0 | Mar 2022 | Bug Fixes |
| 1.2.0 | Aug 2022 | Enhanced Security |
To check the current version, log into your Ezviz app or web portal. Navigate to the settings section and look for the firmware info. Knowing your version helps you make informed decisions about updates and guarantees you're not missing out on essential improvements. Keeping your camera updated means you can enjoy peace of mind, knowing your home is secure.
Perform Firmware Update Steps
Having identified your camera's firmware version, it's time to perform the update to guarantee peak performance and security. First, you'll want to connect your camera to a stable Wi-Fi network to assure a smooth process. Then, open the Ezviz app on your smartphone. Navigate to the settings menu, and select your camera from the list. Look for the firmware update option; it should indicate if a new version is available.
Before proceeding, it's wise to read the release notes. These often highlight improvements and fixes that can enhance your camera's functionality. If you're ready, tap the update button. This will initiate the download and installation process. Be patient; it may take a few minutes. During this time, avoid turning off your camera or disconnecting the power.
Once the update finishes, your camera will reboot automatically. To confirm everything went smoothly, revisit the settings and check the firmware version again. Keep in mind, staying updated not only maximizes your camera's performance but also fortifies your security—assuring your freedom and peace of mind in monitoring your space. Enjoy the enhanced experience!
Verify Wi-Fi Settings
To get your Ezviz camera back online, you need to verify your Wi-Fi settings. Start by checking the status of your Wi-Fi network and making sure you're using the correct password. If everything seems right, try rebooting both your router and the camera to see if that resolves the issue.
Check Wi-Fi Network Status
Confirming a stable connection is essential for your Ezviz camera to function properly. Without a reliable Wi-Fi network, you might face connectivity issues that hinder your camera's performance. Here's how to check the Wi-Fi network status to keep your camera online:
- Check Wi-Fi Signal Strength: Make sure your camera is within range of your router. If the signal is weak, consider moving the camera closer or using a Wi-Fi extender.
- Restart Your Router: Sometimes, all it takes is a quick reset. Unplug your router, wait for about 30 seconds, and plug it back in. This can resolve minor connectivity issues.
- Inspect the Network Configuration: Confirm that your network settings haven't changed. Check if you're still connected to the correct Wi-Fi network, especially if you have multiple networks in your home.
- Look for Interference: Nearby devices like microwaves or cordless phones can disrupt Wi-Fi signals. Try to minimize interference by relocating such devices away from your router and camera.
Ensure Correct Password Entry
When setting up your Ezviz camera, entering the correct Wi-Fi password is essential for reestablishing a connection. If you've recently changed your Wi-Fi password or switched networks, it's important to update this information in your camera settings. A simple typo can keep your camera offline, and nobody wants that!
Start by double-checking the password you're using. Remember, Wi-Fi passwords are case-sensitive, so make sure you've got the right capitalization. If you've saved the password in a note or password manager, pull that up to avoid any mistakes.
Next, navigate to your camera's settings through the app or web interface. There, you can find the Wi-Fi settings and replace the existing password with the correct one. After you've made the change, give your camera a moment to reconnect.
If you're still having trouble, try disconnecting the camera from the Wi-Fi and then reconnecting it. Sometimes a fresh start is all it needs to get back online. With the right password in place, you can enjoy the freedom of monitoring your space without interruptions!
Reboot Router and Camera
If your Ezviz camera still isn't coming online after checking the password, rebooting both your router and the camera can often resolve connectivity issues. This simple step helps refresh the network and can clear up any temporary glitches. Here's how you can do it:
- Power Off the Router: Unplug your router from the power source. Wait for about 30 seconds. This allows the device to reset and clear any temporary errors.
- Power Off the Camera: Disconnect your Ezviz camera from its power source as well. Give it a brief moment, usually around 10-15 seconds, before plugging it back in.
- Reconnect the Router: Plug your router back in and wait until all the lights indicate it's fully operational. This may take a few minutes.
- Reconnect the Camera: Once your router's back online, plug the camera back in. Wait for it to boot up and reconnect to the network.
After following these steps, check the Ezviz app to see if your camera is online. You should be good to go, enjoying the freedom of secure monitoring once again!
Reset Camera to Factory Settings
To get your Ezviz camera back online, resetting it to factory settings can often resolve connectivity issues. This process wipes all previous configurations, so it's a fresh start for your camera. Here's how to do it effectively.
First, locate the reset button on your camera. It's usually a small, pinhole-sized button found on the device's body. Grab a paperclip or a similar tool to press it. With the camera powered on, use the paperclip to press and hold the reset button for about 10 to 15 seconds. You'll see the camera's LED indicator flash, signaling that it's been reset.
Once the camera powers down, let it sit for a moment. Then, power it back up. After a few minutes, the camera should be in its factory state, ready for new settings. This is your chance to reconnect it to your Wi-Fi network and configure it again.
Use the Ezviz App
How can you quickly get your Ezviz camera back online? One of the simplest ways is by using the Ezviz app, which puts the power right in your hands. Whether you're at home or away, you can manage your camera settings, check its status, and troubleshoot any issues with just a few taps. Here's how to make the most of the Ezviz app:
- Open the Ezviz App: Start by launching the app on your smartphone. If you haven't installed it yet, download it from the App Store or Google Play Store.
- Log In to Your Account: Enter your credentials to access your camera settings. If you've forgotten your password, the app provides an easy recovery option.
- Check Camera Status: Navigate to the camera list and check if your camera is showing as offline. If it is, tap on the camera to view more details and possibly see the last activity or error messages.
- Reconnect the Camera: If the camera appears offline, you can initiate a reconnect process directly through the app. Follow the prompts, ensuring your camera is powered and within range of your Wi-Fi.
Using the Ezviz app gives you the flexibility to manage your surveillance needs without the hassle of complicated setups. Stay connected and regain control over your security system, even if you're far from home. Embrace the freedom of managing your camera anytime, anywhere!
Check for Interference
Even after using the Ezviz app to check your camera's status, connectivity issues might persist due to interference from other devices. It's essential to identify what could be disrupting your camera's connection. Common culprits include Wi-Fi networks, microwaves, cordless phones, and even Bluetooth devices. These can create a chaotic environment for your camera, making it struggle to maintain a stable connection.
Start by examining the area around your camera. Are there any devices nearby that could be causing interference? If so, try relocating them or moving your camera to a different spot. Ideally, your camera should be positioned away from walls and large metal objects that can block the signal. The clearer the line of sight between your camera and the Wi-Fi router, the better.
Next, check your Wi-Fi network's frequency. If you're using a dual-band router, switch to the 5GHz band if possible. It's less crowded than the 2.4GHz band, which is often bogged down by multiple devices. Also, consider reducing the number of devices connected to your network; this can free up bandwidth and improve your camera's performance.
Lastly, if you're in a densely populated area, your neighbors' networks could be interfering too. You might want to change your Wi-Fi channel to minimize overlap with nearby networks. By taking these steps, you'll create a more stable environment for your Ezviz camera, allowing it to operate freely and efficiently.
Contact Customer Support
If you've tried all the troubleshooting steps and your Ezviz camera still isn't connecting, reaching out to customer support can be a helpful next step. Sometimes, the issue may be more complex than you can handle on your own, and those experts are there to help you regain your camera's functionality. Here's how to make the most of your interaction with customer support:
- Gather Information: Before you call or chat, have your camera model number, purchase details, and any error messages handy. This'll help the support team assist you faster.
- Choose Your Contact Method: Depending on your preference, you can reach out via phone, email, or live chat. Each method offers its own advantages; choose what works best for you.
- Be Clear and Concise: When explaining your issue, stick to the facts. Describe what you've already tried and any specific problems you're experiencing. This'll save time and get you closer to a solution.
- Take Notes: As you communicate, jot down important details, including any steps they suggest. This'll serve as a handy reference for future issues.
Don't hesitate to use customer support as a resource. They're there to empower you, ensuring your Ezviz camera works as it should. Remember, getting back online means more freedom to monitor and secure your space. Enjoy that peace of mind!
Frequently Asked Questions
Can I Use Ezviz Cameras Outdoors in Extreme Weather?
Yes, you can use Ezviz cameras outdoors, but you should check the specific model's weatherproof rating. Most are designed to withstand various weather conditions, but extreme temperatures, heavy rain, or snow might affect performance. It's important to position them strategically to minimize exposure to harsh elements. If you wanna guarantee longevity and reliability, consider using protective housing or enclosures. Just remember, keeping them clean and maintained will help them function better.
How Do I Change the Camera's Wi-Fi Network?
To change your camera's Wi-Fi network, you'll need to access the Ezviz app. Open the app, select your camera, and navigate to settings. From there, look for the Wi-Fi section and choose the option to change the network. You'll have to enter the new Wi-Fi credentials, so make sure you've got them handy. Once you've saved the changes, your camera should reconnect to the new network seamlessly, giving you the freedom to monitor as you wish.
Is It Possible to Connect Multiple Cameras to One Account?
Yes, it's definitely possible to connect multiple cameras to one account! You can manage all your devices seamlessly, giving you the freedom to monitor different areas from a single app. Just make sure your account supports multiple cameras, and follow the setup instructions for each device. Once they're added, you'll enjoy easy access to live feeds and recordings, making it convenient to keep an eye on everything that matters to you.
What Should I Do if My Camera Is Physically Damaged?
If your camera's physically damaged, it's essential to assess the extent of the damage first. You might want to check if it's still under warranty or consider reaching out to the manufacturer for repair options. If the damage is severe, replacing the camera could be your best bet. Remember, trying to fix it yourself might void the warranty, so weigh your options carefully before proceeding. You deserve a reliable security solution!
Can I Access My Camera Remotely Without the App?
Accessing your camera remotely without the app can feel like trying to catch smoke with your bare hands. It's tricky but not impossible. You might need to explore web browser options or use a third-party service that supports your camera. Just remember, security's key, so make sure any alternative is safe. While it can limit your freedom a bit, it's worth investigating if you want to keep an eye on things.


