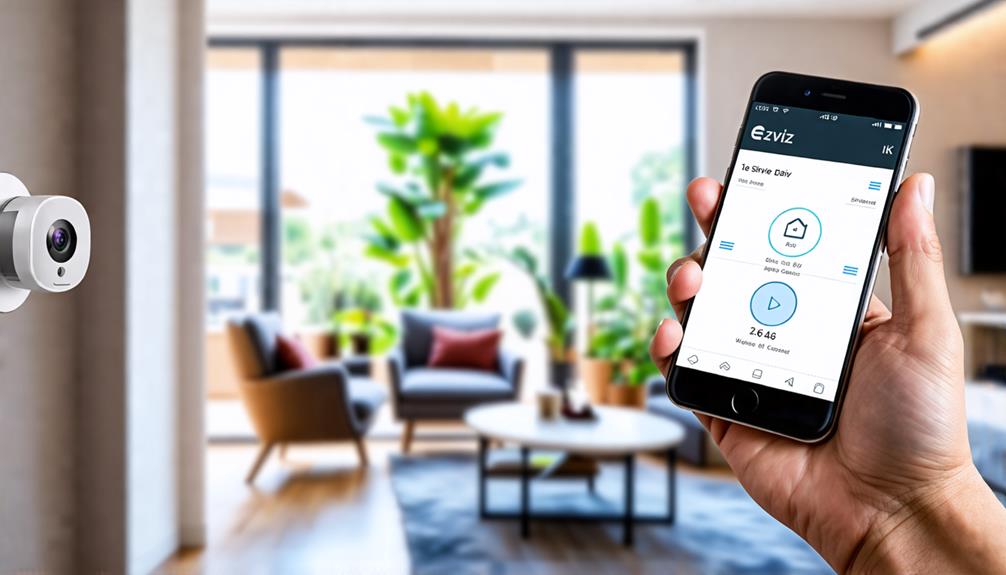
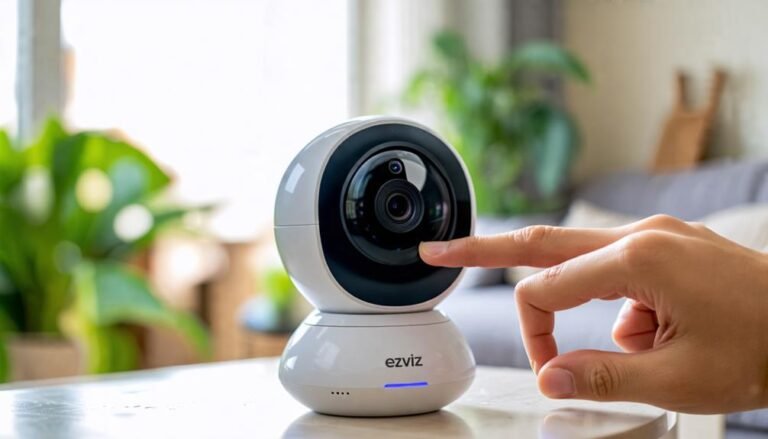
To change the Wi-Fi on your Ezviz camera, start by ensuring it's compatible with your network. Download the Ezviz app and create your user account. Once logged in, select your camera and go to the settings by tapping the gear icon. Look for "Wi-Fi Settings" and enter your new network's SSID and password accurately. Make sure to choose the correct encryption type, usually WPA2. After saving the changes, wait for confirmation. Finally, test the connection by accessing the live feed. There's plenty more you can discover to optimize your camera's performance.
Check Camera Compatibility
Before diving into changing the WiFi settings on your Ezviz camera, it's essential to check its compatibility with your network. You want to make certain your camera works seamlessly with the WiFi setup you have at home or in your office. Understanding the specifications of your device will help you avoid unnecessary frustration down the line.
First, verify whether your Ezviz camera supports both 2.4 GHz and 5 GHz frequency bands. Most home networks operate on the 2.4 GHz band, which offers broader coverage but slower speeds. If your camera only supports 2.4 GHz, you'll need to ascertain your router is set to that frequency. On the other hand, if your camera supports 5 GHz, you can enjoy faster data transfer rates, provided your router is compatible.
Next, check the security protocols your camera supports. Ezviz cameras typically work with WPA/WPA2 encryption, so if your router is set to older protocols, like WEP, you'll need to update those settings for a secure connection.
Lastly, it's wise to confirm that your camera's firmware is up to date. An outdated firmware version can lead to compatibility issues, limiting your freedom in managing your security setup. By confirming your Ezviz camera is compatible with your WiFi network, you can confidently move forward in setting it up, knowing that you've laid a solid foundation for smooth operation.
Gather Required Information
Before you start changing the WiFi on your Ezviz camera, you'll need to gather some important information. Make sure you have your network's SSID and password handy, as well as the camera reset procedure just in case. This preparation will help streamline the process and avoid any hiccups along the way.
Network SSID and Password
To successfully change the WiFi settings on your Ezviz camera, you'll need to gather some essential information: the Network SSID and password. The Network SSID is simply the name of the WiFi network you want your camera to connect to. You'll typically find this name on your router or in your network settings. Make sure it's the right one, as connecting to the wrong network can lead to frustration and a lack of connectivity.
Next, you'll need the password for that network. This is the key that grants access to the WiFi. If you've set up the network yourself, you should know this password. If not, check with the person who manages your network or look for it on the router itself, often found on a sticker.
Having the correct Network SSID and password will guarantee your Ezviz camera connects seamlessly to your WiFi network. It's all about reclaiming your freedom to monitor your space without interruptions. So, take a moment to jot down this info before you proceed with the changes on your camera. You're one step closer to maintaining your desired level of security and connection!
Camera Reset Procedure
When you're ready to reset your Ezviz camera, there are a few essential pieces of information you'll need to gather first. Start by locating your camera's model number, which usually can be found on the device itself or in the user manual. This will help you find specific instructions tailored to your model.
Next, you'll need the current Wi-Fi network name (SSID) and password. Make sure you have this handy, as you'll want to reconnect your camera to the network after the reset. It's also wise to jot down any custom settings you've configured, like motion detection zones or notification preferences, since these may revert to default after the reset.
Access the Ezviz App
To get started, you'll need to download the Ezviz app from your device's app store. Once it's installed, create a user account to access all the features. This will set you up for the next steps in changing your camera's WiFi settings.
Download Ezviz App
Getting started with your Ezviz camera requires downloading the Ezviz app, which is vital for accessing all its features. This app empowers you to control your camera, receive alerts, and review recordings, all from the convenience of your smartphone. You can easily find the app in your device's app store, whether you're using iOS or Android.
Here's how to download it:
- Open your device's app store: Navigate to the App Store or Google Play Store.
- Search for "Ezviz": Type "Ezviz" into the search bar.
- Select the official app: Look for the app with the Ezviz logo to verify it's the right one.
- Tap "Install": Hit the install button and wait for the download to complete.
- Open the app: Once installed, open the app to start setting it up.
With the Ezviz app ready, you're one step closer to managing your camera effectively. Enjoy the freedom and flexibility it brings to your home security experience!
Create User Account
Once you've downloaded the Ezviz app, you'll need to create a user account to access all its features. This process is quick and straightforward, allowing you to take control of your camera settings and enjoy the freedom of managing your security remotely.
Here's a quick overview of the steps involved in creating your account:
| Step | Action | Notes |
|---|---|---|
| 1 | Open the Ezviz app | Make sure you're connected to the internet. |
| 2 | Click on "Sign Up" | If you already have an account, just log in instead. |
| 3 | Enter your email and set a password | Use a strong password for security. |
| 4 | Verify your email | Check your inbox for a verification link. |
| 5 | Log in to the app with your new account | Enjoy full access to your camera features! |
Once you've completed these steps, you'll access the potential of your Ezviz camera. You'll have the freedom to customize settings, receive alerts, and access your camera feed from anywhere. So go ahead, create that account, and start taking charge of your security!
Select Your Camera
When you're ready to change the Wi-Fi settings on your Ezviz camera, the first step is selecting the right model from your device list. This is essential because each camera model may have specific features and settings that differ from one another. By confirming you've got the correct device, you can navigate the settings without any hiccups.
To help you choose the right camera, here are some key things to ponder:
- Model Number: Check for the exact model number to avoid confusion.
- Camera Type: Different types, like indoor or outdoor cameras, might have unique settings.
- Firmware Version: Verify your camera's firmware is up-to-date for the best performance.
- Connection Type: Be aware of whether you're using a wired or wireless connection, as this can affect the setup process.
- User Manual: Refer to your camera's user manual for specific instructions related to your model.
Taking a moment to confirm these details can save you time and frustration later on. Once you've identified your camera model, you'll be well-prepared to explore the Wi-Fi settings. Remember, freedom in managing your home surveillance means having your devices set up just the way you want them. So take a deep breath, gather your information, and let's move forward to guarantee your Ezviz camera's connectivity is optimized for your needs.
Navigate to Wi-Fi Settings
With your camera model confirmed, you're ready to navigate to the Wi-Fi settings. This step is essential to guarantee you can connect your Ezviz camera to a new Wi-Fi network. Start by launching the Ezviz app on your smartphone. Make sure you're logged in to your account; if you haven't created an account yet, you might want to do that first.
Once you're in the app, locate the camera you want to configure. Tap on it to access its settings. From here, look for the option labeled "Settings," which usually appears as a gear icon. You're almost there!
Next, scroll through the options until you see "Wi-Fi Settings." Here's where you'll find the current network your camera is connected to and the option to change it.
To give you a clearer picture, here's a quick reference table:
| Step | Action | Notes |
|---|---|---|
| 1. Launch App | Open the Ezviz app | Guarantee you're logged in |
| 2. Select Camera | Tap on your camera | Access settings |
| 3. Open Settings | Click on the gear icon | Look for Wi-Fi Settings |
| 4. Wi-Fi Options | Scroll to Wi-Fi Settings | Current network displayed |
| 5. Ready to Change | Prepare for new credentials | You're all set |
This process gives you the freedom to choose the right connection for your camera, guaranteeing uninterrupted service.
Enter New Wi-Fi Credentials
Now that you've accessed the Wi-Fi settings, it's time to enter your new Wi-Fi credentials. This step is vital for guaranteeing your Ezviz camera connects to the right network and keeps your surveillance seamless. You'll want to make certain you have your Wi-Fi information handy. Here's what you need to do:
- Network Name (SSID): Enter the exact name of your Wi-Fi network. Be careful with any capitalization or special characters.
- Password: Input your Wi-Fi password accurately. Remember, it's case-sensitive, so double-check those letters and numbers.
- Encryption Type: Select the appropriate encryption method (usually WPA2). This helps secure your connection from prying eyes.
- Save: Look for a save or confirm button after entering your credentials. This step is essential for the changes to take effect.
- Reconnect: Once you've saved your new settings, you'll need to reconnect your camera to guarantee it's using the updated credentials.
Take your time entering the details, as accuracy is key. You don't want to miss out on the freedom of having a fully functional camera monitoring your space. If you run into issues, double-check your entries or consult your Wi-Fi router settings. With your new credentials in place, you'll be one step closer to enjoying the peace of mind that comes from knowing your Ezviz camera is connected and ready to roll.
Confirm and Save Changes
After entering your new Wi-Fi credentials, the next step is to confirm and save those changes. This is essential because if you skip this step, your camera won't connect to the new network, leaving you without that desired freedom of access. Look for a "Save" or "Confirm" button on the interface. It's usually prominently displayed, so you shouldn't miss it.
Once you've found the button, click it. You might see a prompt asking you to review your entered information. Take a moment to check that everything's accurate—sometimes a small typo can throw things off. If all looks good, proceed with saving the changes.
After you hit that save button, the camera might take a few moments to process your request. You'll want to stay patient during this time. Once it's saved, you should receive a confirmation message indicating that the changes were successful. This is your signal that you're one step closer to regaining control over your camera feed, free from any connection limitations.
If you're feeling anxious about making these changes, remind yourself that you're enhancing your security and access. Embrace the freedom that comes from being able to connect your camera to the Wi-Fi that suits your lifestyle best. Remember, this is all about making technology work for you, not the other way around. Now that you've confirmed and saved your changes, you're ready for the next steps.
Test the Connection
Testing the connection is essential to confirm your Ezviz camera is communicating effectively with your new Wi-Fi network. Without this vital step, you might miss out on the security and convenience your camera offers. So, let's make sure everything's in order and your camera is ready to go.
To test the connection, follow these straightforward steps:
- Open the Ezviz App: Launch the app on your smartphone or tablet where your camera is already set up.
- Check Live Feed: Navigate to the camera section and see if you can access the live feed. A clear image means the connection is solid.
- Review Notifications: Look for any alerts or notifications regarding connection issues. If there are none, that's a good sign!
- Test Motion Detection: Walk in front of the camera to see if it detects motion and sends you a notification. This indicates that it's actively connected to the Wi-Fi.
- Adjust Camera Settings: Make any necessary adjustments in the app to optimize your camera's performance, making sure it operates smoothly in your preferred environment.
Frequently Asked Questions
Can I Change Wi-Fi Settings Remotely?
You can't typically change Wi-Fi settings remotely. Most devices require you to be physically present to make those adjustments. However, some smart devices might allow remote access through their respective apps, enabling you to manage settings from anywhere. It's always a good idea to check your device's user manual or app capabilities. Embracing technology can give you greater freedom, but you may still need to be hands-on for certain changes.
What if I Forgot My Ezviz App Password?
If you've forgotten your Ezviz app password, don't worry; it happens to the best of us. You can easily reset it by tapping on the "Forgot Password?" link on the login screen. Just follow the prompts, and you'll receive an email or SMS with instructions to create a new password. Once you've reset it, you'll regain access and be able to enjoy the freedom of managing your camera again!
How Do I Reset My Ezviz Camera?
Did you know that over 50% of users reset their devices at least once a year? If you need to reset your Ezviz camera, it's simple. Just find the reset button, usually located on the camera's body. Press and hold it for about 10 seconds until you see the indicator light flash. This'll restore it to factory settings, giving you a fresh start and the freedom to set it up again as you wish.
Will Changing Wi-Fi Affect Camera Recordings?
Changing your Wi-Fi can definitely affect your camera recordings. If the camera loses connection to the new network, it won't be able to stream or save footage. Make sure you've reconnected the camera to the correct Wi-Fi after the change. It's also a good idea to check your camera settings to verify everything's set up the way you want. Enjoy the freedom of seamless surveillance by staying connected!
Is There a Limit to the Number of Wi-Fi Networks I Can Save?
There's usually no strict limit on the number of Wi-Fi networks you can save on devices like cameras. You're free to switch between networks as needed. However, keep in mind that some devices might prioritize the first saved network or the strongest signal, so it's a good idea to manage your saved networks wisely. If you encounter issues, checking the device's settings can help you optimize your Wi-Fi connections effectively.


