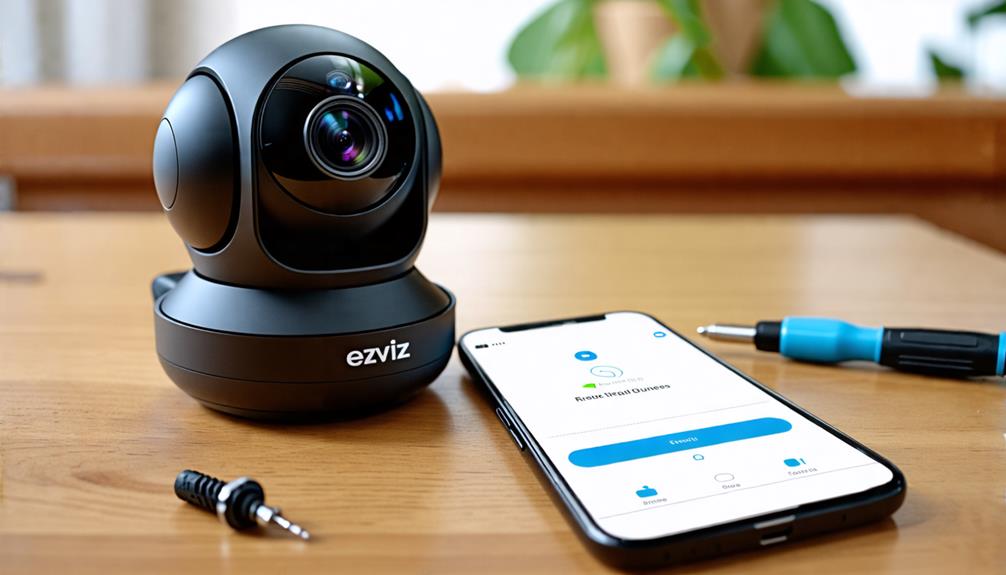
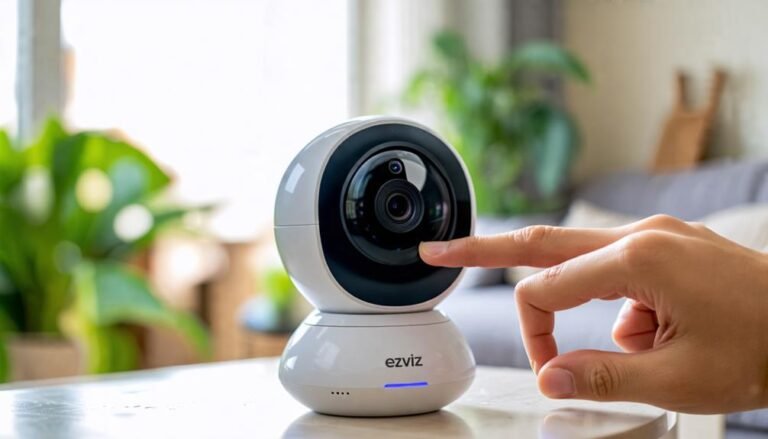
To reset your Ezviz camera, first locate the reset button, usually found on the bottom or back, often needing a tool like a paperclip. Make certain the camera is powered on. Press and hold the reset button for a few seconds until the LED light changes, indicating a reboot. Release the button once the light stabilizes. After resetting, reconnect using the Ezviz app, and adjust your settings as needed. If you run into any issues, further steps are available to guarantee your camera gets set up correctly and functions at its best.
Reasons to Reset Your Camera
Resetting your Ezviz camera can be a necessary step for various reasons. First and foremost, if you've moved to a new location and want to guarantee your camera's settings align with your new environment, a reset can help. It clears out old configurations and allows you to start fresh, giving you the freedom to customize your security system without the clutter of past settings.
Another common reason to reset your camera is if you're experiencing connectivity issues. Sometimes, devices can get stuck in a loop or fail to connect to your Wi-Fi network. A quick reset can often resolve these frustrations, allowing you to regain smooth access to your camera feed. This can be especially important when you want to keep a watchful eye on your property without interruptions.
Additionally, if you've forgotten your login credentials, resetting the camera can help you regain control. It restores factory settings, so you can set it up anew, creating new usernames and passwords that you can easily remember. This process empowers you to take charge of your security again.
Lastly, if you're planning to sell or give away your camera, a reset is essential. It wipes your personal information, guaranteeing that the new owner won't have access to your data, thereby protecting your privacy. In each of these cases, resetting your Ezviz camera offers you the freedom to reclaim control, redefine your security, and guarantee peace of mind.
Preparing for the Reset
Before diving into the reset process, it's crucial to prepare adequately to guarantee a smooth experience. You don't want to be caught off guard when you're trying to regain control of your Ezviz camera. Taking a few moments to gather everything you need will set you up for success.
Here's what you should have ready:
- Power Source: Verify your camera is plugged in or has fully charged batteries. It wouldn't be great to start the reset only for your camera to power down midway.
- User Manual: If you've got the manual handy, it'll be a useful reference. Familiarize yourself with the specific reset instructions for your camera model, as this can vary.
- Mobile Device or Computer: Have your smartphone or computer ready to reconnect your camera after the reset. It'll streamline the process, allowing you to access the camera settings promptly.
Once you've got these items in place, you'll feel more in control and less stressed about the reset. Remember, resetting your camera is a chance to reclaim your security and set things right. Embrace this moment, knowing that you're taking steps toward a more effective setup. Your freedom to monitor your space is just a reset away, so let's get ready to make it happen!
Locating the Reset Button
To reset your Ezviz camera, you'll first need to locate the reset button. This button is usually tucked away in a specific spot, so accessing the camera properly is essential. Once you find it, you'll be ready to identify the reset function and proceed with the reset process.
Reset Button Location
Finding the reset button on your Ezviz camera is essential for troubleshooting and restoring factory settings. Knowing where it is can save you a lot of time and frustration. Here's how to locate it with ease:
- Check the Bottom or Back: Most Ezviz cameras have the reset button located on the bottom or back of the device. It's often a small, recessed button that requires a pin or similar tool to press.
- Look for a Label: Some models might have a label next to the reset button, indicating its function. If you see a small icon of a circular arrow or the word "Reset," you're on the right track.
- Consult the Manual: If you're having trouble finding the button, don't hesitate to consult the camera's user manual. It usually includes a diagram that clearly shows the reset button's location.
Once you locate the reset button, you'll be one step closer to regaining control over your Ezviz camera. Remember, it's all about getting back to that fresh start!
Accessing the Camera
When you're ready to reset your Ezviz camera, accessing the device is vital. You'll want to make certain you can reach it easily, as this will streamline the entire process. Begin by locating your camera in your home or office; it's typically mounted on a wall or placed on a shelf. If it's hard to access, consider temporarily relocating it to a more convenient spot.
Next, check for the reset button, which is usually a small, recessed button on the camera body. You may need a paperclip or a similar tool to press it. Before you get too deep into the reset process, verify that the camera is powered on—this is essential.
If your camera's positioned in a corner or high up, use a sturdy ladder or step stool to safely reach it. Remember, safety first! Once you're in the right position, you'll be ready to proceed with the reset. Keep your spirit of independence alive by verifying you have the tools and access needed to take control of your camera settings. You're one step closer to reclaiming your device's functionality!
Identifying Reset Function
Locating the reset button on your Ezviz camera is essential for initiating the reset process. This button is your gateway to regaining control and freedom over your camera's settings, especially if you're facing connectivity issues or want to start fresh. Here's how to find it:
- Check the Manual: Your camera's user manual provides specific details on the reset button's location.
- Look for a Small Pinhole: Most Ezviz cameras feature a tiny pinhole labeled "Reset." It's often found on the bottom or back of the device.
- Use a Sharp Object: You might need a paperclip or similar item to press the button, as it's designed to be discreet.
Once you identify the reset button, you can proceed with confidence. Remember, resetting your camera can restore its functionality, giving you the freedom to set it up exactly how you want. Don't hesitate to take that step when you need to! Knowing where this button is located is the first step toward troubleshooting and maintaining your camera's performance.
Performing the Reset
Now that you've found the reset button, it's time to perform the reset. You'll need to press and hold that button for a specific duration to guarantee the camera resets properly. After that, you'll want to reconfigure your camera settings to get everything back to your preferences.
Locate the Reset Button
To reset your Ezviz camera, you'll need to find the reset button, typically located on the device itself. This button is your gateway to regaining control and ensuring your camera works just the way you want it to. Here's how to locate it:
- Check the Base: Look at the bottom of your camera; many models have the reset button tucked away there for easy access.
- Inspect the Back Panel: If it's not at the base, flip the camera around and check the back panel. It's often found near the power supply or connection ports.
- Look for a Small Hole: Some cameras have a tiny pinhole for the reset button. You might need a paperclip or a similar object to press it.
Finding this button is essential for regaining your camera's functionality. Remember, you're in control of your security, and locating the reset button is the first step to ensuring your Ezviz camera is working perfectly. Once you've found it, you'll be one step closer to resetting your camera and enjoying the freedom of a well-functioning device.
Press and Hold
Once you've located the reset button on your Ezviz camera, the next step is to press and hold it to initiate the reset process. This action is essential for regaining control and resetting your device to factory settings. You'll want to use a firm but gentle pressure; a few seconds should do the trick.
As you hold the button, keep an eye on the camera's LED indicator. After a few moments, you should see the light change, indicating that the camera is rebooting. This visual feedback confirms that the reset is in progress and you're on your way to restoring your camera's original state.
Once the light stabilizes, you can release the button. This simple yet powerful action empowers you to clear any previous settings and configurations that may have been causing issues. After the reset, your camera will be ready for fresh setup, allowing you to take back full control. Embrace the freedom that comes with a clean slate—your Ezviz camera is now primed to function as intended, giving you peace of mind and enhanced security.
Reconfigure Camera Settings
After successfully resetting your Ezviz camera, the next step is reconfiguring the camera settings to tailor it to your needs. You'll want to make sure it's set up just the way you like it, giving you the freedom to monitor your space effectively. Here's how to get started:
- Connect to Wi-Fi: Open the Ezviz app on your mobile device and follow the prompts to connect your camera to your home Wi-Fi network. A stable connection is key for seamless streaming and notifications.
- Adjust Video Settings: Decide on your preferred video resolution and frame rate. High-resolution settings can provide better clarity, but consider your bandwidth to maintain smooth performance.
- Set Motion Detection: Customize the motion detection settings to suit your environment. You can set specific zones for monitoring or adjust sensitivity levels so you only get alerts for important movements.
Reconnecting Your Camera
Reconnecting your Ezviz camera can seem intimidating, but it's a straightforward process. Once you've reset your camera, you'll want to get it back online to monitor your space. The steps below will guide you through this.
| Step | Action |
|---|---|
| 1. Power On | Make sure your camera is powered on and within range of your Wi-Fi network. |
| 2. Open App | Launch the Ezviz app on your smartphone or tablet. If you haven't downloaded it yet, you can find it in your app store. |
| 3. Add Device | Tap "Add Device" in the app and follow the prompts to connect. You'll need to scan the QR code on the camera or enter the serial number. |
Ensure your Wi-Fi network is stable and that you have the correct password handy. If your camera doesn't connect initially, don't worry. Try moving the camera closer to your router and attempt the connection again.
Keep in mind that some cameras may require you to press the reset button once more before they can reconnect. If you encounter issues, consult the troubleshooting section of the app or the Ezviz website for further assistance.
Once you've established the connection, you'll be ready to enjoy the freedom of monitoring your home or business from anywhere. It's all about regaining control and ensuring your peace of mind.
Configuring Settings Again
Configuring the settings on your Ezviz camera again is essential to guarantee it meets your specific monitoring needs. Once you've reset your camera, it's time to dive back into the settings to customize it just the way you want. This process not only enhances your security experience but also allows you to regain control over your surveillance environment.
Here are three significant settings you should consider adjusting:
- Motion Detection: Tailor your motion detection zones to avoid unnecessary alerts. You can set specific areas where you want the camera to focus, ensuring you're only notified about relevant activities.
- Video Quality: Choose the resolution and frame rate that best suits your bandwidth capabilities. Higher quality may look better, but it could slow down your network if you're not careful—strike the right balance!
- Notification Preferences: Decide how and when you want to receive alerts. Whether it's through your mobile app, email, or both, customizing these settings means you can stay informed without feeling overwhelmed.
After you've made these adjustments, take a moment to test them out. Walk around the detection zones and check if the alerts and video quality meet your expectations. Remember, the goal is to create a system that feels intuitive and responsive to your lifestyle. Enjoy the freedom that comes with having a fully optimized Ezviz camera at your service!
Troubleshooting Post-Reset Issues
Although resetting your Ezviz camera can resolve many issues, you might still encounter some post-reset challenges. First, make certain your camera connects to the Wi-Fi network properly. Sometimes, the reset process can cause it to forget the network credentials. Double-check that you're entering the correct Wi-Fi password and that the camera is within range of your router.
If you find that the camera isn't showing up in your app, try refreshing the app or restarting your smartphone. Occasionally, the app itself may need a little nudge to recognize your camera again. If the camera is still unresponsive, you might need to perform the reset process once more to verify it was done correctly.
Another common issue is a failure to update the firmware. After a reset, your camera might require the latest software to function effectively. Check the app for any firmware updates and install them as needed. This not only enhances performance but also guarantees that your camera has the latest features.
Lastly, if you still experience problems, consult the Ezviz support page or user forums. Sometimes, other users have faced similar issues and can offer solutions you might not have considered. Remember, troubleshooting can often feel like a hassle, but each step brings you closer to restoring your camera's functionality. Embrace the process, and soon you'll have your camera back in action, giving you the peace of mind you deserve.
Frequently Asked Questions
Can I Reset My Ezviz Camera Remotely?
Did you know that over 60% of people prefer remote access for their smart devices? If you're wondering whether you can reset your Ezviz camera remotely, the answer's a bit tricky. Most models require a physical reset, but some features allow for remote adjustments. To truly enjoy freedom with your camera, consider checking its app for any remote management options. Embrace the convenience, but know the limits of your device!
Will Resetting Delete Recorded Footage?
Resetting your camera typically won't delete recorded footage stored on your device or cloud. However, it may erase settings and configurations, so you'll need to set it up again. If you've got footage saved locally, it should remain intact. Just keep in mind that if your camera is linked to a specific account, resetting might disconnect it, and you'll have to reconnect to access your recordings again.
How Often Should I Reset My Camera?
You should reset your camera whenever it starts acting up or if you're experiencing connectivity issues. It's not about a strict schedule; just do it when you feel it's necessary. Regularly checking your camera's performance can help you determine if a reset's needed. Also, if you change your Wi-Fi or settings often, a reset might be a good idea to guarantee everything runs smoothly. Trust your instincts on this one!
Is There a Factory Reset Option?
Yes, there's a factory reset option for your camera. Did you know that around 60% of users find that resetting their devices can solve connectivity issues? It's like hitting the refresh button on your freedom! When your camera's acting up, this option clears all settings, allowing you to start fresh. Just remember, you'll lose any personalized settings, but sometimes that's necessary for peace of mind. Embrace the reset and regain control!
What if the Reset Button Is Stuck?
If the reset button's stuck, don't worry just yet. You can gently try to wiggle it with a small tool, like a toothpick, but be careful not to damage anything. If that doesn't work, consider unplugging the device for a minute and then plugging it back in. Sometimes, a fresh start helps. If all else fails, contacting customer support might be your best bet for a solution.


