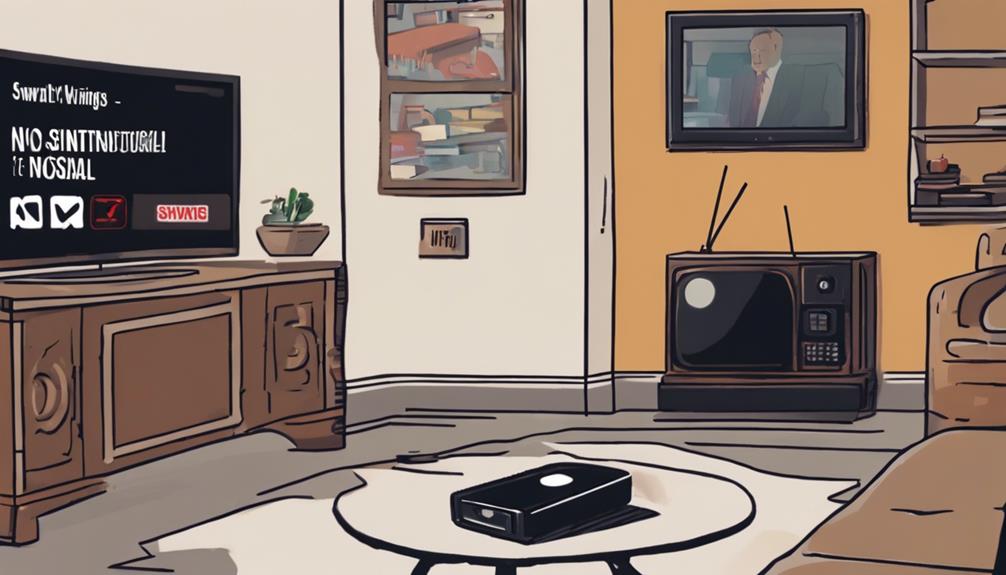
If your Swann DVR shows a “No Signal” message on your TV, start by checking your cable connections to guarantee they’re secure. Make sure you’ve selected the correct input on your TV, such as HDMI or AV. If everything looks good, try power cycling both the DVR and TV. Sometimes, interference from other electronic devices can also disrupt the signal, so consider moving them away. Finally, check for any firmware updates for your DVR. With these steps, you should find a solution. There’s more helpful troubleshooting advice you can explore to fix the issue effectively.
Common Causes of No Signal

Experiencing frustration due to a “No Signal” message on your Swann DVR can be a common issue, and understanding the root causes can help you resolve it quickly. One common reason for this message is signal interference. This can occur when other electronic devices nearby disrupt the signal from your DVR to your TV. Microwaves, wireless routers, or even poorly shielded cables can contribute to this interference.
Another cause might be incorrect input settings on your TV. If your TV isn’t set to the correct HDMI or AV input where your DVR is connected, you’ll see that annoying “No Signal” message. It’s crucial to double-check that your TV is tuned to the right channel.
Additionally, a malfunctioning remote control could cause you to inadvertently change settings, leading to a signal loss. Employing troubleshooting techniques such as repositioning devices, reducing interference, or resetting your remote can often resolve these issues. By addressing these common causes, you can regain control and enjoy the freedom of uninterrupted viewing on your Swann DVR.
Checking Cables and Connections
Signal interference isn’t the only thing that can lead to a “No Signal” message; faulty or loose cables and connections are often culprits as well. First, check the cable types you’re using between your Swann DVR and TV. Verify you’re using the right cables—HDMI, composite, or coaxial—depending on your setup. Each type has its specific requirements for best performance.
Once you’ve confirmed the correct cable types, inspect each connection. Make sure all cables are securely plugged into both the DVR and the TV. Loose connections can easily disrupt the signal, causing that frustrating “No Signal” alert. Pay attention to the connection quality as well; damaged or frayed cables can lead to issues just like loose ones.
If any cables appear worn or damaged, consider replacing them. Sometimes, it’s a simple fix that can save you from further troubleshooting. After checking everything, power cycle your DVR and TV. Unplug them both for a minute, then plug them back in. This can refresh the connection and hopefully resolve the issue. Remember, a little attention to your cables can go a long way in guaranteeing a solid signal.
Adjusting TV Input Settings
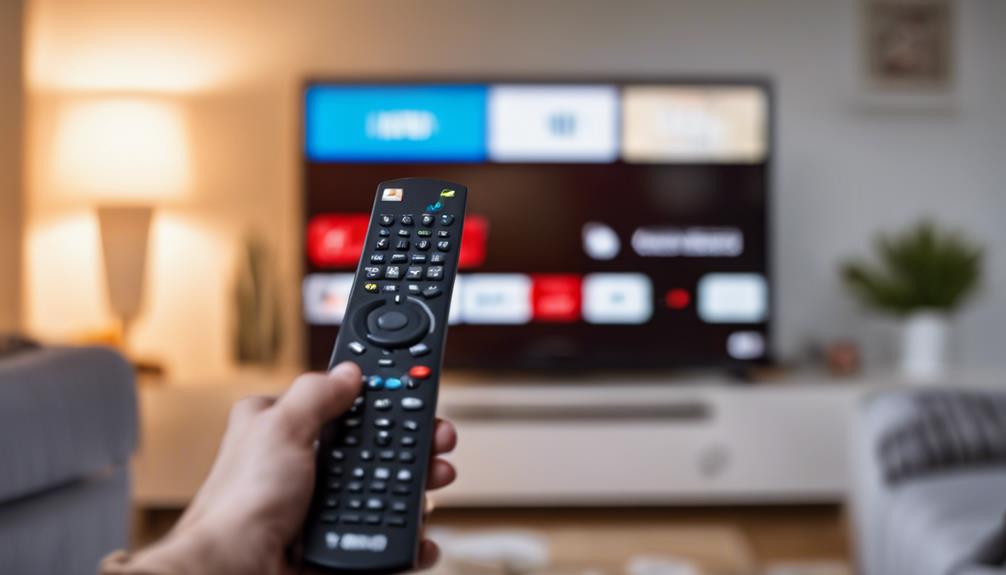
When you’re facing a “No Signal” message, adjusting your TV input settings is a crucial step to troubleshoot the issue. Ensuring your TV is set to the correct input source can resolve many signal problems. Take a moment to explore the settings on your TV remote. Look for buttons labeled “Input,” “Source,” or “AV.”
Here’s a quick reference to help you understand input compatibility:
| Input Type | Compatibility Level |
|---|---|
| HDMI | High |
| Component | Moderate |
| Composite | Low |
| VGA | Moderate |
| Antenna | Variable |
Using these troubleshooting techniques, cycle through the input options until you find the one your Swann DVR is connected to. This simple step could free you from the frustration of a “No Signal” message. If you’re unsure which input to use, check the back of your DVR for the output it’s using. Remember, input compatibility is key, so matching the right setting will help you reclaim your viewing experience. Don’t let technical issues hold you back—take control!
Restarting Your Swann DVR
If you’re still facing a no signal issue, restarting your Swann DVR can often help. Start by power cycling the device, which can reset any temporary glitches. Also, make sure to check all connections thoroughly to verify everything is secure.
Power Cycle The Device
To restore connectivity between your Swann DVR and TV, power cycling the device can often resolve the issue. This simple device reset can help eliminate minor glitches that may be preventing the signal from reaching your TV. Follow these troubleshooting steps to effectively power cycle your Swann DVR:
- Unplug the power cable from the back of the DVR.
- Wait for about 30 seconds to verify all residual power is drained.
- Plug the power cable back in and allow the DVR to boot up completely.
After performing these steps, check if the signal is restored. This straightforward method can clear up many connectivity problems without delving into more complex solutions. If you’re still facing issues, it may be time to explore further troubleshooting options or check your connections thoroughly. However, starting with a power cycle often clears the path to a seamless viewing experience. Remember, regular device resets can keep your equipment functioning effectively, so don’t hesitate to incorporate this practice into your routine. Enjoy the freedom of uninterrupted viewing!
Check Connections Thoroughly
Before diving into more complex troubleshooting, checking your connections thoroughly can often resolve the “No Signal” issue with your Swann DVR. Start by ensuring that all cables are securely plugged in. This includes both the power cable and the HDMI or AV cables connecting your DVR to the TV. Loose or damaged cables can easily disrupt the signal strength, leading to frustrating interruptions.
Next, inspect the condition of the cables. Look for any signs of wear, fraying, or damage. If you spot any issues, consider replacing them as part of your troubleshooting techniques. After confirming that everything is properly connected, try switching the input source on your TV to the correct HDMI or AV channel corresponding to your Swann DVR.
If you’re still experiencing problems after checking the connections, it might be time to power cycle your device again or explore other troubleshooting techniques. Remember, ensuring solid connections is often the simplest yet most effective step in resolving signal issues. By following these straightforward steps, you can regain your signal and enjoy the freedom of uninterrupted viewing.
Updating Firmware and Software
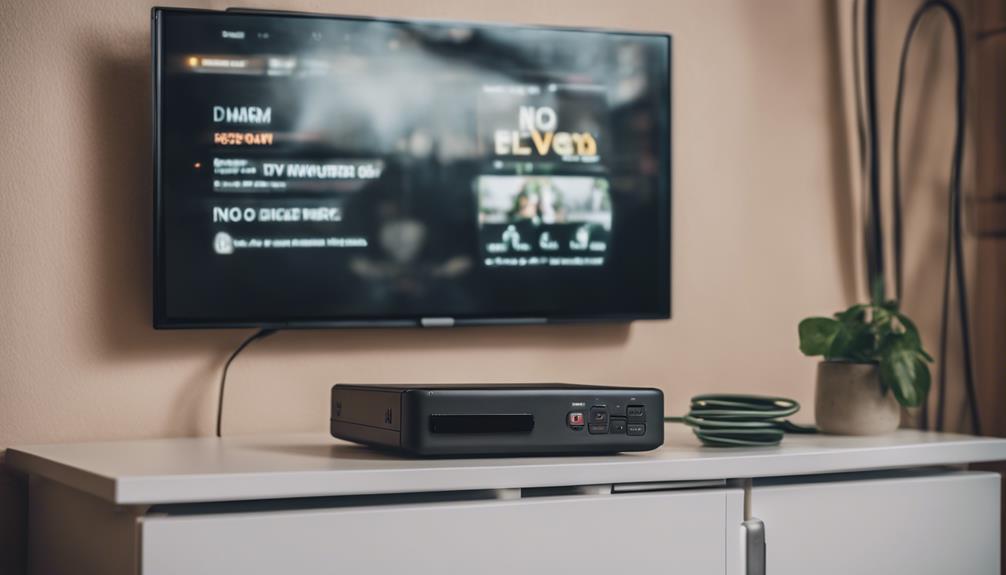
To fix the “No Signal” issue, it is vital to check your current firmware version and make certain it is up to date. Outdated firmware can lead to compatibility problems, so installing the latest updates is important. This process can often resolve signal issues and improve your DVR’s performance.
Check Current Firmware Version
How can you guarantee your Swann DVR is running smoothly? One key step is checking the current firmware version. Ensuring your firmware is up-to-date is essential for peak performance and can help with firmware troubleshooting. You wouldn’t want to face version compatibility issues that could disrupt your viewing experience.
Here’s how to check your firmware version:
- Navigate to the settings menu on your DVR.
- Look for the “About” or “System Information” section.
- Make a note of the current firmware version displayed.
Once you’ve identified the version, compare it with the latest available on the Swann website. If your version is outdated, it might be time to think about updating. Running outdated firmware can lead to various issues, including connectivity problems and reduced functionality.
Install Latest Updates
Updating your Swann DVR’s firmware and software is vital for maintaining ideal performance and resolving any issues you might encounter. Regular updates can bring firmware improvements that enhance your device’s functionality and security. These updates often fix bugs and guarantee your DVR operates smoothly.
To begin, check the Swann website or your DVR’s interface for the latest firmware version. If a newer version is available, download it to a USB flash drive. Insert the drive into your DVR, navigate to the settings menu, and select the update option. Follow the on-screen instructions to install the firmware.
In addition to firmware updates, verify that your DVR software is compatible with the latest features. Software compatibility is essential for accessing new functionalities and guaranteeing seamless integration with other devices. Regularly checking for updates helps you avoid potential glitches and enhances your overall user experience.
When to Seek Professional Help
If you’re struggling to get a signal from your Swann DVR to your TV despite troubleshooting efforts, it might be time to reflect on reaching out for professional help. Ignoring warning signs can lead to more significant issues down the road. If you notice persistent problems that you can’t resolve, consider seeking professional services.
Here are some key indicators that it’s time to call in the experts:
- Persistent Signal Issues: If you’ve tried all troubleshooting steps and still can’t get a signal, it may indicate a deeper issue.
- Physical Damage: If any cables, ports, or the DVR itself appear damaged, it’s best to consult a professional to avoid further damage.
- Incompatibility Concerns: If you’re unsure whether your devices are compatible, a professional can provide clarity and solutions.
Frequently Asked Questions
Can I Use a Different TV With My Swann Dvr?
When it comes to using a different TV with your DVR, you’ve got options. Just confirm the new TV’s settings match the DVR compatibility. A little adjustment can go a long way in making it work!
What Types of Cables Are Compatible With Swann Dvr?
When connecting your DVR, check for HDMI, composite, or component cables. For peak performance, verify the cable compatibility matches your devices. Use quality cables for a reliable signal and to enjoy your recordings without interruptions.
How Can I Reset My Swann DVR to Factory Settings?
If you’re worried a factory reset will erase important settings, don’t be. To reset your DVR, access the menu, navigate to settings, select the factory reset option, and confirm. Follow these DVR troubleshooting tips for guidance.
Is My Swann DVR Covered Under Warranty for Signal Issues?
To determine if your Swann DVR’s signal issues are covered under warranty terms, check your purchase receipt and warranty documentation. If troubleshooting doesn’t resolve the issue, contacting customer support might be your best option.
What Should I Do if My TV Displays a “No Input” Message?
If your TV shows a “no input” message, check all connections and verify devices are powered on. You might need signal troubleshooting for cable or HDMI issues. Reconnect cables to resolve connection issues efficiently.
