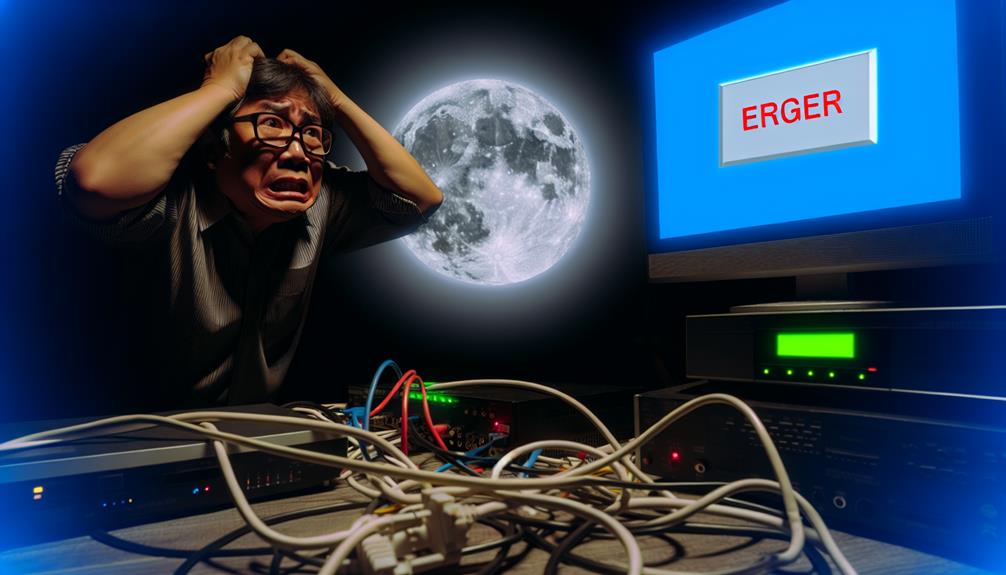
If your Night Owl DVR isn't working, start by checking the power source and LED status. Confirm the DVR is plugged directly into a wall outlet and the power adapter is functioning. Network issues? Inspect the Ethernet cable and reset your router and DVR. For motion detection problems, adjust sensitivity and detection area settings, and update the firmware. Playback issues might require checking storage capacity and testing on multiple devices. As a last resort, perform a factory reset through the System menu, but be aware it deletes all data. Continue and you'll uncover more detailed solutions.
Power and Hardware Issues
Checking the LED status on your Night Owl DVR is the first step to determine if it's receiving power. If the LED isn't lit, it's essential to inspect the power outlet. Try plugging the DVR directly into a wall outlet to rule out any issues with power strips or extension cords. Confirm the power switch on the DVR is turned on. If the switch is on and there's still no power, examine the power adapter for any signs of damage.
Next, verify that the power adapter is supplying the correct voltage required for your Night Owl DVR. Incorrect voltage can cause the DVR to malfunction or not power on at all. If the adapter seems fine but your DVR is still not powering on, you might be dealing with more serious hardware issues.
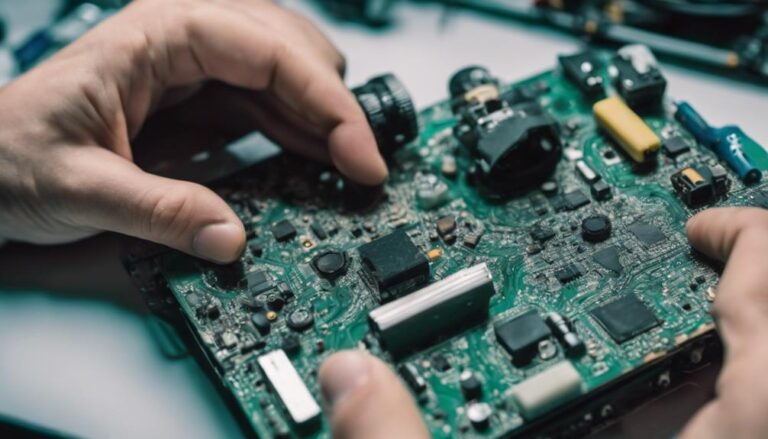
To troubleshoot, consider swapping out the power adapter with a known working one to see if that resolves the issue. If your DVR remains unresponsive, internal hardware problems could be the culprit. At this point, contacting Night Owl support or consulting a professional technician might be necessary to diagnose and fix any potential internal component failures.
Network Connectivity Problems
If your Night Owl DVR isn't connecting to the network, start by inspecting the Ethernet cable for any damage or loose connections. A faulty or improperly connected cable can disrupt network connectivity. Once you've confirmed the cable is secure and undamaged, verify the DHCP settings on your DVR. Ensuring it obtains the correct IP address from the router is essential for a stable connection.
Next, restart both your router and DVR. This simple step can often resolve network speed and stability issues by revitalizing the connection. If restarting doesn't help, investigate the DVR's network settings. Confirm that all configurations are accurate and align with your network's requirements.
Should these steps fail, consider performing a factory reset on your DVR. This can reset network settings to their default state and potentially resolve persistent connectivity issues. Remember, a factory reset will erase custom settings, so use it as a last resort.
Motion Detection Troubles
When facing motion detection troubles with your Night Owl DVR, start by adjusting the motion detection sensitivity settings to confirm accurate movement detection. Sometimes, the default settings may be too sensitive or not sensitive enough, causing either missed events or an overload of false alarms.
Next, verify and adjust the detection area settings. Focus on specific zones where activity is most likely to occur. This adjustment helps your DVR system concentrate on areas that matter, enhancing the precision of your security cameras.
Don't forget to check for any obstructions that might be disrupting the motion detection functionality. Things like tree branches or hanging objects can trigger false alarms. Clear these obstructions to improve performance.
Updating the firmware of your DVR system can also resolve motion detection issues. Manufacturers often release updates to fix bugs and enhance features, so confirm your system is up-to-date.
Lastly, make sure your cameras are securely mounted. Any movement in the cameras themselves can lead to false alarms. Properly mounting cameras will stabilize them, confirming accurate detection.
Playback Issues
Once you've tackled motion detection troubles, it's equally important to address any playback issues that may arise with your Night Owl DVR. Ensuring smooth playback of recorded footage is essential for getting the most out of your security system. Here are some steps you can take to resolve these issues:
- Check the playback controls and settings on your DVR to confirm proper configuration.
- Verify the available storage capacity on the DVR. Insufficient storage can cause playback issues.
- Update the DVR firmware to the latest version. Sometimes, a simple firmware update can resolve software compatibility problems.
- Test playback on multiple devices to see if the issue is isolated to one particular device or is more widespread.
- If playback issues persist despite your troubleshooting efforts, contact Night Owl technical support for further assistance.
Factory Reset Process
To reset your Night Owl DVR to its factory settings, start by finding the main menu on the device. Navigate to the System section within the main menu. Here, you'll find the option labeled 'factory reset' or 'Factory Default.' Select this option to begin the reset process.
Be mindful that following these steps will delete all data stored on your DVR. Once you've chosen to proceed, follow the on-screen prompts to confirm the process. This guarantees that the factory reset is intentional and prevents accidental data loss.
If you encounter any issues or need more detailed instructions, don't hesitate to contact Night Owl technical support. Their guidance can be invaluable, especially if you're unsure about any steps or if the on-screen prompts aren't clear.
Technical Support Contacts
For assistance with your Night Owl DVR, you can contact their technical support team directly at 1-866-390-1303. If your DVR is not working, reaching out to customer support can be your fastest route to a solution. Night Owl offers multiple ways to get the help you need.
Here are a few methods to get in touch with their support team:
- Phone: Call 1-866-390-1303 for direct technical support.
- Email: Send an email to support@nightowlsp.com for troubleshooting help.
- Website: Visit Night Owl's official website and navigate to the support section for FAQs, guides, and troubleshooting resources.
- Product Manual: Check your product manual for specific contact information related to your Night Owl DVR.
- Live Chat: Utilize live chat support on Night Owl's website for real-time assistance.
Don't hesitate to use these resources to get your DVR back up and running. Night Owl's customer support team is well-equipped to assist you with any problems you encounter. Whether it's through a phone call, email, or live chat, they're ready to help you troubleshoot your issues swiftly and effectively.
Device Login Management
Managing your Night Owl DVR's user accounts efficiently starts with understanding the admin credentials and their capabilities. The admin credentials are your gateway to managing the DVR system, including adding and modifying user accounts. Typically, the default username for Night Owl DVR systems is set as 'admin'. This account has full system access, allowing you to change settings and manage user access.
To create a new user, you need to navigate to the Main Menu and find the Users section. From there, you can add a new user account with specific access levels. It's important to manage these settings carefully, making sure that each user has appropriate access without compromising the system's security.
When sharing login credentials with new users, make sure to communicate securely to prevent unauthorized access. Effective login management not only keeps your DVR system secure but also guarantees that each user can perform their roles without hassle.
P2P Connection Fixes
Securing a stable P2P connection for your Night Owl DVR involves several important steps. First, double-check that the P2P ID on the support sticker matches the one in your Night Owl recorder. This ID is essential for setting up a proper connection. If the sticker is damaged or missing, you can find the P2P ID in the recorder's System Info tab.
Make sure your Night Owl recorder is connected to both the router and your Wi-Fi network. A solid internet connection is necessary for successful P2P connection and remote viewing.
Use the Owl Scan feature in the Night Owl HD App to scan the QR Code on your device. This helps streamline the connection process, reducing the chance of manual errors.
Here's a quick checklist to help with your troubleshooting:
- Verify the P2P ID on the support sticker and System Info tab.
- Ensure the recorder is connected to the router and Wi-Fi network.
- Use the Owl Scan feature to scan the QR Code.
- Confirm a stable internet connection for remote viewing.
- Regularly check and update your Night Owl firmware.
Mobile App Troubleshooting
If you're having trouble with the Night Owl Connect mobile app, follow these troubleshooting steps for a seamless experience. Start with checking the initial setup and confirming your account creation is complete. If you're facing issues with the sign-in process, double-check your credentials and reset your password if needed.
Next, you'll want to add devices like recorders, gateways, standalone IP cameras, and doorbells to the app. Make sure each device is properly connected and configured. For real-time monitoring, use the live view feature, and for reviewing past footage, utilize the playback functionality.
Push notifications are essential for staying updated on security alerts. Confirm they're set up correctly and troubleshoot any issues to receive timely updates. If you're encountering connectivity problems, verify your network settings and devices are properly synced.
Here's a handy table to guide you through common issues and solutions:
| Issue | Troubleshooting Step | Solution |
|---|---|---|
| Account Creation | Verify email and complete signup | Resend confirmation email |
| Sign-in Process | Check credentials, reset password | Use 'Forgot Password' link |
| Add Devices | Confirm devices are connected and configured | Follow in-app instructions |
| Live View/Playback | Verify device connection and app settings | Restart app/device |
| Push Notifications | Check notification settings and permissions | Update app permissions |
Frequently Asked Questions
Where Is the Reset Button on a Night Owl Dvr?
To find the reset button, check the back or bottom of your DVR. It's small and recessed. Pressing it restores factory settings, aiding troubleshooting tips. Consult your user manual for detailed guidance and further technical support.
Why Is My Night Owl Not Working?
You're facing issues? Start with these troubleshooting steps: check the power source, connectivity problems, and night vision. Common issues include storage capacity and software compatibility. Try a reset process or firmware update. Seek technical support if needed.
Why Is My Night Owl DVR Not Recording?
Think of your DVR like a puzzle; if it's not recording, check troubleshooting tips: storage capacity, power supply, camera connectivity, network settings, recording schedule, motion detection, software update, firmware issues, and remote access.
How Long Does a Night Owl DVR Last?
A Night Owl DVR's lifespan typically ranges from 3 to 5 years. Factors like usage, environmental conditions, and maintenance impact its durability and longevity. Regular updates and proper care can enhance its performance, reliability, and quality.


