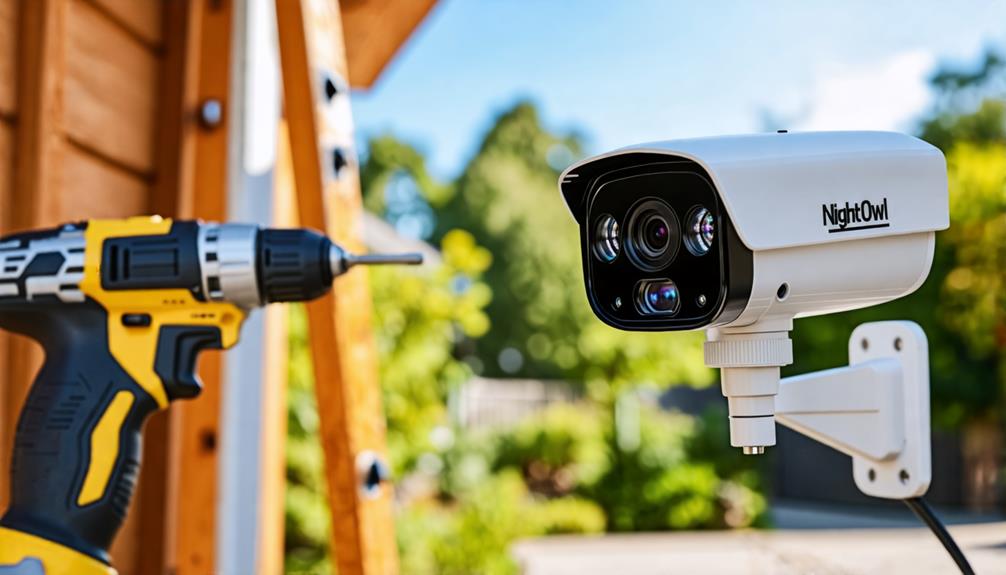
To install Night Owl wired security cameras, start by gathering your DVR, cameras, power adapters, and BNC connectors. Make sure the DVR meets the power requirements of 12 V and 2000 mA. Mount the cameras at least 7 feet high and angle them slightly downward for ideal performance. Connect each camera to the DVR, ensuring a secure power supply. Use the Startup Wizard for adjusting settings and downloading the Owl Protect App for remote access. Confirm that all connections are tight and that power is correct to avoid issues. Explore further steps for a smooth setup and troubleshooting tips.
Preparation for Installation
Before you begin installing your Night Owl wired security cameras, it's important to gather all necessary equipment to guarantee a smooth process. You'll need the DVR, cameras, power adapters, and BNC connectors. Having everything at hand will make certain your setup goes off without a hitch, allowing you to focus on protecting your property without unnecessary delays.
Start by checking the specifications for your DVR, which requires a 12 V output power and a current of 2000 mA. Make sure your power supply meets these requirements to avoid any issues down the line. Next, think about where you'll place your cameras. Ideally, they should be mounted at least 7 feet above the ground and under eaves or awnings. This positioning helps protect them from moisture and debris, ensuring they function effectively.
You'll also want to gather your tools for installation, including mounting hardware, a drill, and a screwdriver. These will help you secure the cameras accurately and safely. Familiarizing yourself with the wiring diagram and installation instructions provided by the manufacturer is essential as well. This knowledge will prevent connection problems during the setup and give you the confidence to do it right.
Power and Connectivity Requirements
When setting up your Night Owl wired security cameras, understanding the power and connectivity requirements is essential for guaranteeing everything runs smoothly. First, your DVR needs a 12 V output power with a current draw of 2000 mA. Each camera also operates on the same 12 V output power and requires 2000 mA of current. Make certain you have an adequate power supply to keep everything functioning efficiently.
While your DVR doesn't need an internet connection for basic operation, connecting it directly to a router is important for internet access and remote viewing. This means you'll enjoy the freedom of monitoring your property from anywhere.
As you begin the setup process, verify that all wiring for power and video connections is secure. Loose connections can lead to disconnection or malfunctions, which can compromise your security. For reliable connectivity, compatibility with various BNC connections is essential. This will help establish a strong link between the cameras and the DVR, guaranteeing your system operates without a hitch.
Don't forget to check out the Owl Protect CMS Download for additional software options that can enhance your experience. With these power and connectivity requirements in mind, you'll be well on your way to a successful setup. Remember, a solid foundation is key to enjoying the full benefits of your Night Owl wired security cameras.
Camera Placement and Mounting
To guarantee your Night Owl wired security cameras function at their best, proper placement and mounting are essential. Start by mounting your cameras at least 7 feet above the ground. This height not only optimizes performance but also reduces the risk of tampering. Consider placing your cameras under eaves or awnings to protect them from moisture and debris, extending their lifespan.
When it comes to camera placement, angle them slightly downward. This simple adjustment enhances motion detection capabilities and guarantees clearer images. Keep in mind that secure mounting is vital; misalignment can affect the effectiveness of the infrared sensors, particularly for detecting side-to-side movement. You want your cameras to capture every important moment without any obstructions.
As you strategically decide on camera locations, think about the specific areas you want to monitor. Adjust the motion detection area during the Startup Wizard to tailor the coverage to your unique environment and security needs. This customization allows you to have eyes on the places that matter most, whether it's your front door, driveway, or backyard.
Configuration and App Setup
Once you've mounted your Night Owl wired security cameras, the next step is configuring the system for peak performance. Start by connecting all cameras to your DVR, verifying the power supply provides at least 12 V output and 2000 mA current for ideal operation. Once everything is connected, use the Startup Wizard to adjust the motion detection areas and angle the cameras slightly downward for enhanced infrared sensor functionality.
Next, it's time to set up the Owl Protect App. Download it on your mobile device and follow the in-app instructions to add your DVR. You'll need your admin password handy during this process, as it's essential for managing device access and settings.
Here's a quick overview of the steps:
| Step | Action |
|---|---|
| Connect Cameras to DVR | Verify solid power supply (12V, 2000mA) |
| Adjust Camera Angles | Use Startup Wizard for motion detection |
| Download Owl Protect App | Follow in-app prompts for setup |
After the initial setup, if you have a newer system, you can disconnect the TV or monitor. This lets you monitor and configure everything right from your mobile device, giving you the freedom to keep an eye on your space wherever you are. Enjoy the peace of mind that comes with having your security system set up and ready to go!
Troubleshooting Common Issues
Although setting up your Night Owl wired security cameras can be straightforward, you may encounter some common issues along the way. First, make certain all wires are securely connected to the DVR. Loose connections can lead to camera malfunctions or a complete loss of video feed, which is the last thing you want when protecting your property.
Next, check that your DVR is directly connected to the router. Without a proper internet connection, you won't be able to access your cameras remotely via the Owl Connect app. Also, verify that your cameras are receiving adequate power. Insufficient voltage can cause night vision issues or prevent them from functioning altogether.
It's also essential to keep your system updated. Regularly updating the firmware of your DVR and the Night Owl Protect app can resolve bugs and improve overall connectivity. If you're having trouble accessing the Night Owl app, try changing your password or double-checking that you've entered the correct credentials. Often, a simple fix can get you back on track.
Frequently Asked Questions
How Do You Connect Night Owl Wired Cameras?
Connecting Night Owl wired cameras is like weaving a safety net around your home. Start by linking the camera's video cable to the DVR's BNC input with secure connectors. Make sure both devices have power, using a compatible 12V supply. Run the cables carefully, avoiding moisture and debris. Mount the cameras high, angled slightly downward for the best motion detection. Finally, follow the DVR's setup instructions to complete the connection. You're free to protect your space!
How Do You Install a Wired Security Camera?
To install a wired security camera, you'll want to choose a spot that's at least 7 feet high for ideal coverage. Securely mount the camera and connect it using the provided BNC connectors for power and video. Angle it downward for the best view. After that, verify your DVR has stable power to function correctly. Finally, check all connections are secure before powering it on for configuration. Enjoy your newfound peace of mind!
Does Night Owl Security Need Internet?
You might think you need internet for Night Owl security to work, but that's a bit exaggerated! You can absolutely monitor and record locally without it. However, if you crave that freedom of remote viewing from your mobile device, you'll need to connect your DVR to the internet. While offline features are decent, you'll miss out on app notifications and advanced management options. So, embrace the choice—connect or go it alone!
How to Hook up Night Owl to TV?
To hook up your Night Owl to a TV, start by grabbing an HDMI or VGA cable. Connect the DVR's output to your TV's input. Make sure your TV's powered on and set to the right source. If you've got an older system, you might need a BNC to RCA adapter. Follow the setup prompts on your TV, and once everything's configured, you can disconnect the TV, keeping it handy for future tweaks.


