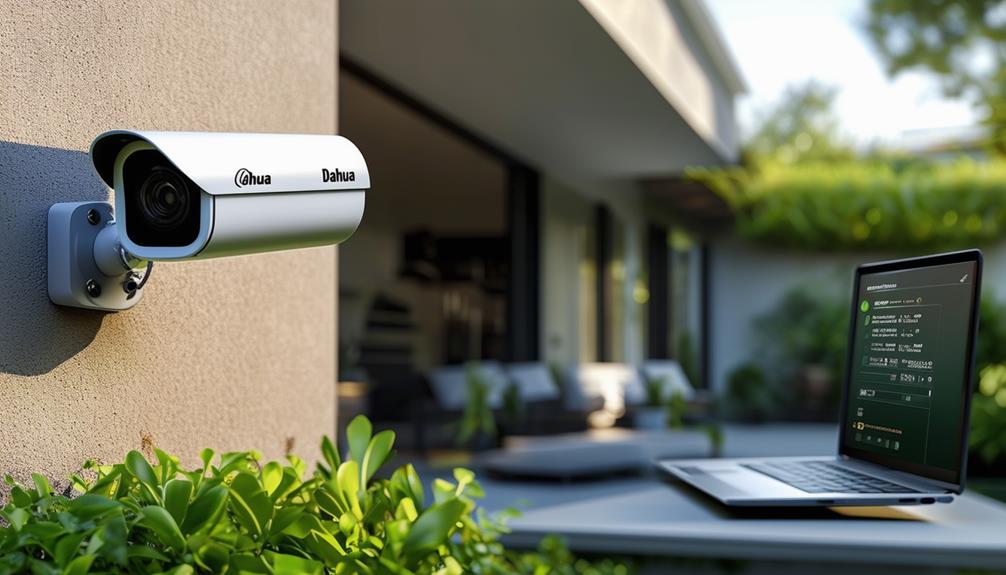
To find your Dahua camera's IP address, start by connecting it to your router with an Ethernet cable and power it on. You can use the Dahua Config Tool to scan your network; it will list all Dahua devices and their IP addresses. Alternatively, check your router's settings to see connected devices and identify the camera. You can also use the Command Prompt by typing "arp -a" to find its IP. Finally, refer to your camera's manual for its default IP. There's plenty more you can explore to optimize your camera's performance.
Understanding IP Addresses
When it comes to setting up your Dahua camera, understanding IP addresses is essential. An IP address is like a unique identifier for your camera on a network, allowing it to communicate with other devices. Think of it as your camera's personal address in the digital world. Without it, your camera can't send or receive data, and you won't have the freedom to access your footage remotely.
There are two types of IP addresses: static and dynamic. A static IP address doesn't change; it remains consistent every time you turn on your device. This stability is great for security systems since you'll always know where to find your camera. On the other hand, a dynamic IP address can change, which might complicate your access. If you value control and ease of use, opting for a static IP is often the way to go.
To find your Dahua camera's IP address, you'll typically access your router's settings. Most routers have a user-friendly interface where you can view all connected devices. Look for your camera in the list; its IP address will be displayed next to it. Alternatively, you can use software tools designed for network scanning, which can automatically detect devices and their IP addresses.
Understanding how IP addresses work empowers you to take full advantage of your Dahua camera, ensuring your security system operates smoothly and efficiently, giving you the freedom to monitor your space anytime, anywhere.
Preparing Your Dahua Camera
Before you can start using your Dahua camera, you need to get it ready for installation. This preparation involves a few key steps to guarantee everything runs smoothly. First, unbox your camera and check for any damage. You should also verify you've got all the necessary components to avoid issues later on.
Next, find a suitable location for your camera. Consider factors like visibility, accessibility, and the camera's field of view. It's crucial to have a spot that maximizes both security and coverage.
Here's a simple checklist to help you prepare:
| Step | Action | Notes |
|---|---|---|
| 1. Unbox the Camera | Inspect for damage | Look for any physical flaws |
| 2. Gather Components | Confirm all parts are included | Check for cables and mounts |
| 3. Choose Location | Select a prime mount point | Aim for a clear view of the area |
Once you've done that, consider the power requirements. Make sure you have access to a power source or the right power adapter if needed. If your camera supports Power over Ethernet (PoE), this could simplify your installation.
Lastly, familiarize yourself with the camera's manual. Knowing the specific model's features can help you tailor the setup to your needs. With these steps completed, you're now ready for the next phase: connecting your camera to the network.
Connecting to the Network
Now that your Dahua camera is prepared, it's time to connect it to your network. You'll need to adjust some network configuration settings and may find IP address discovery tools helpful in this process. Let's explore how to set everything up smoothly.
Network Configuration Settings
To successfully connect your Dahua camera to the network, you'll need to access its network configuration settings. This step is essential for ensuring that your camera can communicate effectively over your network. Here's how you can do it:
- Connect your camera using an Ethernet cable to your router or switch.
- Power on the camera and wait for it to boot up completely.
- Open a web browser on your computer that's connected to the same network.
- Enter the camera's default IP address (often 192.168.1.108) in the browser's address bar.
- Log in with the default username and password (usually admin/admin).
Once you're in, you'll be able to configure important settings like IP addressing, subnet mask, and gateway. Be sure to adjust these settings according to your network requirements. Remember, you can change the default credentials for added security. This freedom to customize your camera's settings allows you to tailor it to your specific needs while keeping your network secure. Enjoy the flexibility and control you have over your Dahua camera setup!
IP Address Discovery Tools
Once your Dahua camera is connected and configured, finding its IP address can be streamlined with the help of IP address discovery tools. These tools are designed to simplify the process, giving you the freedom to access and manage your camera without hassle.
One popular tool is the Dahua Config Tool, which scans your network to identify all Dahua devices and their IP addresses. Simply download and install it on your computer, and let it do the heavy lifting. It'll display your camera alongside its corresponding IP address, making it easy for you to connect.
Another option is the Advanced IP Scanner. This versatile tool scans your entire network, revealing all connected devices, including your Dahua camera. It's user-friendly and efficient, allowing you to quickly locate the IP address you need.
You can also use the command prompt on your computer. By typing in 'arp -a,' you'll get a list of all devices on your network, including their IP addresses.
With these tools at your disposal, you're empowered to take control of your Dahua camera setup effortlessly. Embrace the freedom of streamlined access!
Using Dahua Config Tool
To start using the Dahua Config Tool, you'll first need to download it from the official website. Once installed, you can scan your network for connected devices, making it easy to find your camera. After identifying it, accessing the camera settings becomes a straightforward process.
Downloading Config Tool
When you're ready to locate your Dahua camera's IP address, downloading the Dahua Config Tool is an essential first step. This tool simplifies the process, giving you the freedom to manage your camera settings without hassle. Here's how you can get started:
- Visit the official Dahua website.
- Navigate to the "Downloads" section.
- Locate the Config Tool specifically designed for your camera model.
- Choose the correct version based on your operating system (Windows or Mac).
- Click on the download link, and wait for the file to finish downloading.
Once you've downloaded the Config Tool, you can install it on your computer. This tool not only helps you find the IP address but also provides access to various settings, enabling you to customize your camera's functionality to suit your needs. With a few clicks, you'll be on your way to managing your Dahua camera like a pro. Embrace the power of technology and take control of your surveillance setup!
Scanning Network Devices
Scanning your network for Dahua camera devices is a straightforward process with the Config Tool. First, verify your computer is connected to the same network as your cameras. Launch the Config Tool, and you'll see the "Device Search" option. Click it, and the tool will start scanning for any Dahua devices on your network.
The scanning process only takes a few moments, and you'll soon see a list of detected cameras. This list will display important information like IP addresses, device names, and their current status. If you've got multiple Dahua cameras, it's easy to identify them by their unique IP addresses.
Should you not see your cameras listed, double-check your network connections and verify the cameras are powered on. Sometimes, a simple restart of the camera or the network router can do the trick. Once your cameras appear, you've taken the first step toward accessing their settings and verifying your surveillance system runs smoothly. Embrace the freedom that comes with knowing exactly what devices are on your network, and enjoy the peace of mind that comes from effective monitoring!
Accessing Camera Settings
Accessing the settings of your Dahua camera is an essential step in customizing your surveillance experience. With the Dahua Config Tool, you can easily tweak settings to suit your needs and enhance your security setup. Here's how to get started:
- Download and install the Dahua Config Tool on your computer.
- Open the tool and let it scan your network for connected devices.
- Locate your camera in the list of devices and double-click it to access its settings.
- Log in with your credentials—usually the default username is "admin" and the password is set during the initial setup.
- Navigate through settings like video quality, motion detection, and recording options to tailor your camera's performance.
Accessing the Camera via Web Browser
Although you may be enthusiastic to start viewing your Dahua camera's feed, first, you'll need to access its IP address through a web browser. This process is straightforward and gives you direct control over your camera's settings and live footage.
Start by opening your preferred web browser. In the address bar, input the IP address of your Dahua camera. If you're unsure what this IP address is, you might've noted it down during the camera setup or retrieved it from your network settings. Once you hit enter, you should be directed to the camera's login page.
Here, you'll need to enter your username and password. The default login credentials are often "admin" for both fields, but it's wise to change these for security reasons. After logging in, you'll find yourself in the camera's interface, where you can adjust various settings, view live streams, and even configure alerts.
Remember, accessing your camera via a web browser provides you with the freedom to monitor your space from anywhere, as long as you have internet access. If you encounter any issues, verify your camera is properly connected to your network and that there are no firewall settings blocking the connection.
With these steps, you're well on your way to enjoying the full capabilities of your Dahua camera. Embrace the control you have over your security and keep an eye on what matters most to you!
Finding IP Address on Router
If you're unable to locate your Dahua camera's IP address through the web browser, checking your router is a reliable alternative. It's often straightforward, and you can gather valuable information. Here's a step-by-step guide to help you navigate this process.
First, you'll need to access your router's interface. Open a web browser and type in your router's IP address, which is commonly 192.168.1.1 or 192.168.0.1. You'll need to log in with your admin credentials. Once you're in, you can find a list of connected devices. Look for your Dahua camera in that list.
Here's what you should consider while searching:
- IP Address: This is the number you need to connect to your camera.
- Device Name: Sometimes, it shows up with a recognizable name or the manufacturer.
- MAC Address: It's useful for identifying devices on your network.
- Connection Type: Check if it's wired or wireless, which can give you clues on signal strength.
- Lease Time: This indicates how long your camera will hold that IP address.
Using Command Prompt
Another way to find your Dahua camera's IP address is by using the Command Prompt on your computer. This method gives you a direct look at the network and can help you pinpoint the camera's address without needing any additional software. To get started, open the Command Prompt by typing "cmd" into the Windows search bar and hitting Enter.
Once the Command Prompt is open, type "arp -a" and press Enter. This command displays all the devices connected to your network along with their IP addresses. You'll see a list of IP addresses and their corresponding MAC addresses. To identify your Dahua camera, you'll need to know its MAC address, which is usually printed on a label on the camera itself or in the documentation.
If you don't see the camera listed, you may want to verify that it's powered on and properly connected to the same network as your computer. Sometimes, it helps to disconnect and reconnect the camera to refresh its presence on the network. Once it appears, match the MAC address with the one from the camera.
Finding your Dahua camera's IP address via Command Prompt is straightforward and liberating. You're in control of your network and can manage your devices with ease. Just remember, maintaining a secure network is key, so always keep your devices updated and protected.
Checking the Camera's Manual
Checking the camera's manual can quickly provide you with the specific IP address or instructions on how to find it. This invaluable resource often contains a wealth of information tailored specifically for your Dahua camera model. Instead of wasting time guessing or searching the internet, flipping through the manual can save you frustration and lead you directly to the information you need.
Here are some key points to look for in the manual:
- Default IP Address: Many Dahua cameras come with a preset IP address, which the manual will outline.
- Setup Instructions: The manual usually includes step-by-step instructions on accessing the camera's settings, where you can find the IP address.
- Network Configuration: Look for sections on network settings that can guide you on how to modify or check the IP address.
- Troubleshooting Tips: While we won't explore troubleshooting just yet, some manuals offer quick fixes for common issues that may affect your IP visibility.
- Contact Information: If all else fails, your manual might provide customer service contact details for more direct assistance.
Troubleshooting IP Address Issues
When you're having trouble locating your Dahua camera's IP address, it can be frustrating, but there are a few common issues you can troubleshoot. First, check if the camera is properly powered on. If it's not powered, it won't connect to your network, making it impossible to find the IP address. Make sure the cable connections are secure and that the camera is indeed receiving power.
Next, verify that your camera is connected to the same network as your computer or mobile device. If you're using a different network, you won't be able to access the camera. If you're unsure, try disconnecting your device from Wi-Fi and connecting it to the same router via Ethernet.
Also, consider checking your router's DHCP settings. Sometimes, cameras may not get assigned an IP address if there are too many devices connected. Restarting your router can often resolve this issue, allowing your camera to get a fresh IP address.
Lastly, you might want to use Dahua's IP Tool. This software can help you scan your network for Dahua devices and reveal their IP addresses. If you're still struggling, try resetting the camera to factory settings, which can clear any misconfigurations.
Frequently Asked Questions
Can I Change My Dahua Camera's IP Address?
Yes, you can change your Dahua camera's IP address. It's a straightforward process that gives you control over your network settings. Just access the camera's web interface using its current IP, log in, and navigate to the network settings. From there, you can assign a new IP address that suits your network configuration. Remember, it's important to make sure the new IP doesn't conflict with other devices on your network for smooth operation.
What Should I Do if the Camera Is Offline?
If your camera's offline, start by checking its power supply and connections. Confirm it's plugged in and the cables are secure. Then, look at your network settings; sometimes, a simple reboot of your router can help. If it's still unresponsive, try resetting the camera to factory settings. Finally, check your app or software for updates, as an outdated version might cause connectivity issues. Keep your security in check and stay connected!
How Do I Reset My Dahua Camera to Factory Settings?
If you need to reset your Dahua camera to factory settings, start by locating the reset button, usually found on the back or bottom of the device. Press and hold it for about 10 seconds until the camera's indicator lights blink. This'll indicate it's resetting. Once done, you can reconfigure your settings. Remember, it'll erase all custom configurations, so make sure you're ready for that fresh start. Enjoy the freedom of a clean slate!
Is It Possible to Access Multiple Dahua Cameras?
Absolutely, you can access multiple Dahua cameras! It's like having a command center at your fingertips. You'll need to guarantee they're all connected to the same network. Using software like Smart PSS or the web interface, you can view each camera's feed simultaneously. This setup gives you the freedom to monitor your space effortlessly. Just remember, managing multiple feeds can feel overwhelming, but it's incredibly empowering once you get the hang of it!
What Are Common Symptoms of IP Address Conflicts?
When you're dealing with IP address conflicts, you might notice several symptoms. Your devices might struggle to connect to the network, or they could drop connections unexpectedly. You may find that one device can't access the internet while another works just fine. Additionally, you might see error messages indicating that the IP address is already in use. These issues can create frustration, so resolving them quickly is key to maintaining your network's freedom.


