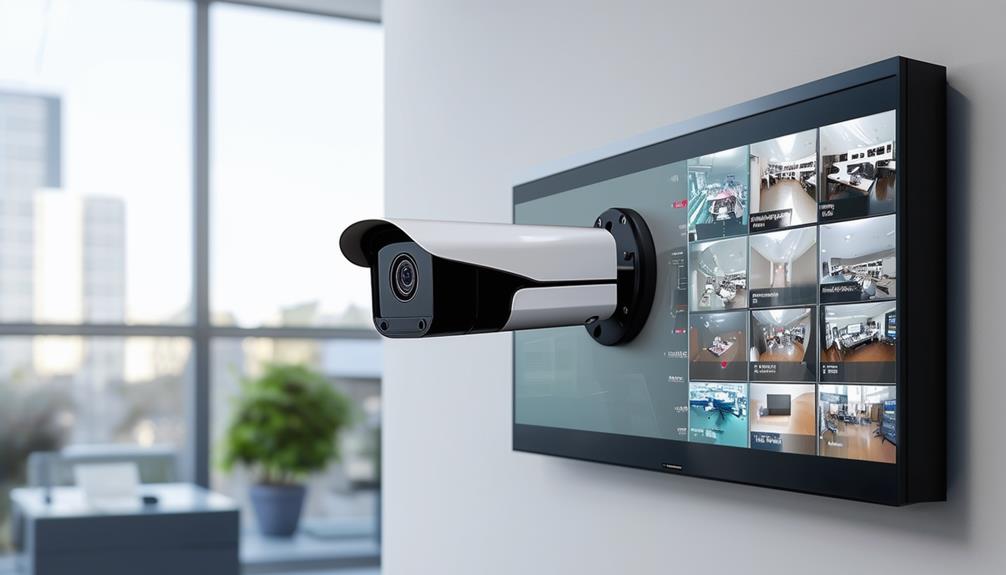
To configure your Dahua IP camera in an NVR, start by placing your NVR in a cool, dry spot and check that it has the latest firmware. Connect the NVR and camera on the same network, using either an Ethernet cable or Wi-Fi settings. Access the NVR interface through your browser, then go to the “Add Camera” section to input your camera details. Verify that the live feed appears to confirm a successful connection. Adjust camera settings like resolution and motion detection for peak performance. You’ll find even more tips on fine-tuning your setup and enhancing security options.
Understanding Dahua IP Cameras
When it comes to security solutions, understanding Dahua IP cameras is essential for anyone looking to enhance their surveillance system. These cameras offer advanced features that empower you to take control of your security. By utilizing internet protocol technology, Dahua cameras provide high-resolution images and the flexibility to monitor your property from anywhere. You can connect them to your network, allowing for remote access through your smartphone or computer, ensuring you’re always in the know.
Dahua IP cameras come in various models, each designed for specific needs. Whether you’re looking for indoor or outdoor options, there’s a camera that fits your requirements. Many models include features like night vision, motion detection, and two-way audio, giving you the freedom to customize your surveillance experience. You can also choose between fixed lens or varifocal lens cameras, allowing you to adjust the field of view based on your specific layout.
Moreover, Dahua’s user-friendly interface simplifies the setup process, making it easier for you to configure settings to suit your preferences. With the right camera, you can monitor your home or business without feeling tied down, enjoying peace of mind with a system that works for you.
In an age where security is paramount, understanding the capabilities of Dahua IP cameras is a step towards achieving that freedom. By investing in the right technology, you’re not just enhancing your surveillance; you’re taking charge of your safety and autonomy.
Preparing Your NVR
Setting up your Dahua IP camera system requires a solid foundation, and that starts with preparing your Network Video Recorder (NVR). Before diving into the technical aspects, make certain you’ve got the right environment for your NVR. Place it in a cool, dry area where it can breathe; overheating can cause performance issues.
Next, check that your NVR has the latest firmware. Manufacturers often release updates to improve functionality and security. Simply connect the NVR to your network and access its interface through a browser or monitor to see if any updates are available.
Once you’ve got the latest firmware, it’s time to configure your network settings. You’ll want to assign a static IP address to your NVR. This guarantees that your NVR always maintains the same address on your network, preventing any connectivity issues down the line.
Additionally, consider enabling DHCP if you prefer dynamic addressing, but remember to reserve an IP for your NVR in your router settings. This will help you avoid conflicts with other devices.
Don’t forget about user management! Create strong passwords and set permissions to safeguard your system. You’re setting up a secure surveillance network, so taking these steps will provide peace of mind.
Lastly, verify your NVR’s storage capacity meets your needs. Depending on how much footage you plan to store, you may need to expand your storage options. With these preparations in place, you’re all set to connect your Dahua IP cameras and take control of your surveillance system.
Connecting the IP Camera
Connecting your Dahua IP camera to the NVR is a straightforward process that sets the stage for your surveillance system. First, verify both your NVR and camera are powered on and connected to the same network. This is vital for seamless communication between the two devices.
Next, use an Ethernet cable to connect your camera directly to one of the NVR’s LAN ports. If you prefer a wireless setup, verify your camera is configured to connect to your Wi-Fi network. Refer to the camera’s manual for specific steps, as it may vary depending on the model.
Once the physical connection is established, access your NVR’s interface. You can usually do this by entering the NVR’s IP address into a web browser or using the dedicated software. Look for the “Add Camera” or “Device Management” section in the settings menu. Here, you’ll be prompted to input the camera’s details, such as its IP address, username, and password. If you’ve set everything up correctly, your NVR will detect the camera automatically.
After adding the camera, check for a live feed on the NVR’s interface. This confirms that the connection is successful and your camera is operational. If you encounter any issues, double-check your connections and settings. Remember, this setup is your gateway to enhanced surveillance, providing you with the freedom to monitor your space effectively.
Configuring Camera Settings
Once your Dahua IP camera is connected to the NVR, you’ll want to engage in configuring the camera settings to optimize its performance. Start by accessing the NVR’s interface. You can do this through a web browser or using the NVR’s own monitor. Once you’re in, navigate to the camera settings section, where you’ll find various options to tweak.
First, adjust the resolution and frame rate according to your needs. Higher resolutions provide clearer images but require more bandwidth and storage. If you’re aiming for smooth video, consider balancing these settings to guarantee your NVR handles the data efficiently.
Next, delve into the image settings. Here, you can modify brightness, contrast, and saturation to get the best picture quality. Don’t forget to enable features like WDR (Wide Dynamic Range) if your camera supports it; it helps in environments with varying light conditions, ensuring you capture clear images regardless of the situation.
Another critical aspect is motion detection settings. Tailor these to your surveillance needs by selecting the areas you want the camera to monitor and adjusting the sensitivity. This way, you’ll receive alerts only when something significant happens.
Lastly, set up your camera’s storage options. You can choose to record continuously, on a schedule, or based on motion detection. By configuring these settings, you’ll have greater control over your footage and can ensure you’re capturing what matters most to you. Enjoy the freedom that comes with a well-configured camera!
Testing Your Setup
After configuring your camera settings, it’s time to test your setup to confirm everything is functioning as expected. This step’s essential for verifying your security system operates flawlessly. Start by accessing your NVR interface. Check if your Dahua IP camera appears on the device list. If it does, you’re on the right track!
Next, take a moment to verify the video feed. You should see a live stream from your camera. If it’s not displaying, double-check your connections, power supply, and the network settings. Sometimes, a simple reboot can resolve connectivity issues.
Here’s a quick checklist to help you with the testing process:
| Action | Status |
|---|---|
| Camera appears on NVR | Yes/No |
| Live video stream visible | Yes/No |
| Record function operational | Yes/No |
If your video feed is working, it’s time to test additional features like motion detection and alerts. Walk through the camera’s view and see if it picks up your movement as intended. If alerts are set up, confirm you receive notifications on your device.
Lastly, take a look at your recorded footage. This’ll give you confidence that your setup is capturing everything as it should. Testing your configuration confirms peace of mind, knowing your security system is ready to protect what matters most!
Frequently Asked Questions
Can I Use Dahua Cameras With Non-Dahua NVRS?
Yes, you can use Dahua cameras with non-Dahua NVRs, but it depends on compatibility. Most IP cameras follow standard protocols like ONVIF, which allows for broader integration. Just make sure your NVR supports these protocols. You might need to adjust settings or firmware to guarantee everything works smoothly. So, if you’re looking for flexibility in your surveillance setup, you’re in luck! Always double-check compatibility before making a purchase.
What Should I Do if the Camera Is Not Detected?
What would you do if your eyes can’t see the beauty of a sunset? Similarly, if your camera isn’t detected, it’s frustrating. First, check the connections and guarantee the camera is powered on. Next, verify that IP settings match your network. Sometimes, a simple reboot can do wonders! If all else fails, consider updating the firmware. Remember, freedom comes from solving these tech dilemmas and enjoying the surveillance peace of mind you deserve!
How Do I Update the Firmware on My Dahua Camera?
To update the firmware on your Dahua camera, first, download the latest firmware from Dahua’s official site. Then, log into the camera’s web interface using its IP address. Navigate to the firmware update section, usually found under settings. Upload the downloaded file and initiate the update. Don’t forget to back up your settings beforehand, and guarantee the camera remains powered during the process for a smooth update. You’ll enjoy enhanced features and security!
Can I Access the Camera Remotely?
Absolutely, you can access your camera remotely! Think of it like having an eye in the sky, always watching over your space. To do this, you’ll need to guarantee your camera’s connected to the internet and configured properly. Once that’s set, you can use the Dahua app or web interface to view your camera feed from anywhere. Just remember, freedom comes with responsibility, so make sure your security settings are tight!
What Are the Common Troubleshooting Steps for Camera Connectivity Issues?
When facing camera connectivity issues, start by checking your network connection; guarantee your router’s online. Next, confirm the camera’s power supply is working. You should also verify that the camera’s firmware is up to date. If it still isn’t connecting, try rebooting both the camera and the NVR. Finally, double-check the camera settings, making sure they’re correctly configured to communicate with your network. These steps often resolve connectivity problems.


